Configure projects
The default projects
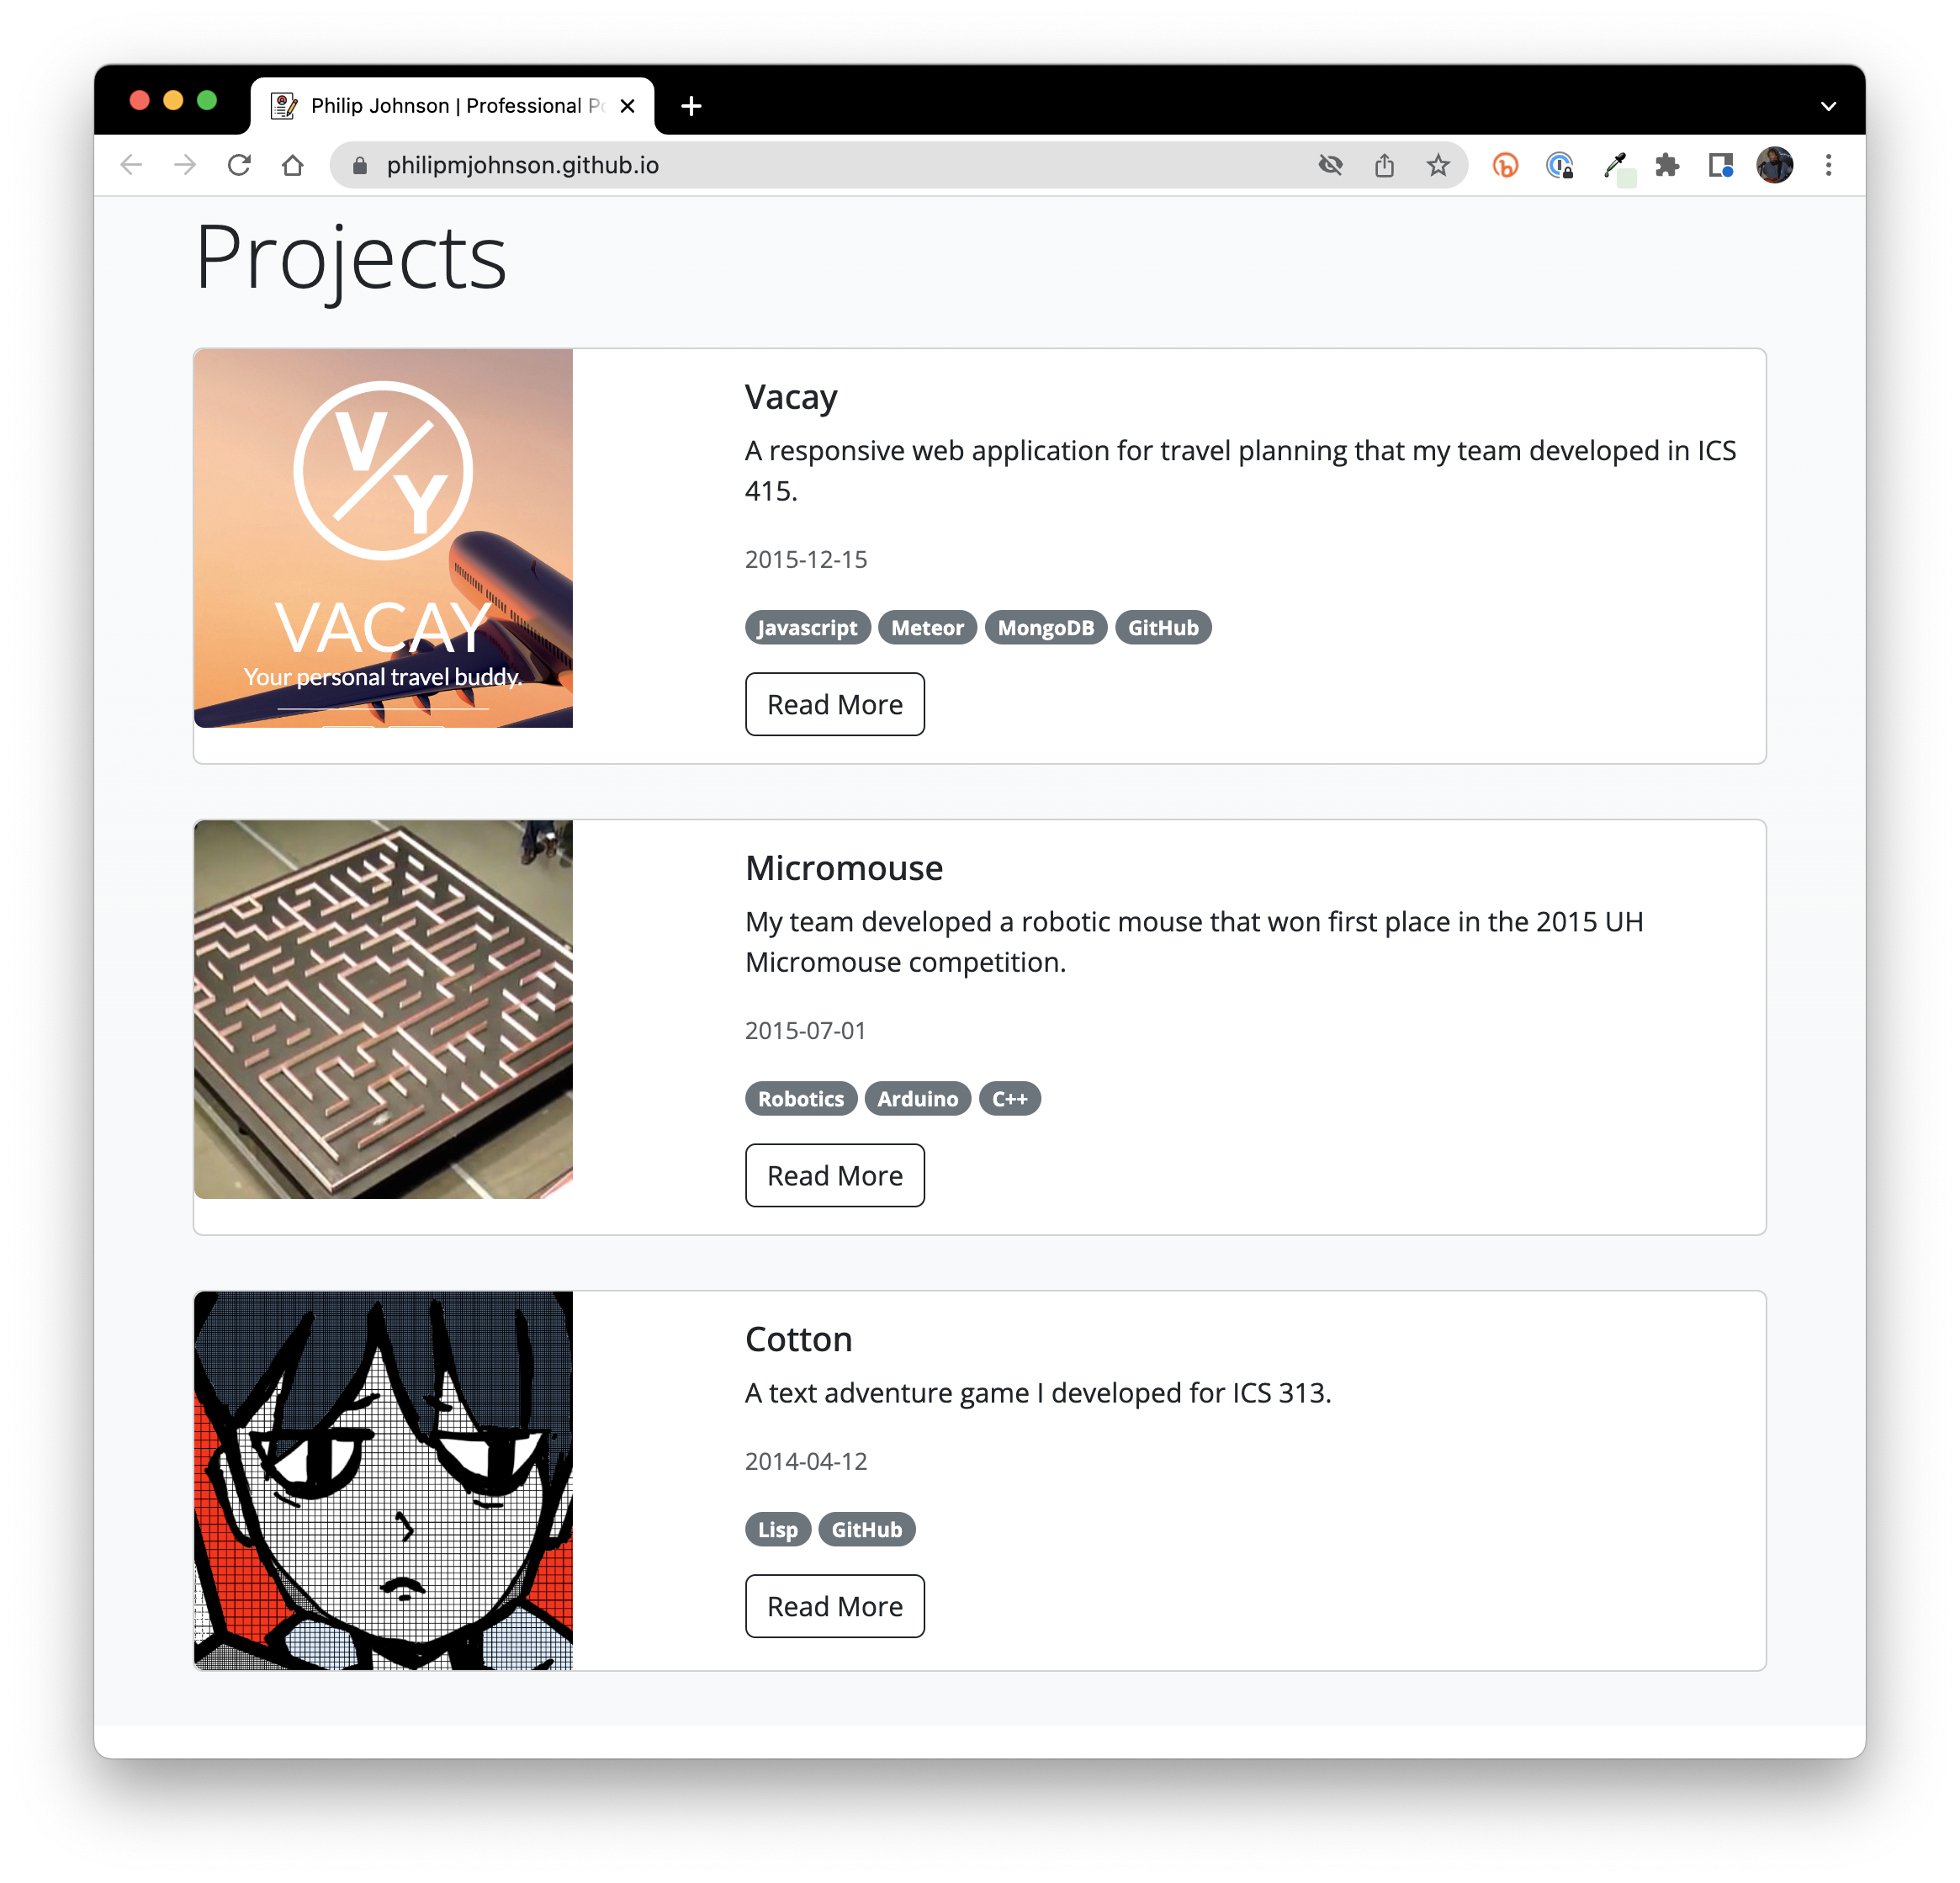
The template comes with three sample projects: Vacay, Micromouse, and Cotton:
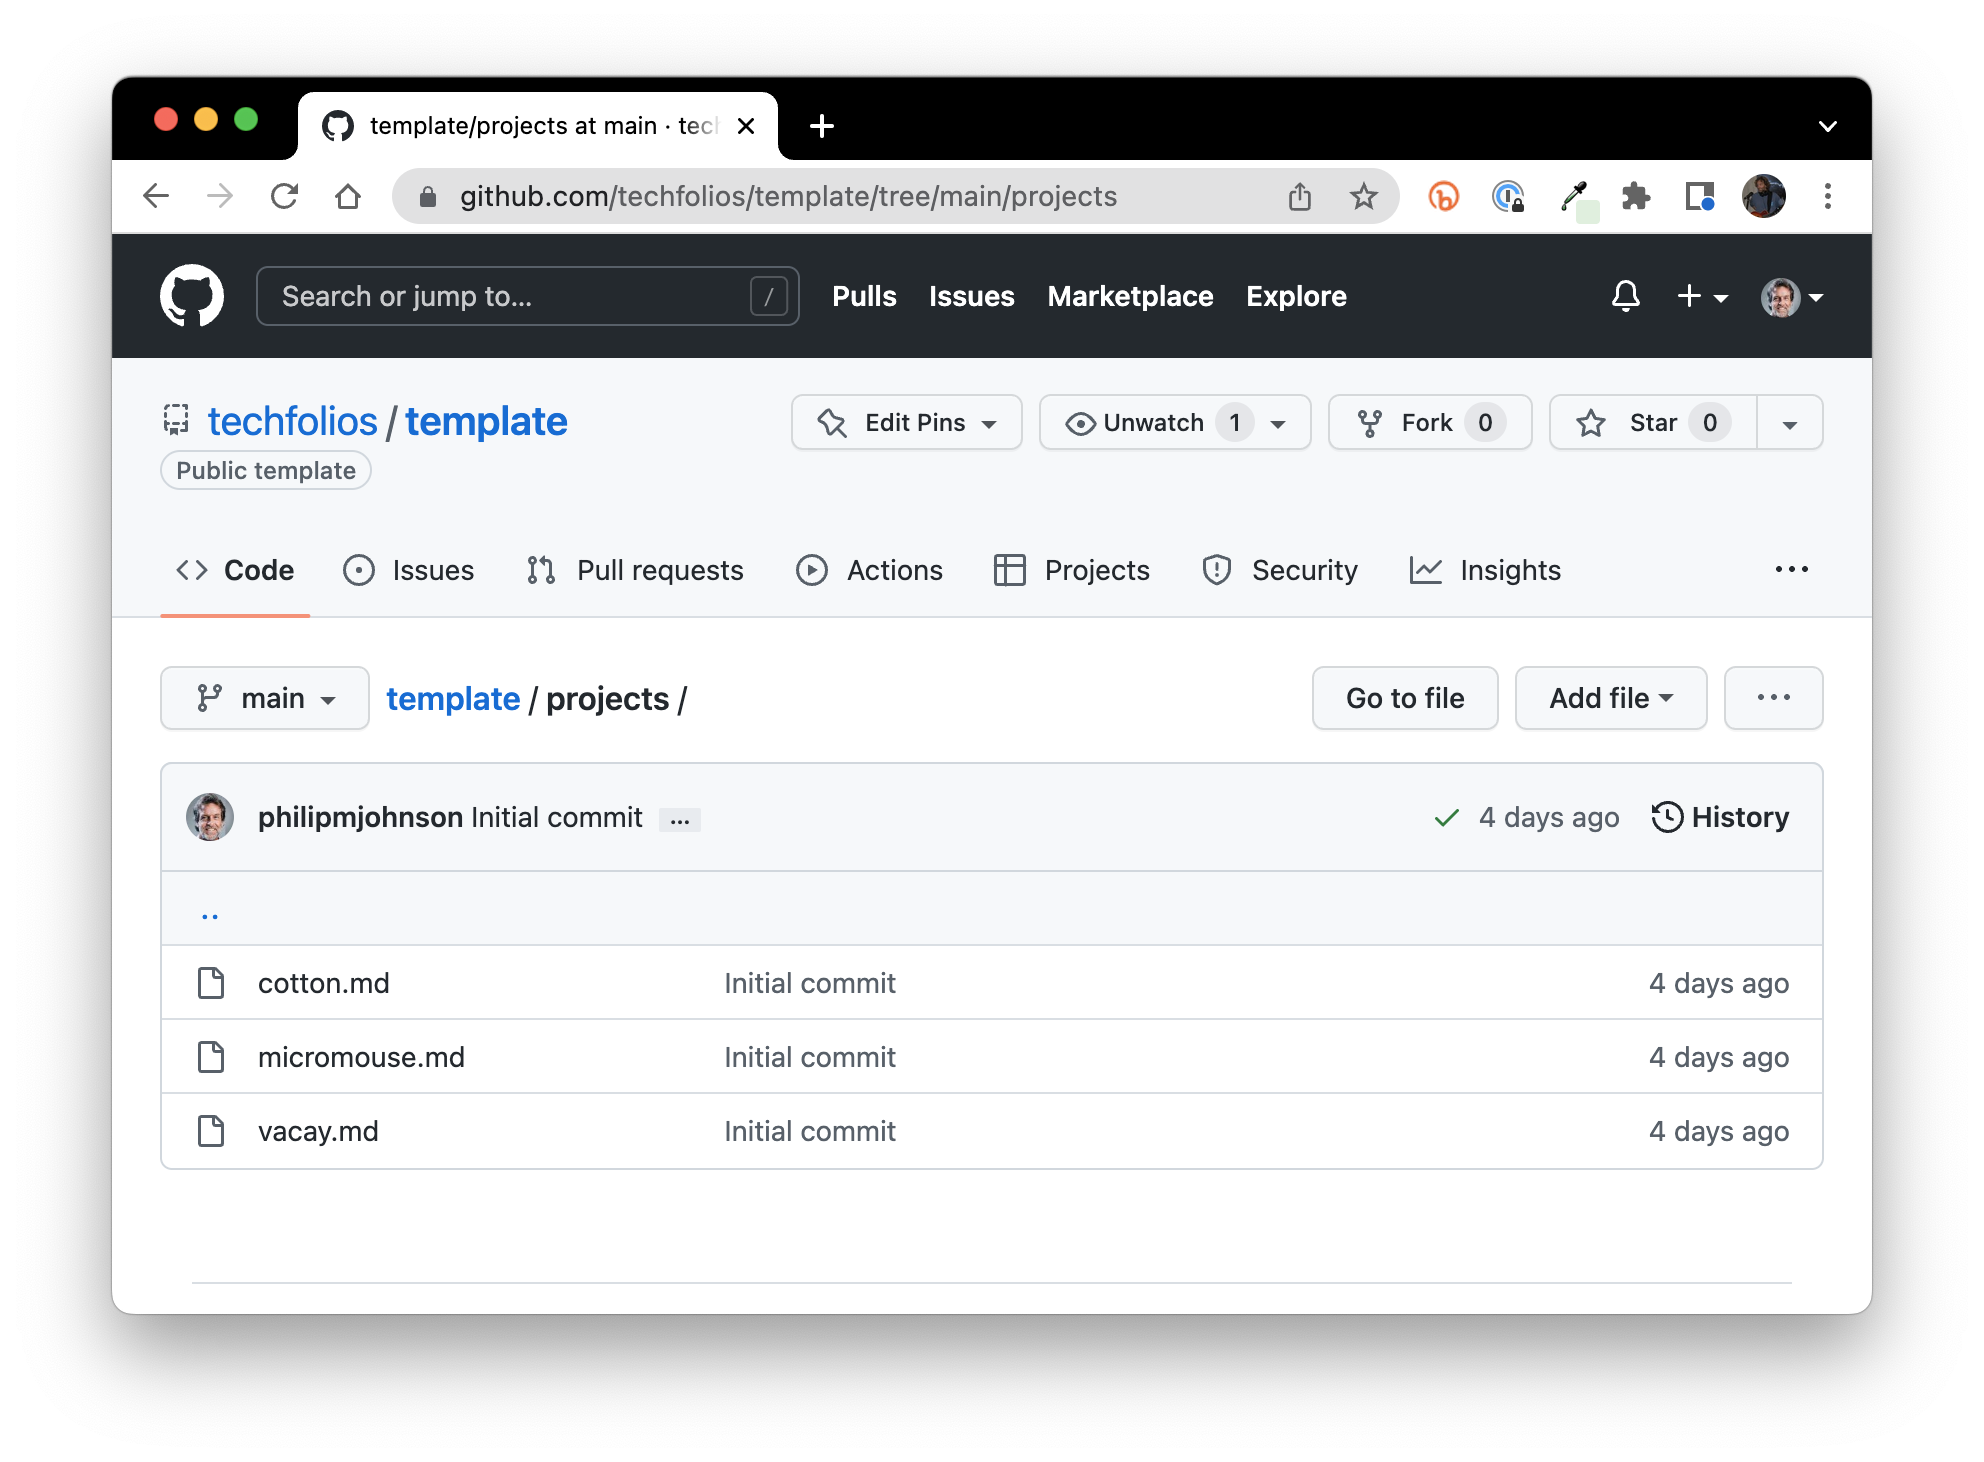
To define a project in TechFolios, you create a file in the projects/ directory. So, in the template/projects directory, there are three files, one for each project:
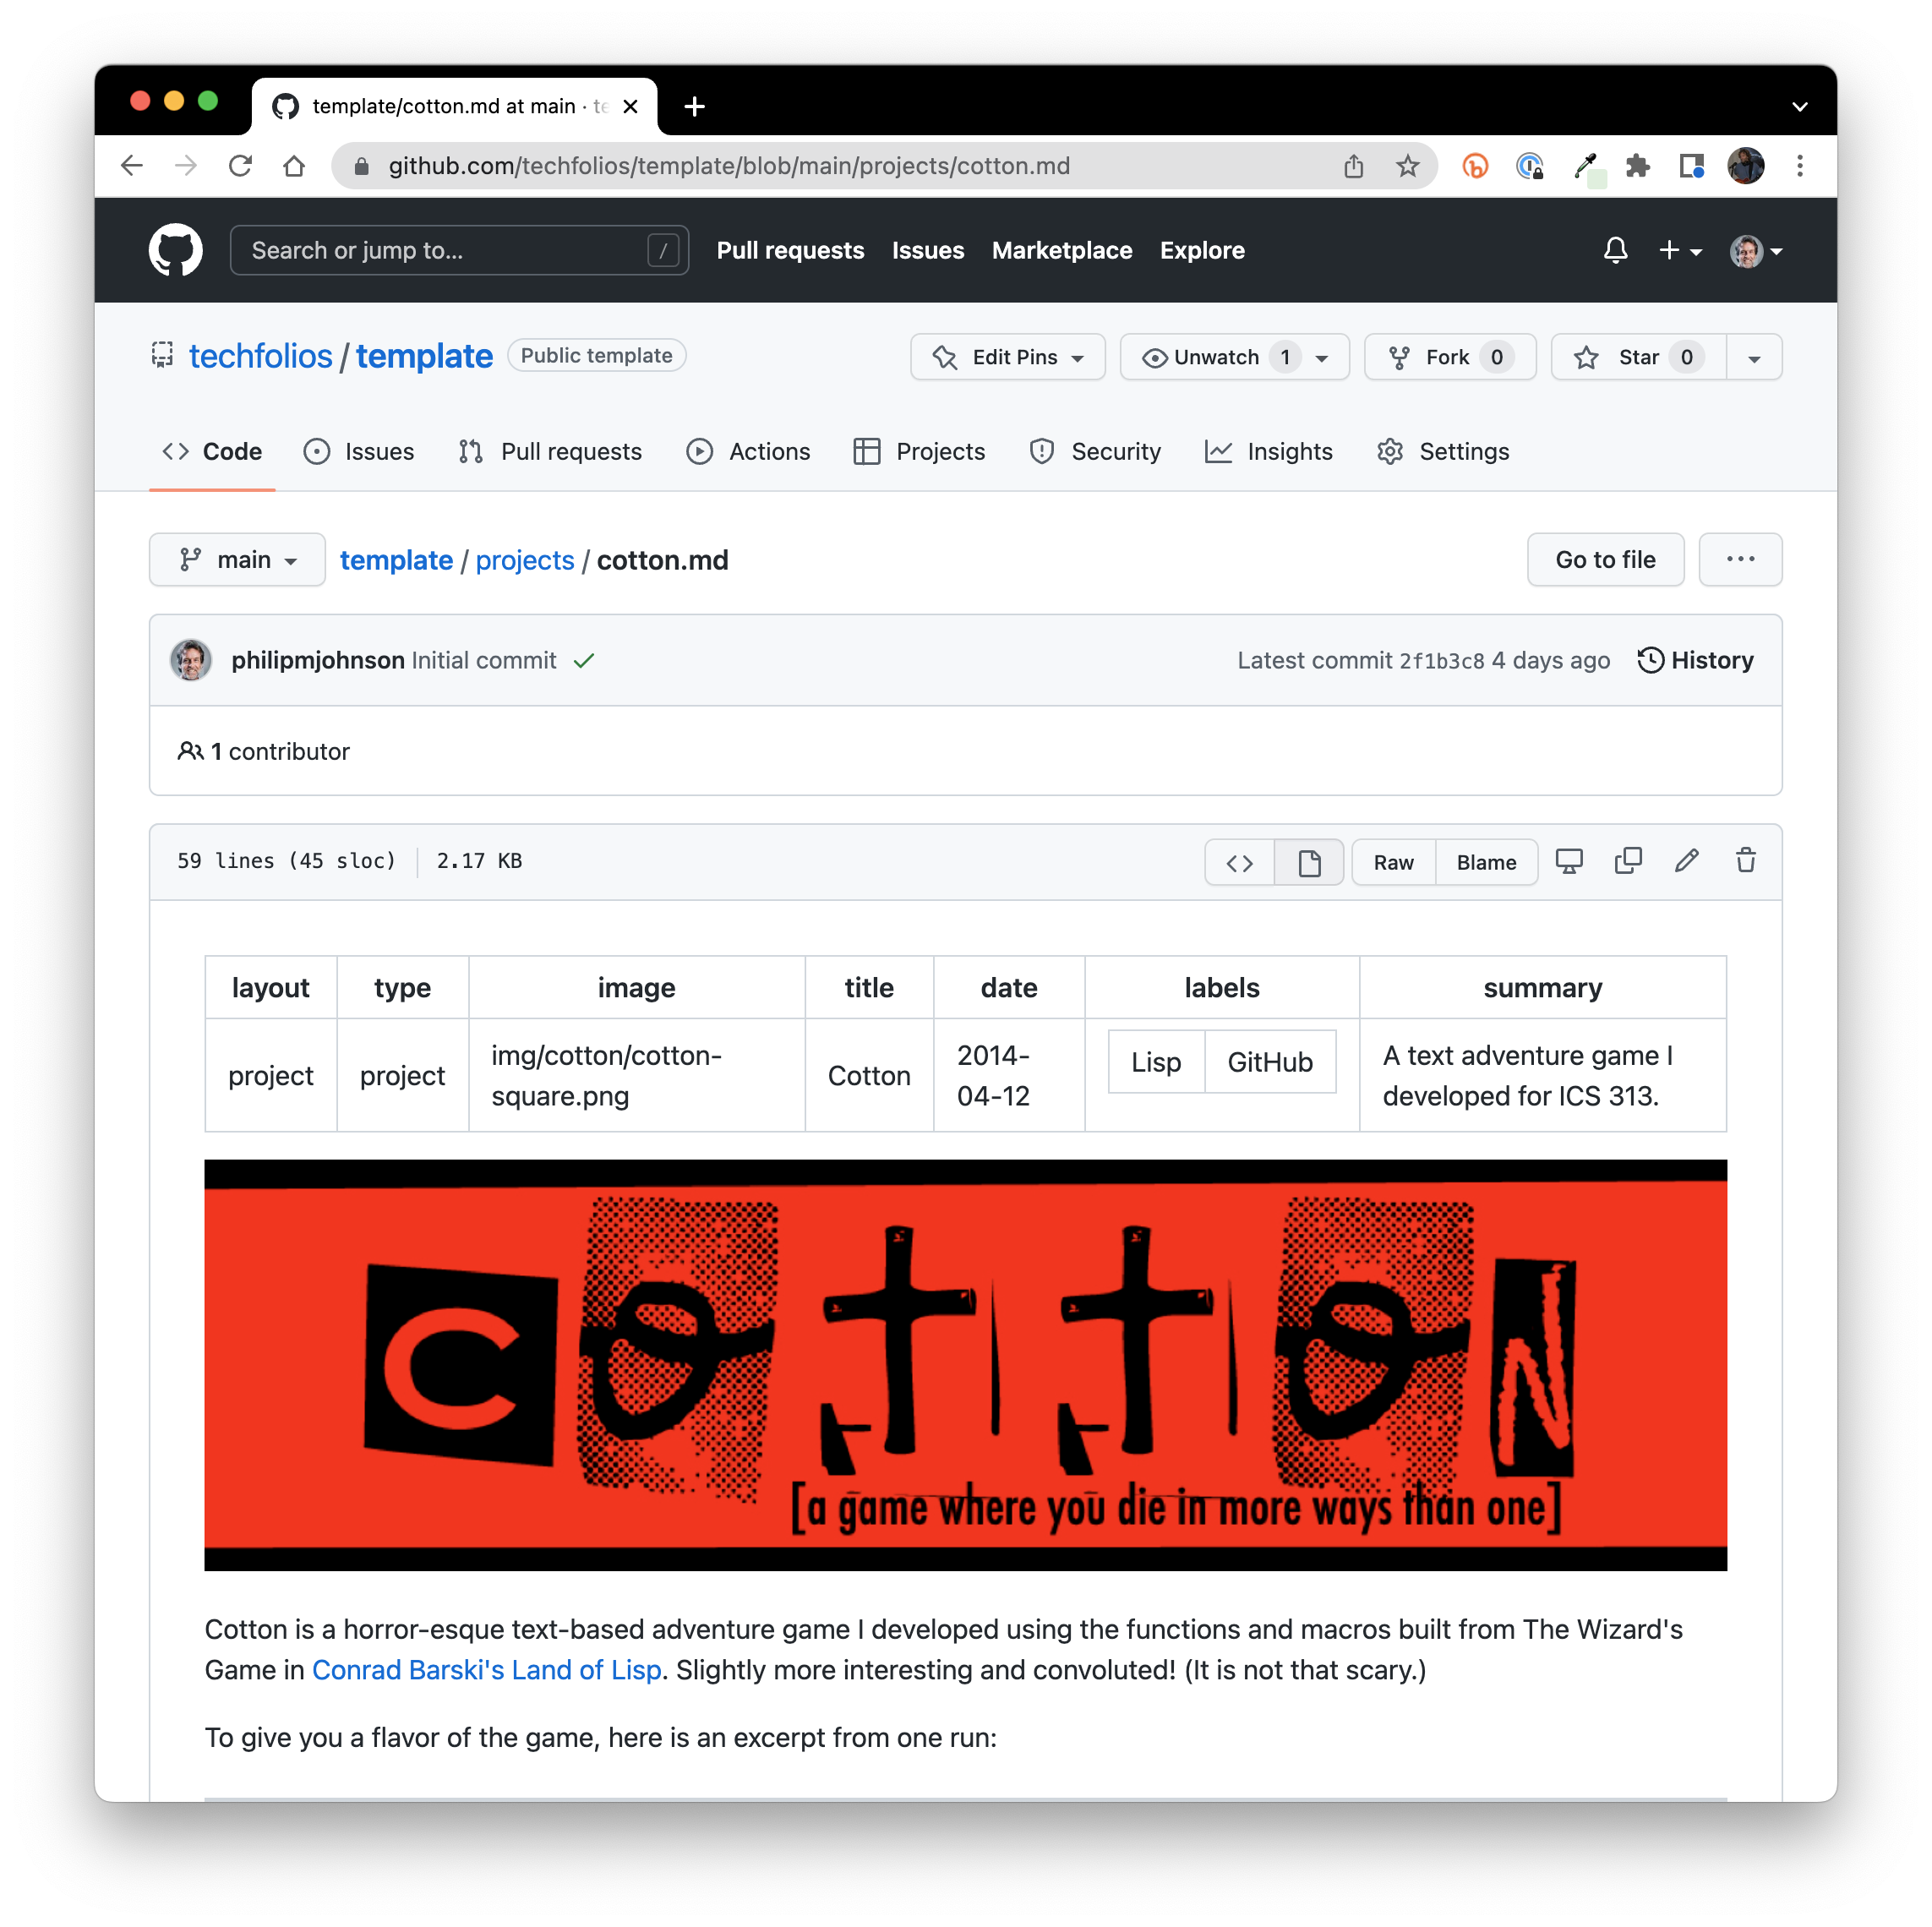
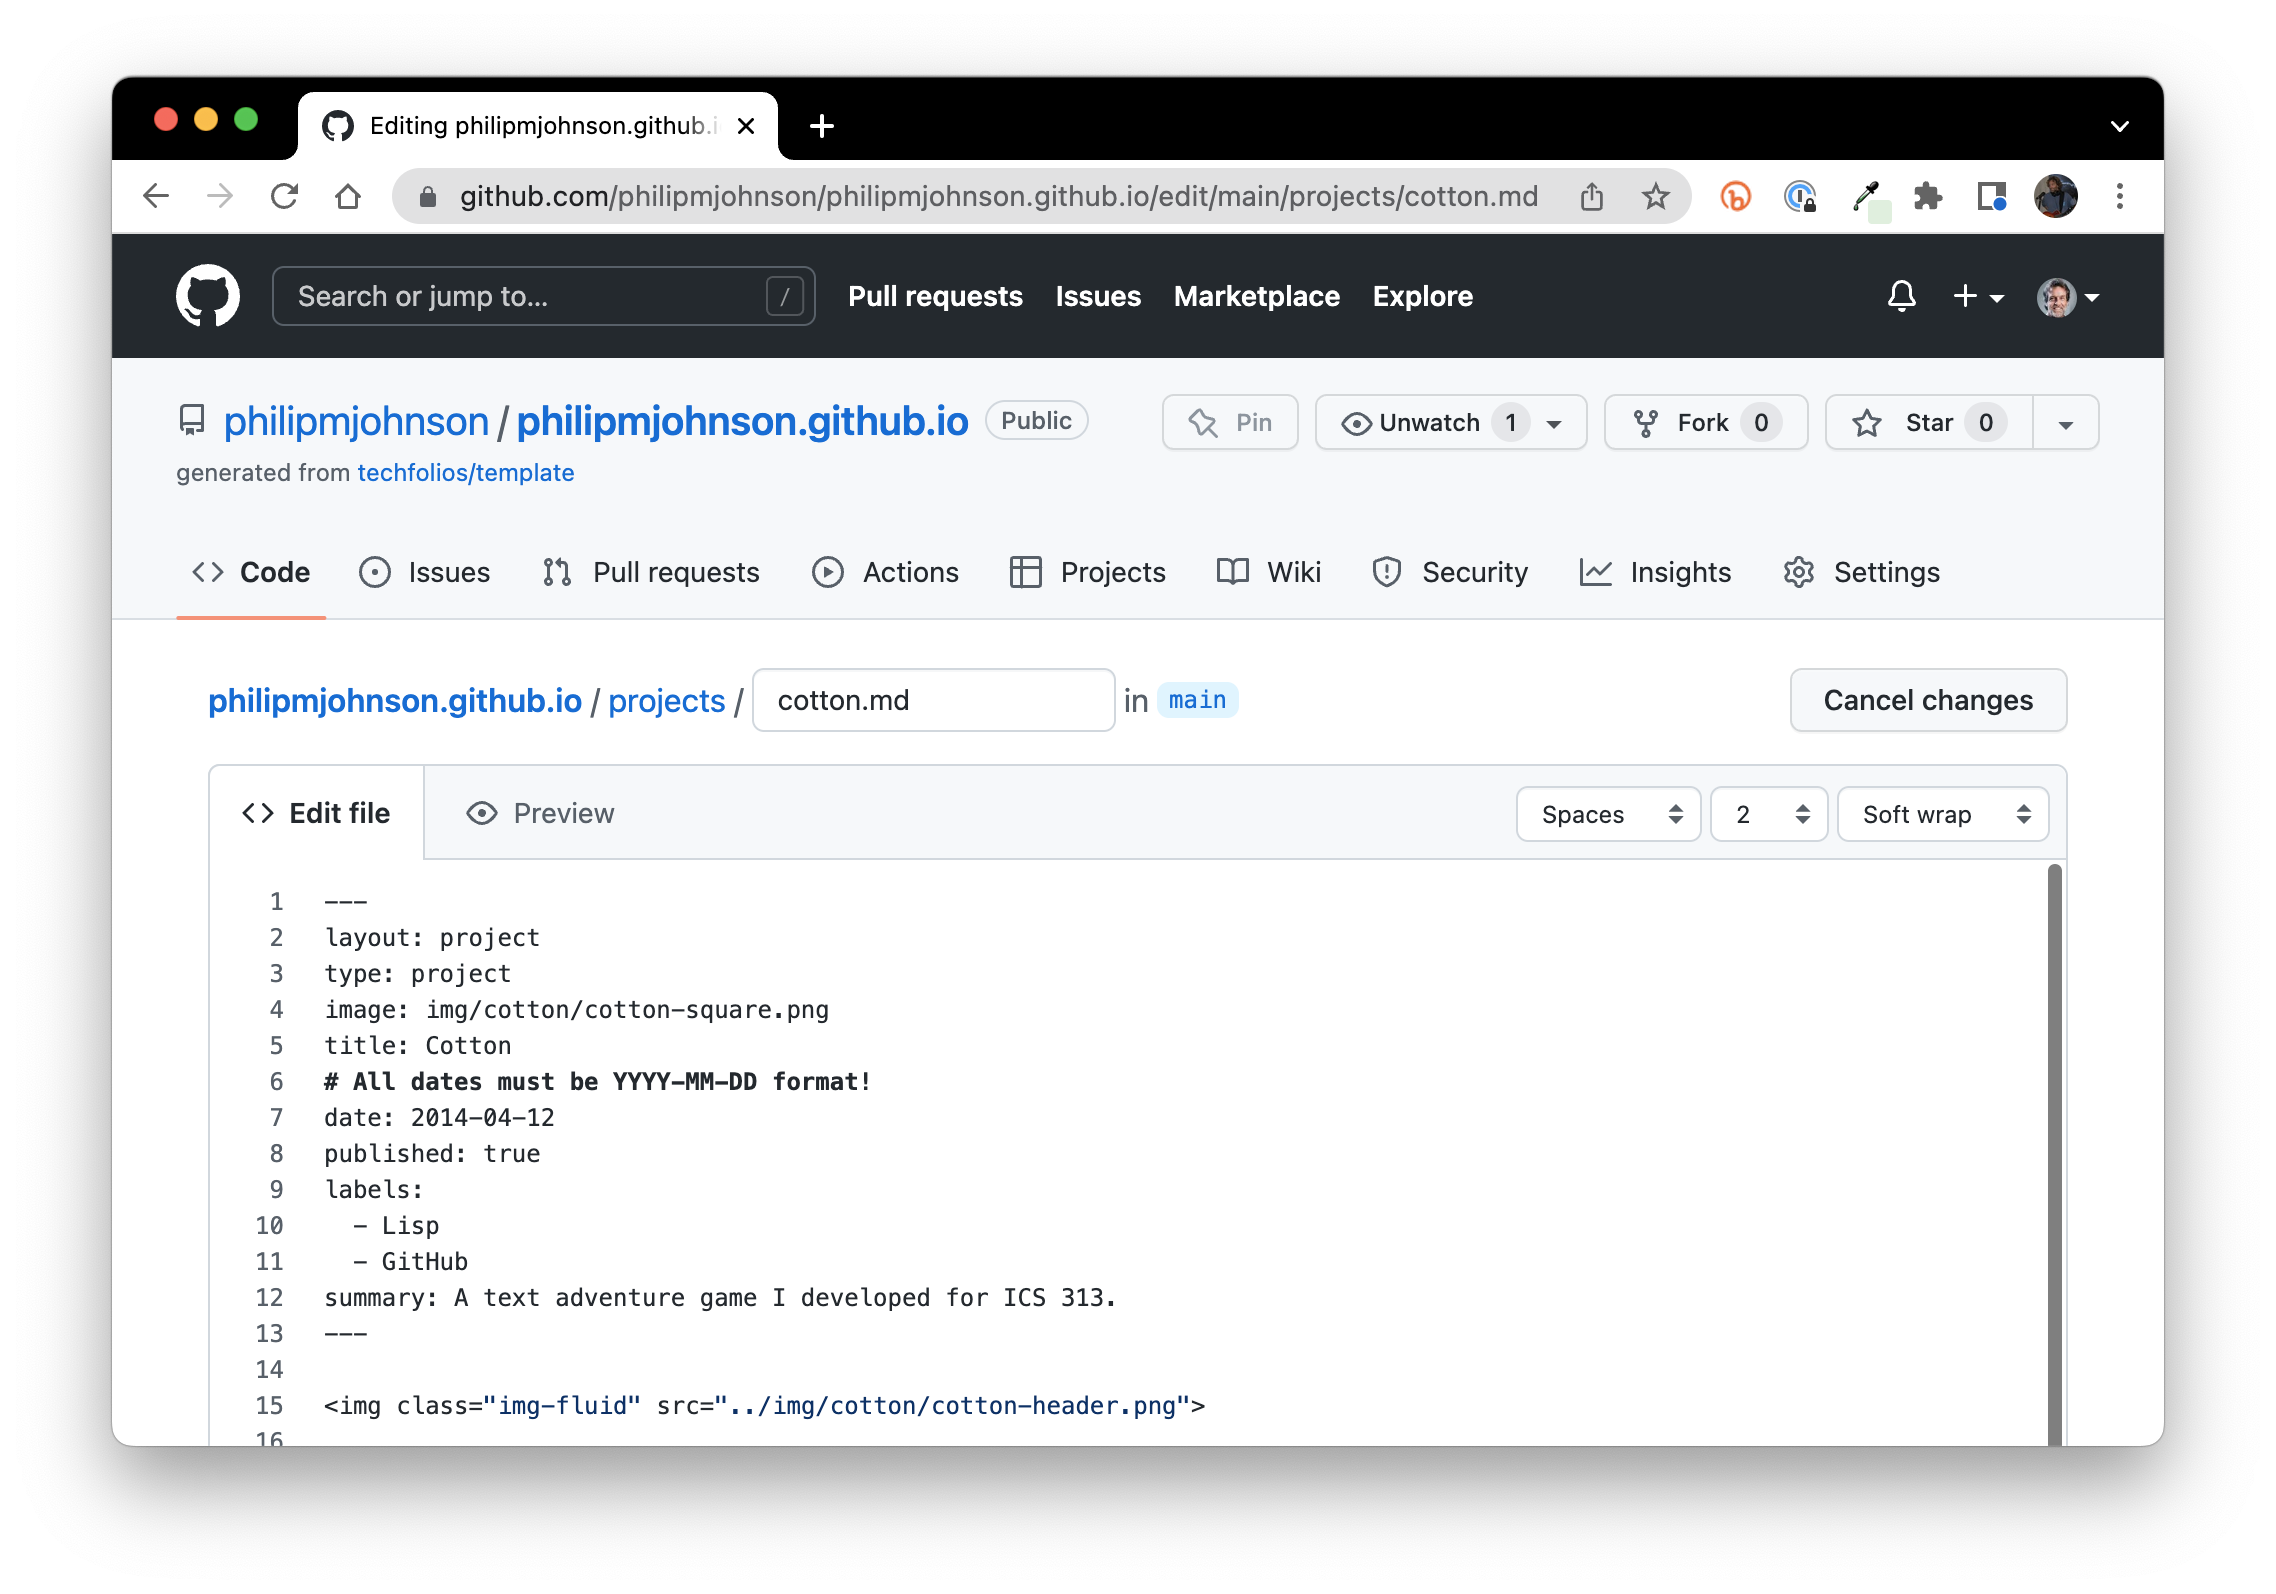
Projects are implemented using a format called GitHub Flavored Markdown, and project files should have the extension ".md" to indicate they are in this format. If you click on the cotton.md file, GitHub will display the page like this:
I personally find this display quite confusing. Click on the "Raw" button to see what the file contents actually look like:

Project front matter
There are two parts to a project file. The first part is called the "front matter". Every project file must have front matter, which is at the top of the file and delineated by lines containing exactly three dashes. In the case of cotton.md, the front matter section of the file consists of:
---
layout: project
type: project
image: img/cotton/cotton-square.png
title: "Cotton"
# All dates must be YYYY-MM-DD format!
date: 2014-04-12
published: true
labels:
  - Lisp
  - GitHub
summary: "A text adventure game I developed for ICS 313."
---
Here's a little bit about each of these fields:
| Field | Description |
|---|---|
| layout: | For projects, must be "project" |
| type: | For projects, must be "project" |
| image: | The path to the file containing an image to be displayed on your TechFolio home page with the project. We highly recommend that you crop this image to be a square. |
| title: | The title of your project. It's best to always put your title in quotation marks. |
| date: | The date associated with your project, in YYYY-MM-DD format. TechFolios uses this field to display your projects in reverse chronological order. |
| published: | A boolean, either "true" or "false". You can set this to false to prevent TechFolios from presenting this project file in your portfolio. This is useful if you want to keep one of the default project files in your repo as an example, but not actually publish it as part of your portfolio. |
| labels: | An indented list of strings that show up as labels in the project description. |
| summary: | One or two sentences that summarize your project. It's best to always put the summary in quotation marks. |
Project body
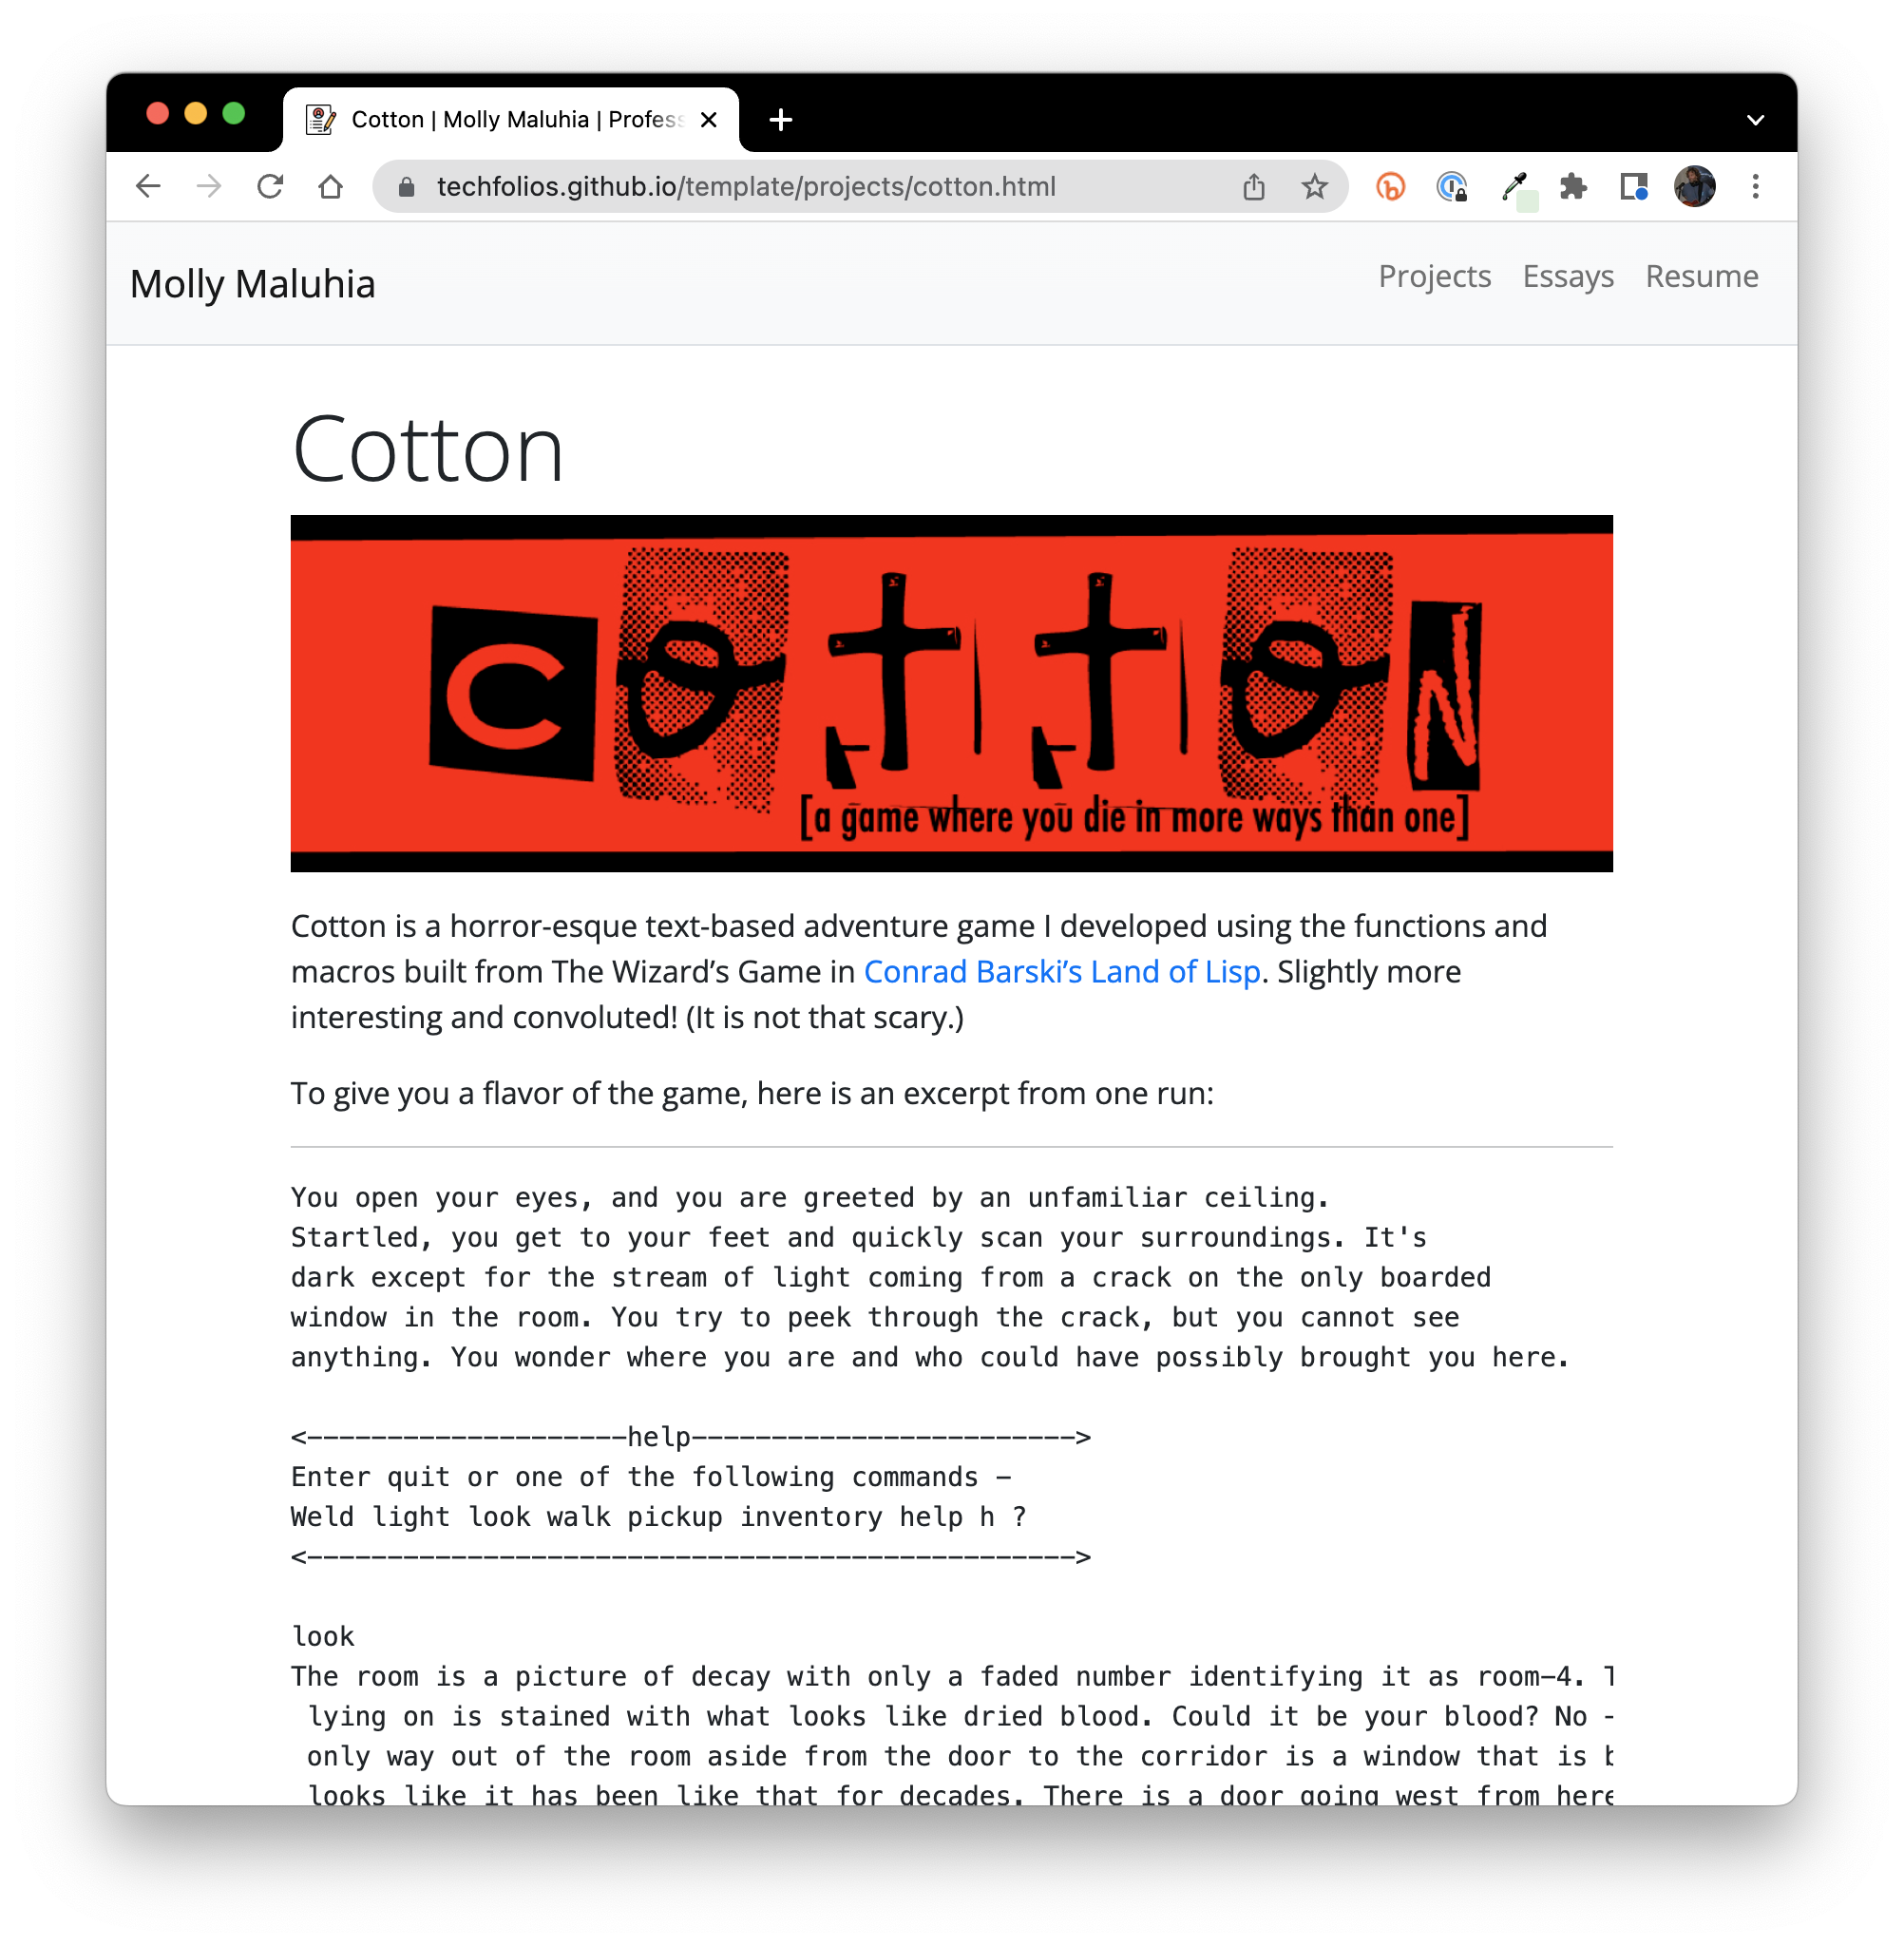
Following the front matter is the project body. A formatted version of the project body appears when you click the "Read More" button on the home page for a specific project. In the case of the Cotton project, the following page appears:
This was generated from the following markdown:
<img class="img-fluid" src="../img/cotton/cotton-header.png">

Cotton is a horror-esque text-based adventure game I developed using the functions and macros built from The Wizard's Game in [Conrad Barski's Land of Lisp](http://landoflisp.com/). Slightly more interesting and convoluted! (It is not that scary.)

To give you a flavor of the game, here is an excerpt from one run:

<hr>

<pre>
You open your eyes, and you are greeted by an unfamiliar ceiling.
Startled, you get to your feet and quickly scan your surroundings. It's
dark except for the stream of light coming from a crack on the only boarded
window in the room. You try to peek through the crack, but you cannot see
anything. You wonder where you are and who could have possibly brought you here.

<--------------------help------------------------>
Enter quit or one of the following commands -
Weld light look walk pickup inventory help h ?
<------------------------------------------------>

look
The room is a picture of decay with only a faded number identifying it as room-4. The bed you were
 lying on is stained with what looks like dried blood. Could it be your blood? No - it is not. The
 only way out of the room aside from the door to the corridor is a window that is boarded shut. It
 looks like it has been like that for decades. There is a door going west from here. You see a candle
 on the floor. You see a match on the floor.

pickup candle
- you are now carrying the candle -

pickup match
- you are now carrying the match -

light match candle

The candle is now lit. It illuminates everything in the room.

walk west
The corridor is lit with the candle. It is so long that you cannot see to the end. You notice that
 there are words written on the wall. There is a door going east from here. There is a way going north
 from here. There is a door going south from here.
</pre>

<hr>

Source: <a href="https://github.com/jogarces/ics-313-text-game"><i class="large github icon "></i>jogarces/ics-313-text-game</a>
To create a professional portfolio using TechFolios, you will need to learn how to write Markdown. Don't worry, it's really, really easy. Here's a good Markdown Tutorial to get you started if you don't have any prior experience with it.
Create new project
Now that you understand a little about how projects are structured, let's create a new one. The easiest way to do that is to copy the contents of an existing project definition into a new file in the projects folder, then edit the contents.
To start, navigate to one of the projects in the projects folder, such as micromouse.md:
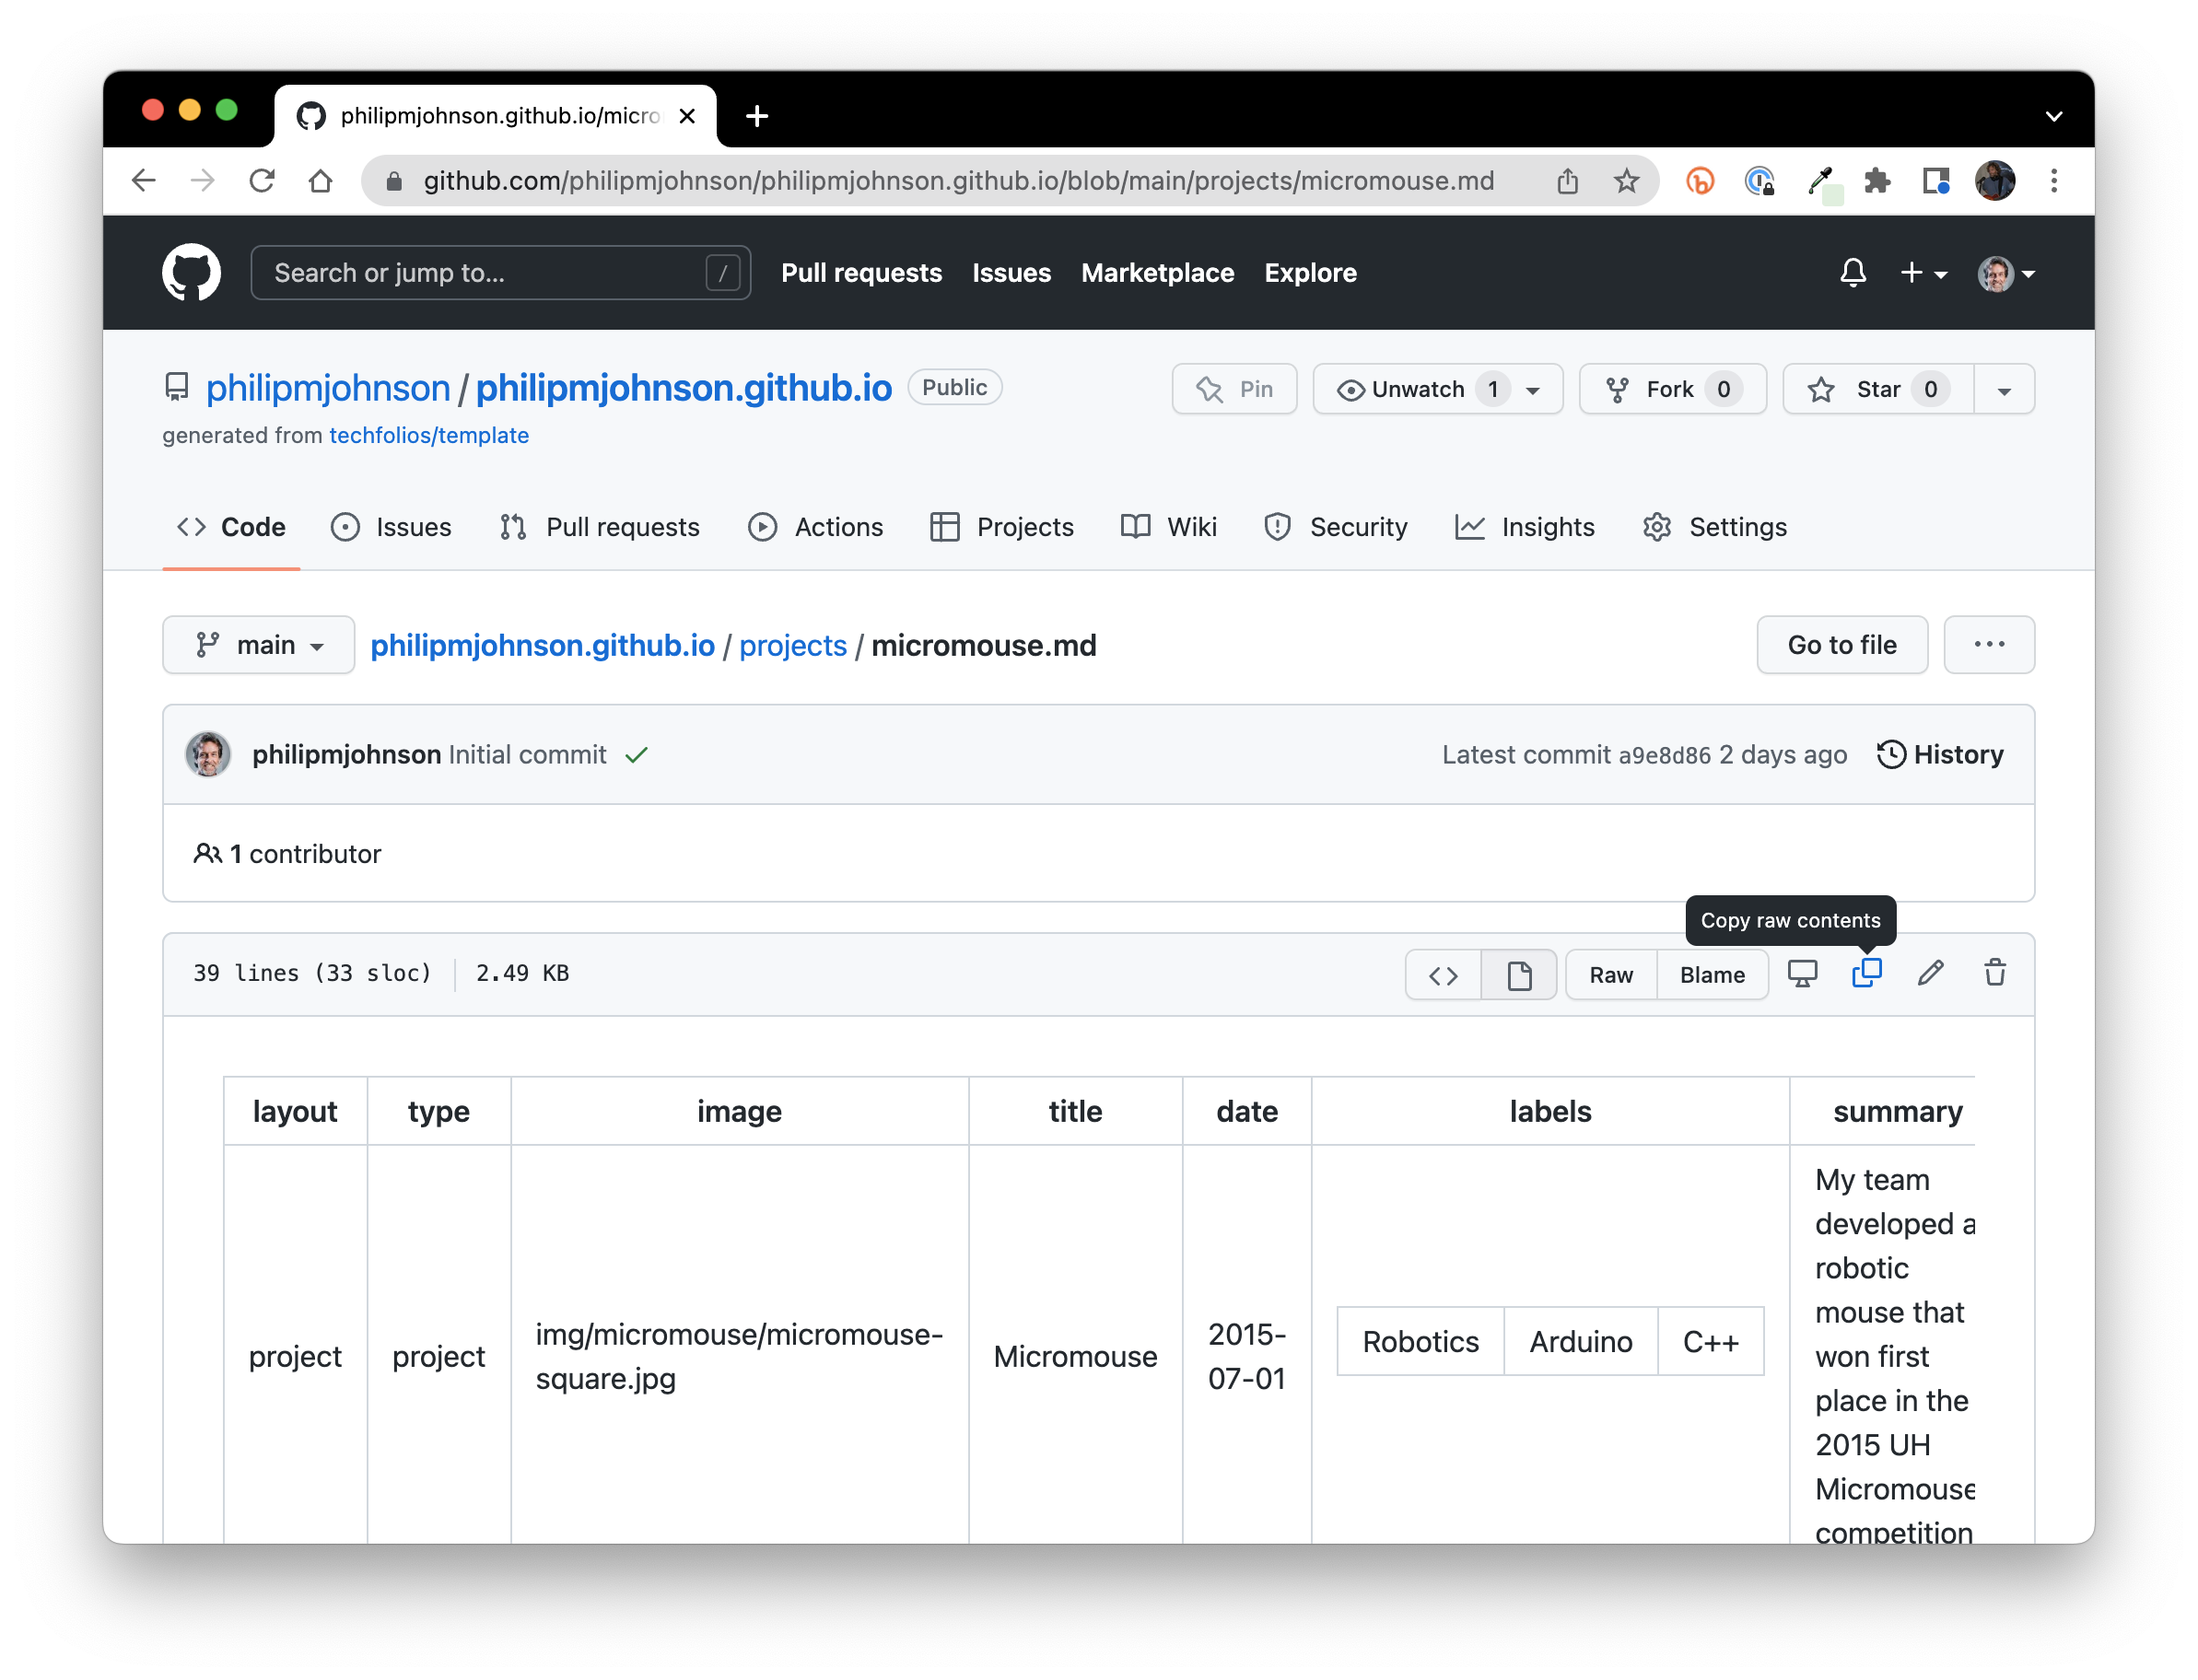
As shown above, there is a button you can press to "copy raw contents". Click it to copy the contents of this file to your browser clipboard.
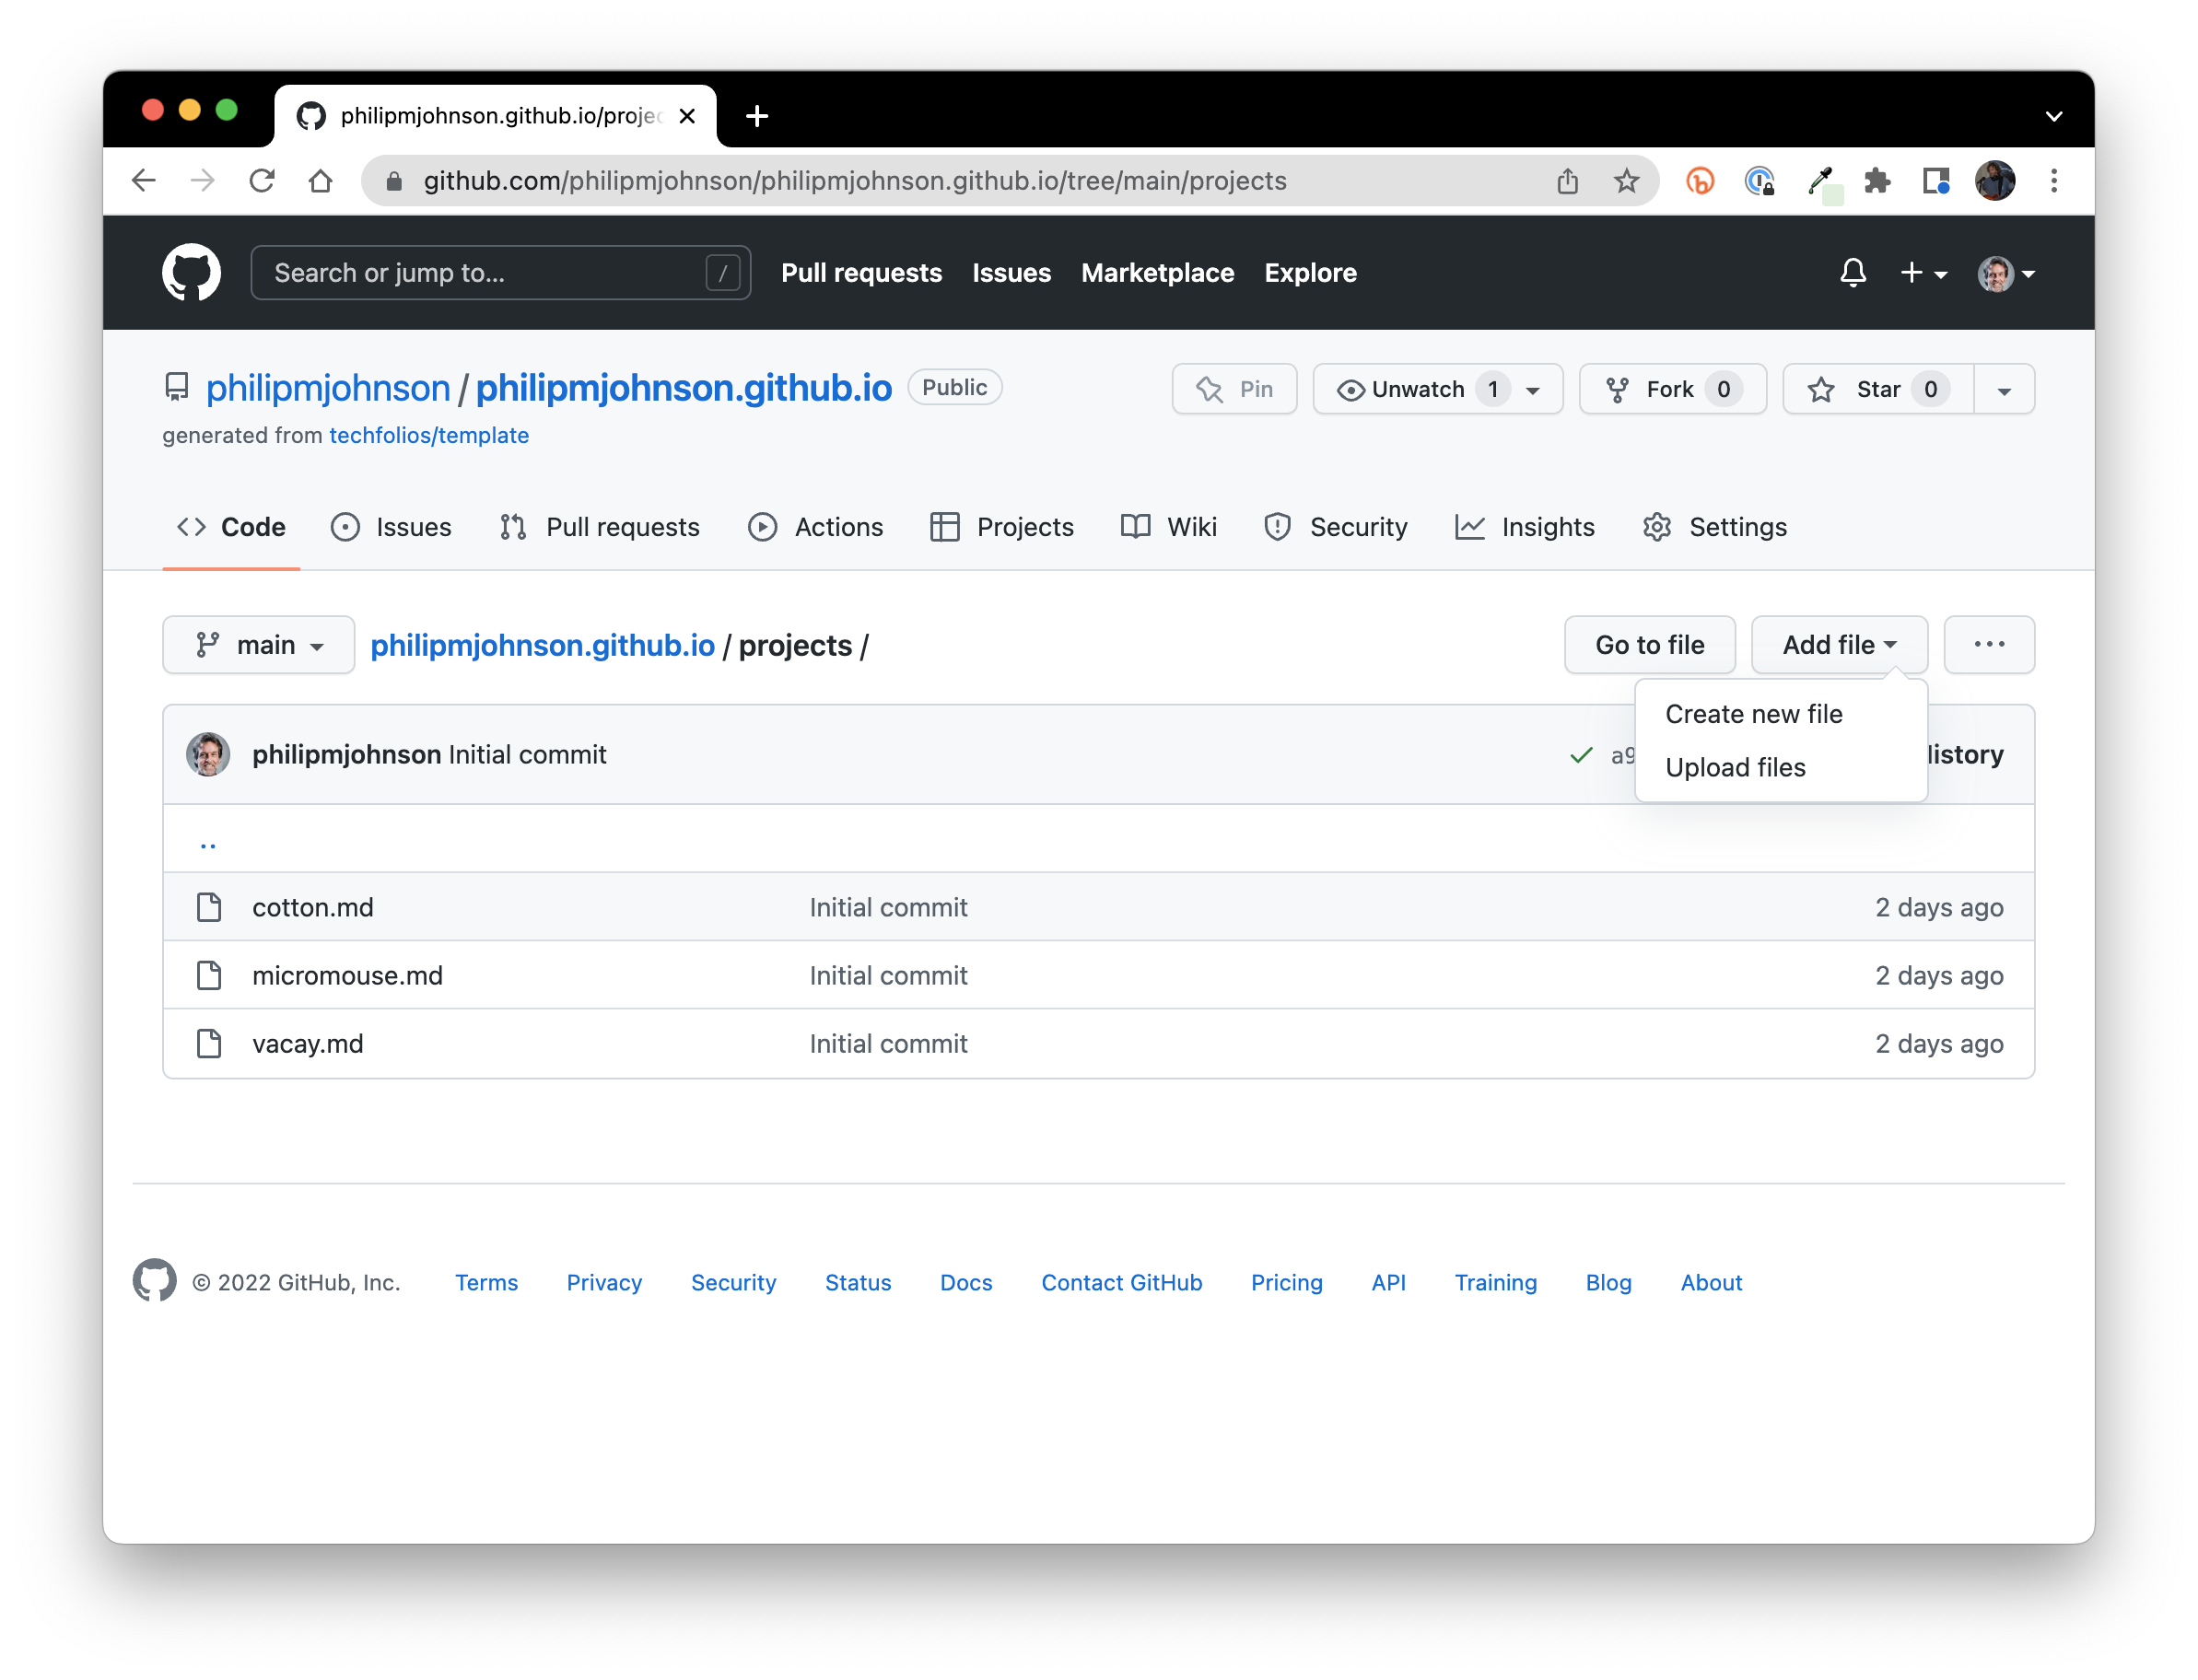
Now navigate up to the projects directory, and click the "Add File" button, which gives you the option to "Create new file":
Click create new file, then click into the Edit new file text area, and paste the contents of the clipboard. The result should look like this:
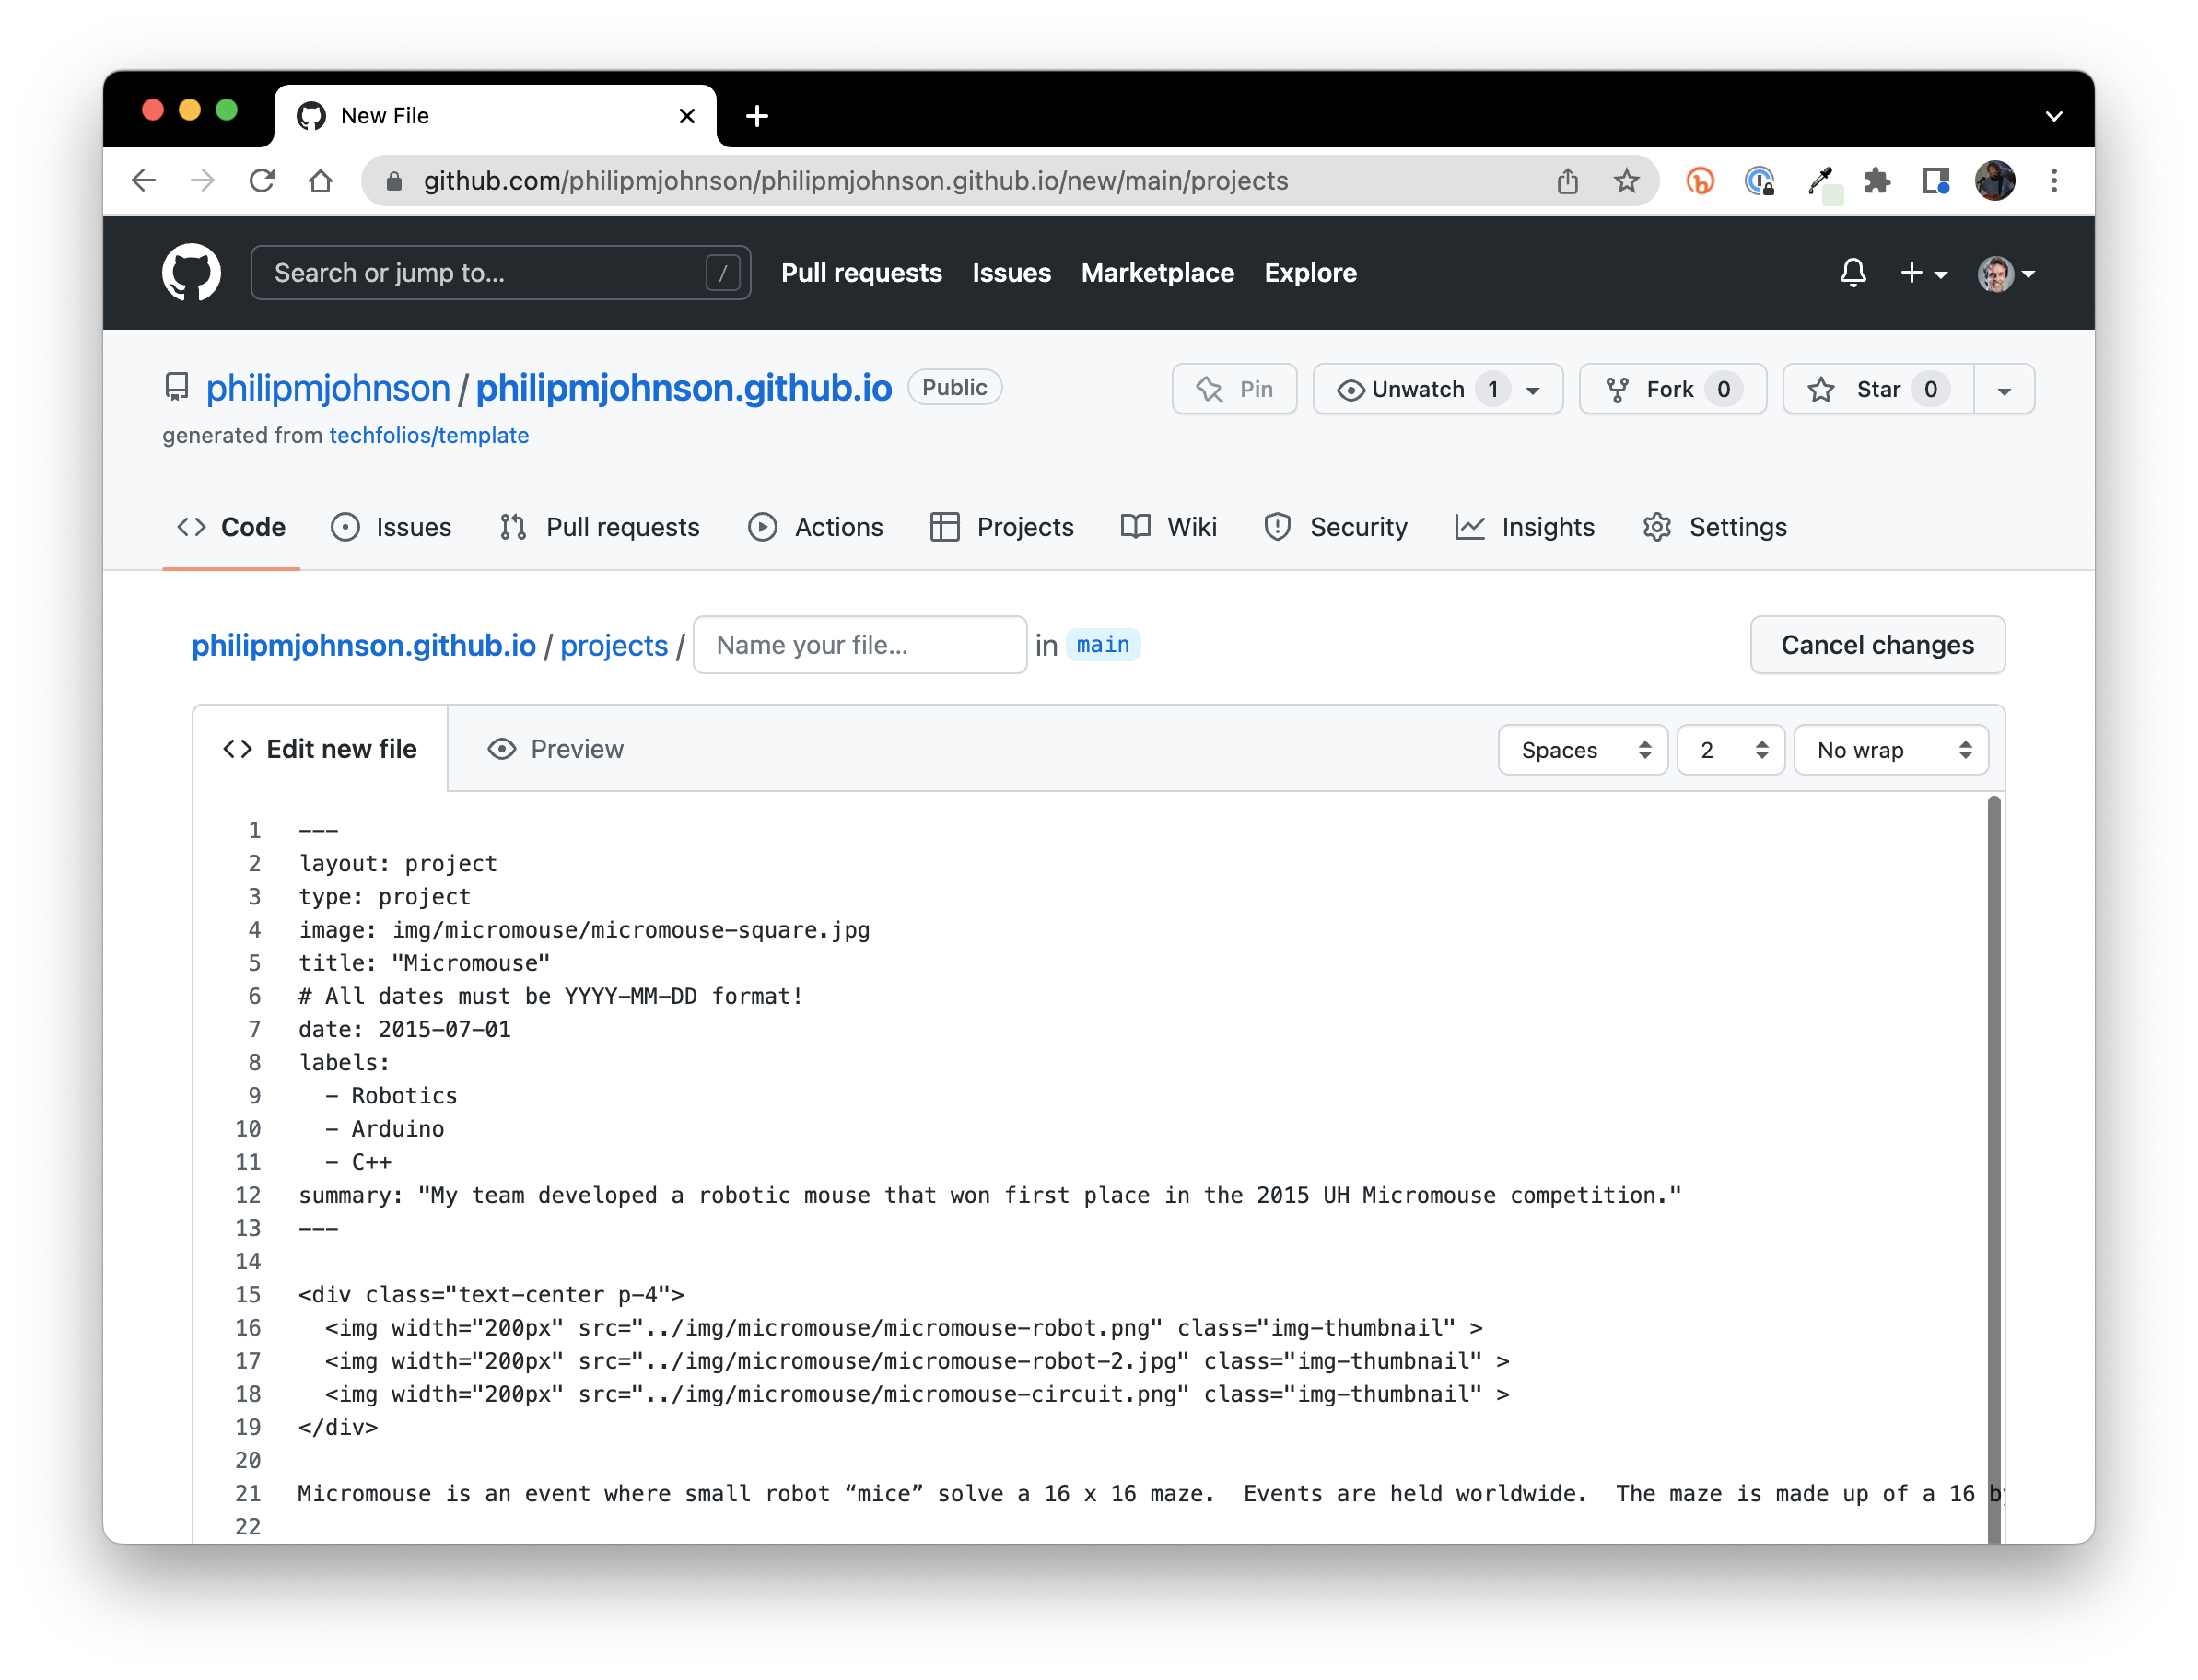
To make your life way easier, click on the "No wrap" button and select "Soft wrap" instead. Now all of the text will appear in the browser window without horizontal scrolling.
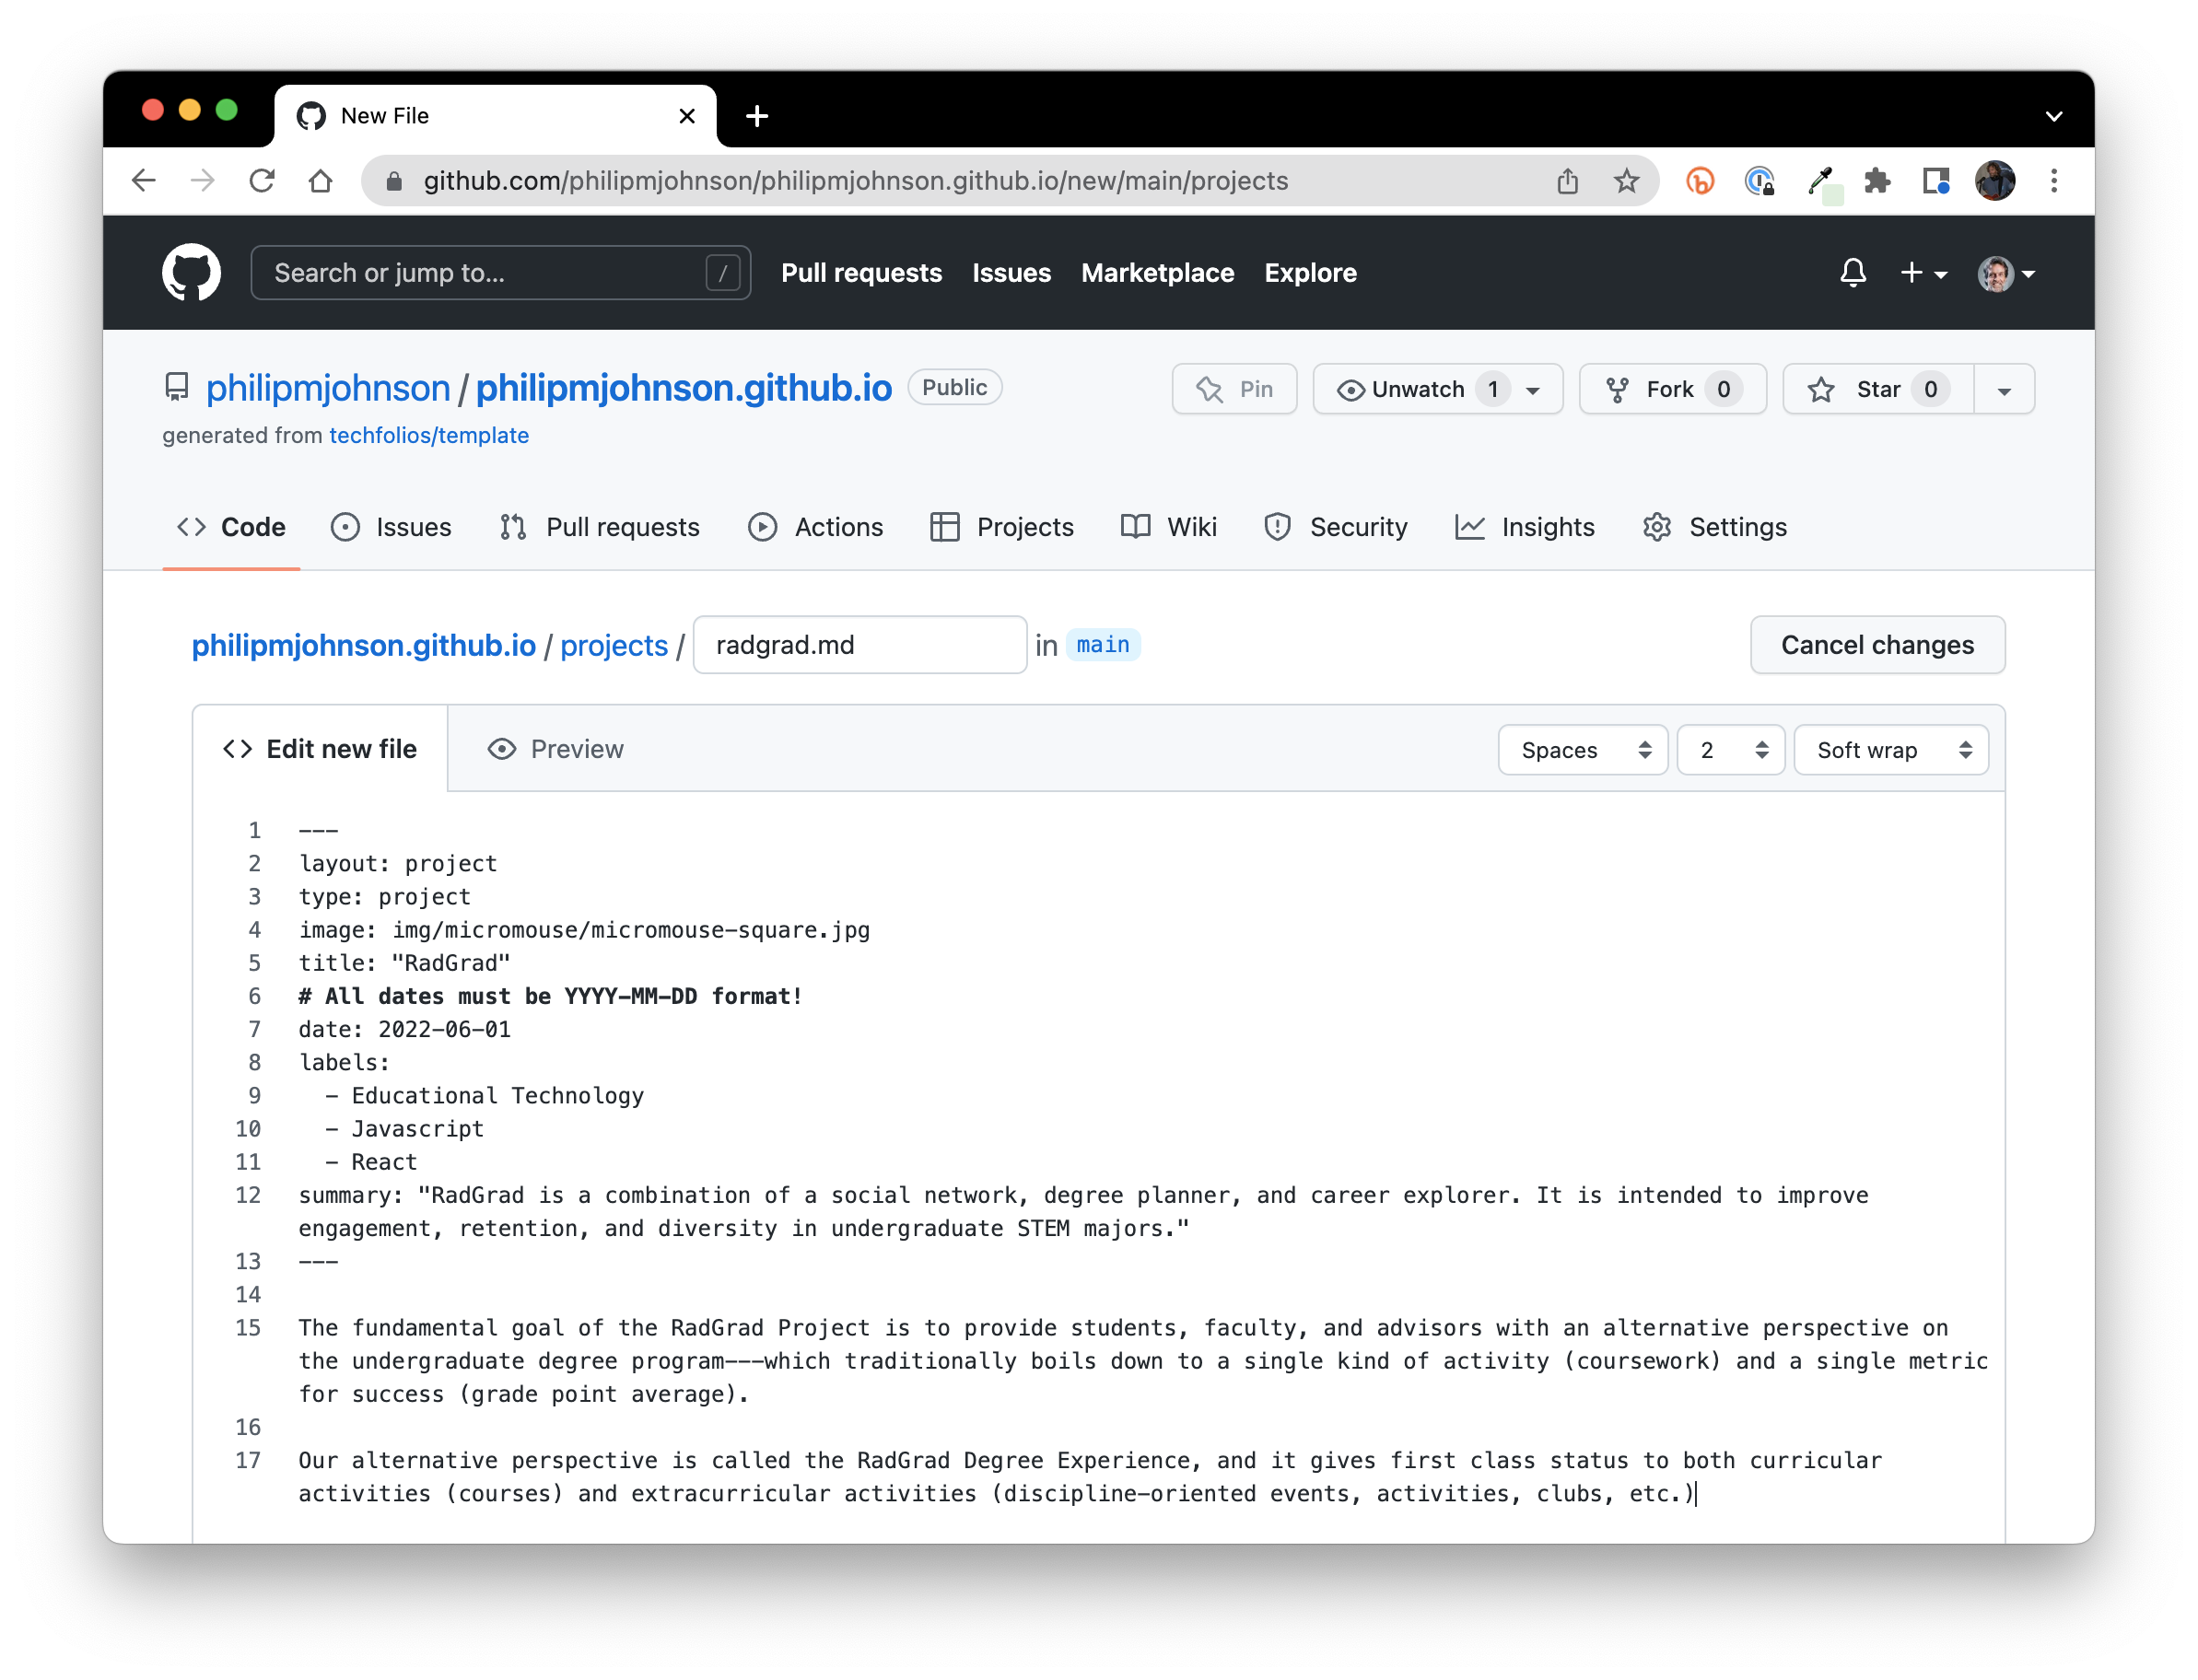
Now edit this file to create your first project:
- File Name: Give the file a name with the extension ".md" at the top of the page. Make sure the file name does not include any spaces.
- Front Matter: Edit the title, date, labels, and summary fields of the front matter to reflect your project. Don't worry about the image for now.
- Project Body: Write a short paragraph or two about your project. Don't worry about fancy formatting for now.
Here's what mine looks like after making these changes:
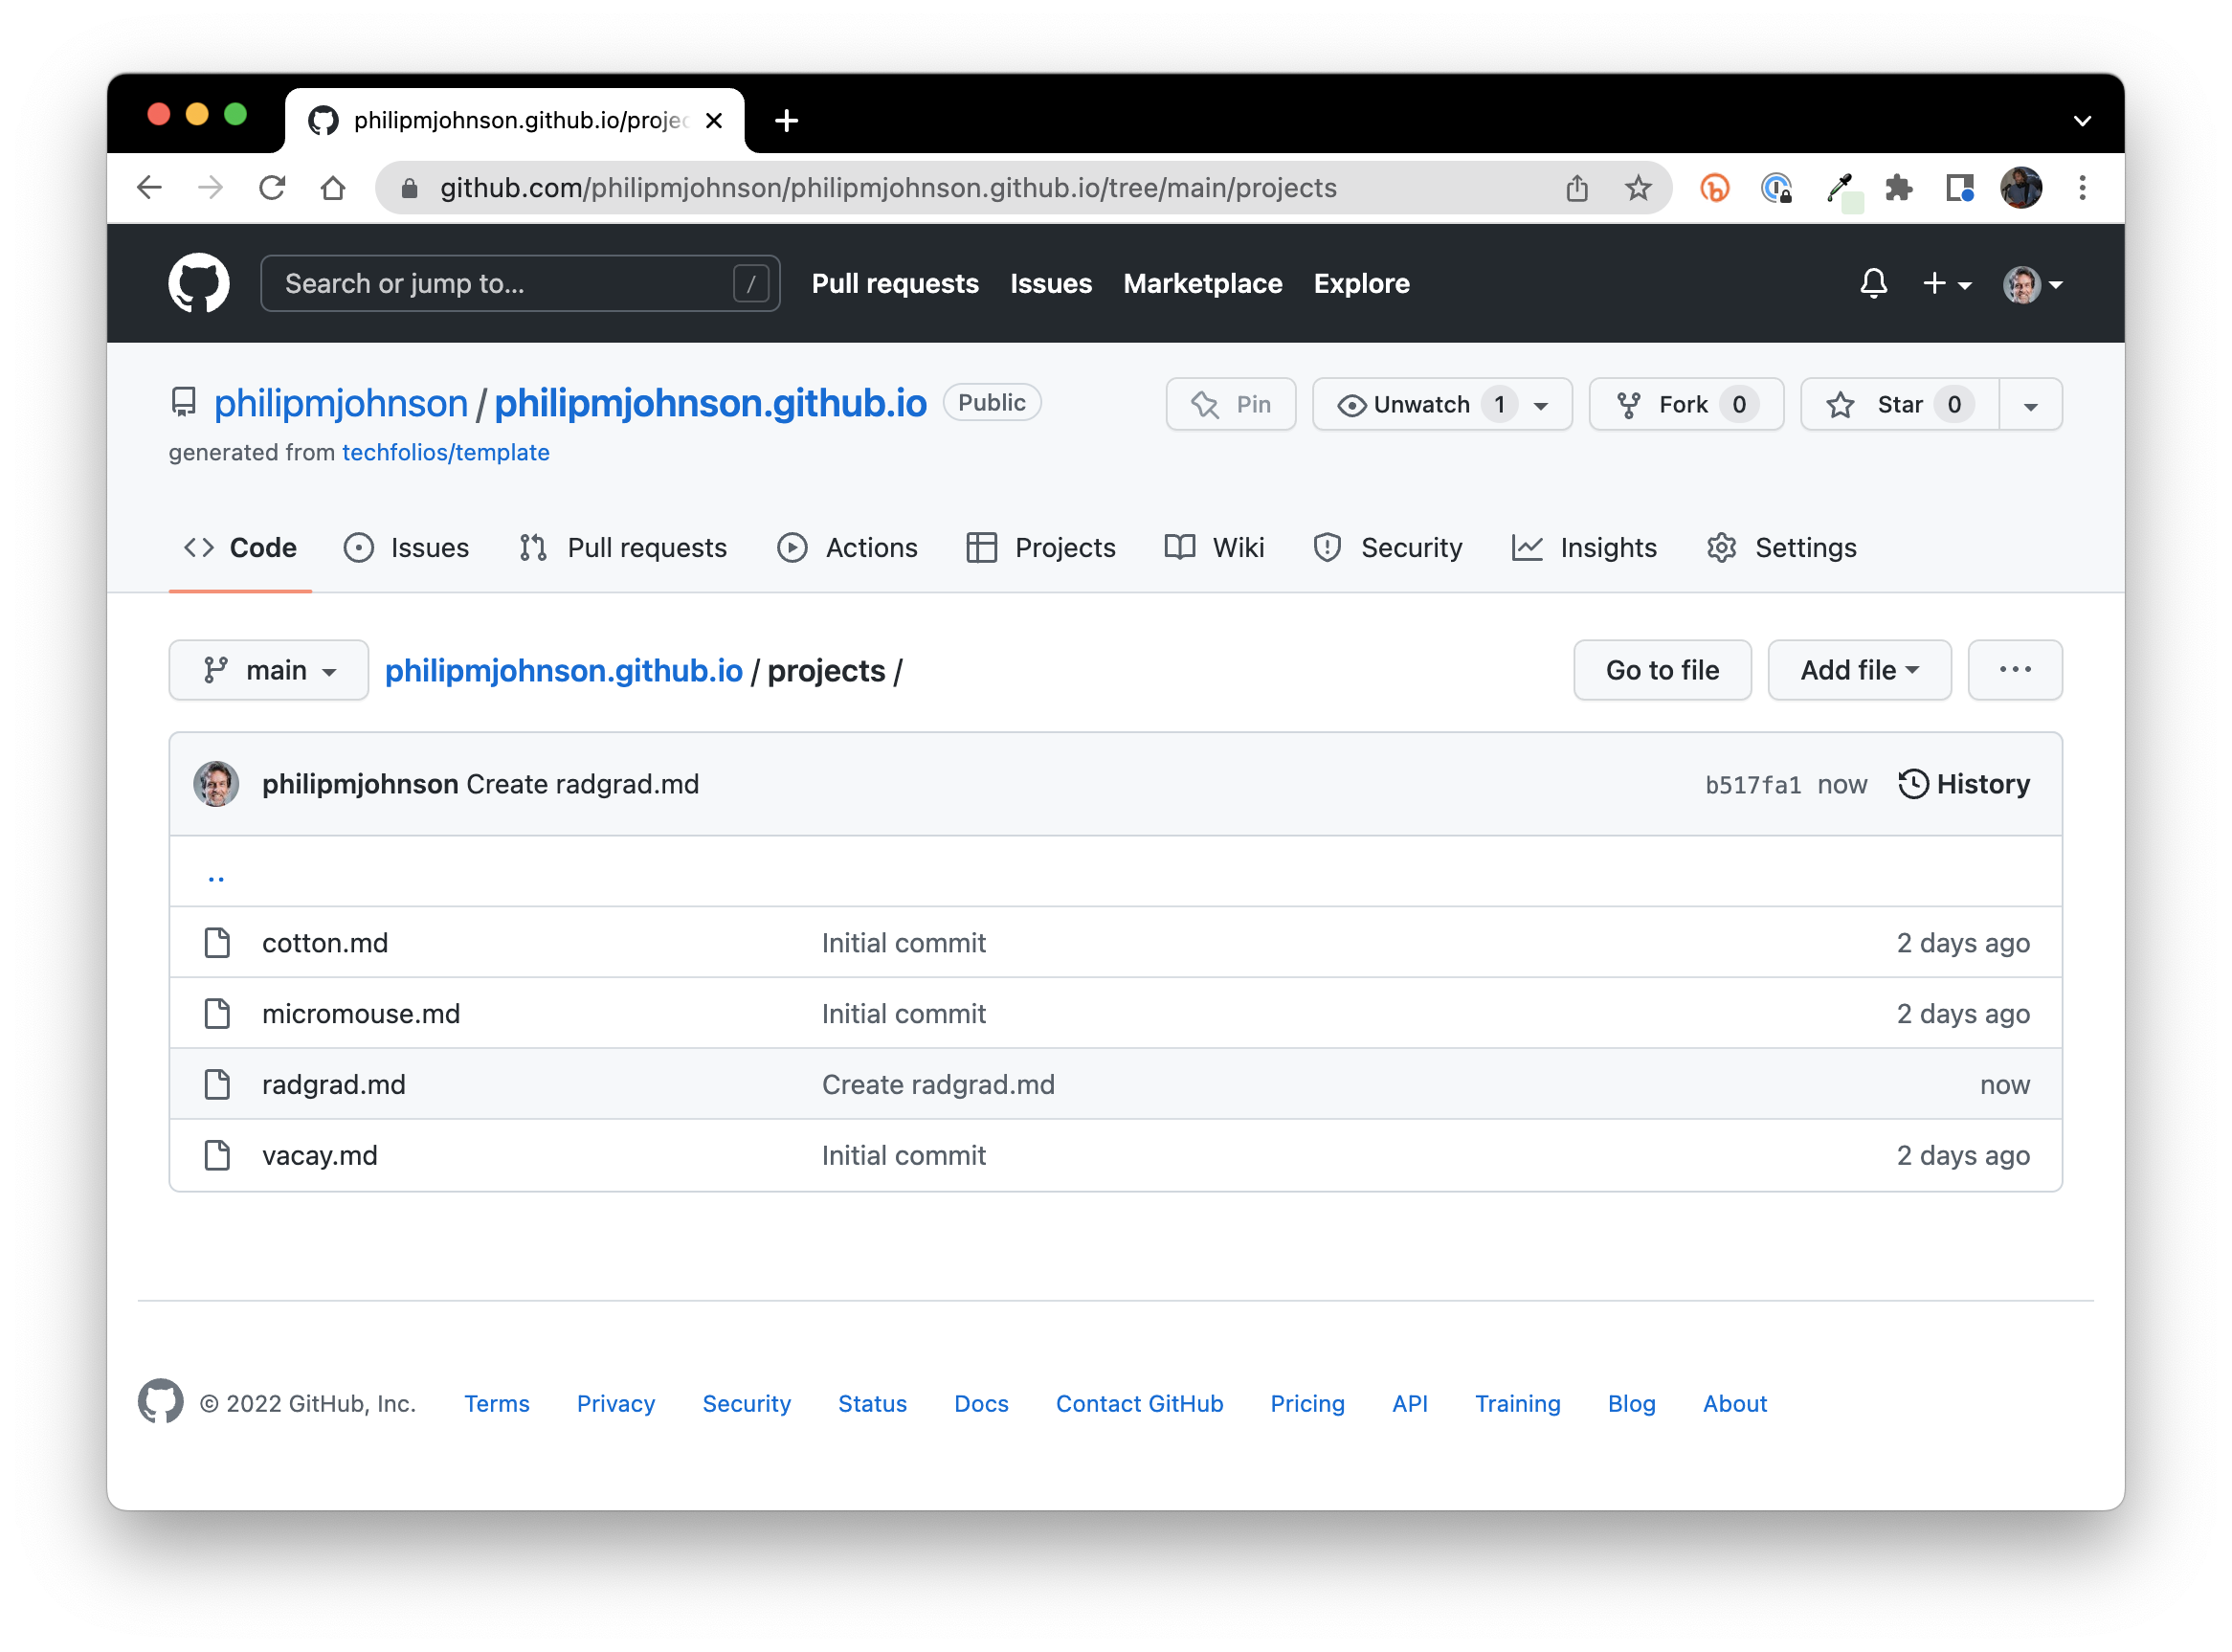
Scroll to the bottom and press "Commit new file" to create it. Now the projects directory should show your new project file:
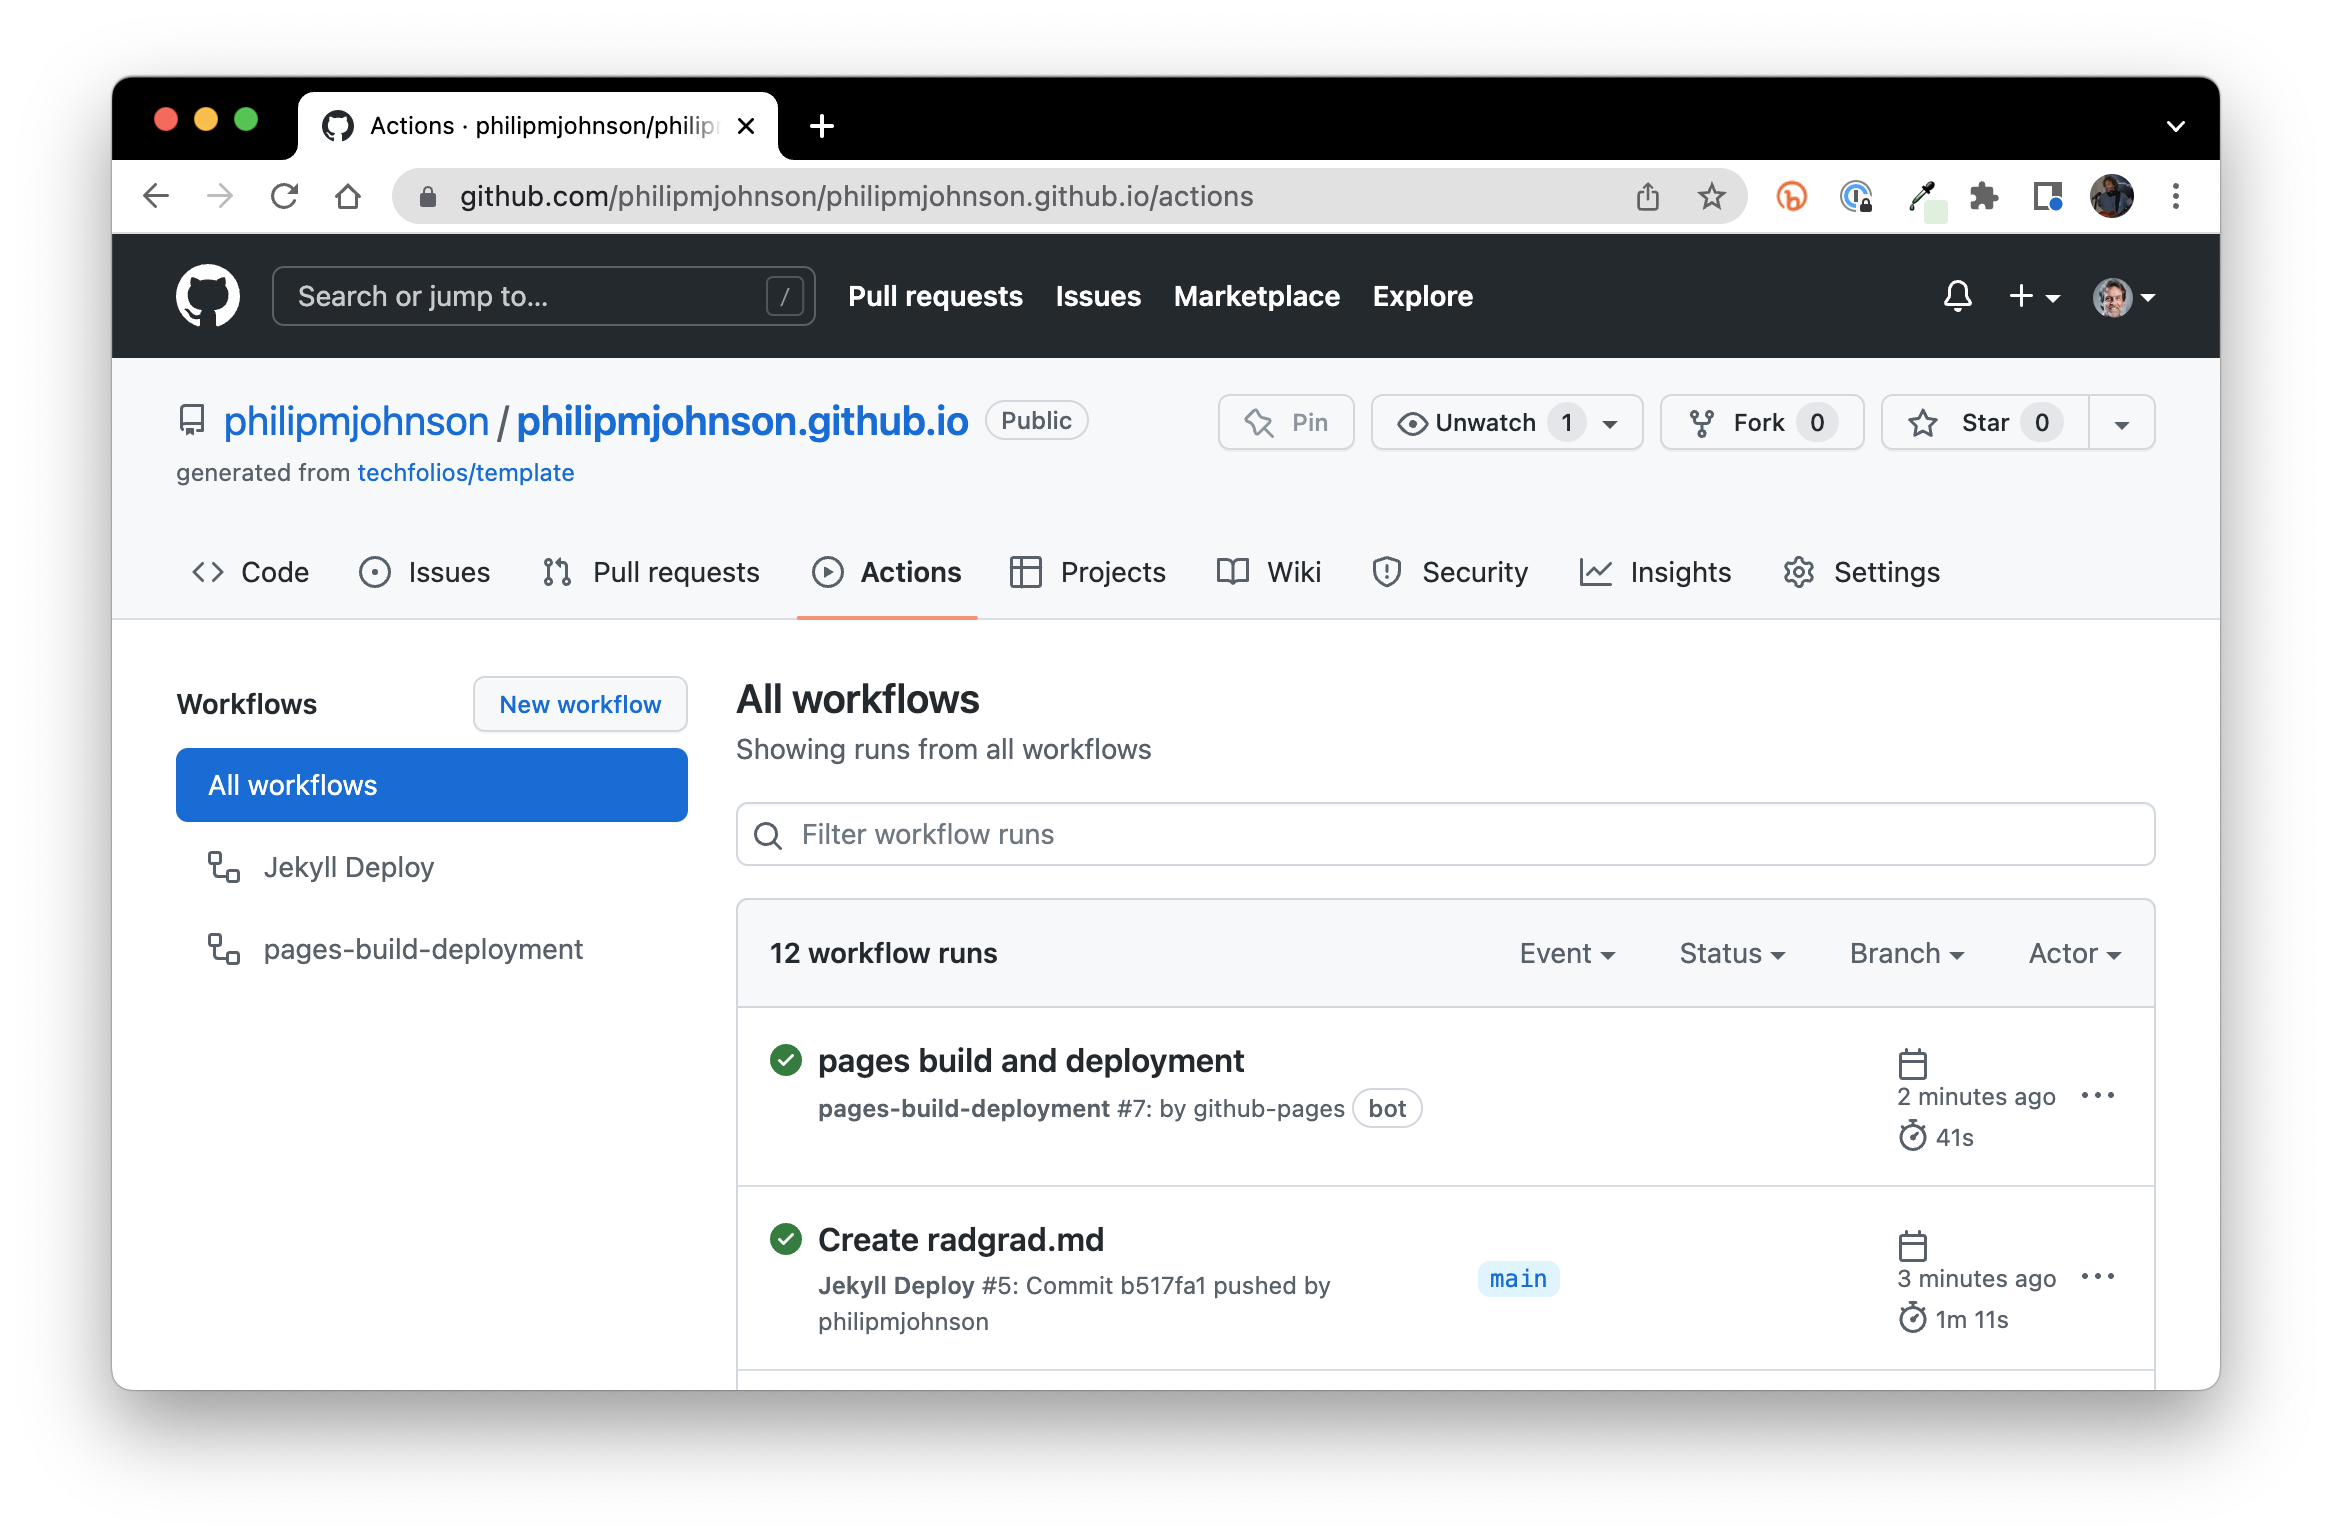
Importantly, your change to the repo kicked off the GitHub Actions to rebuild and redeploy your portfolio. Go to the Actions page and wait until those two actions complete:
Now check out your portfolio. Mine looks like this:
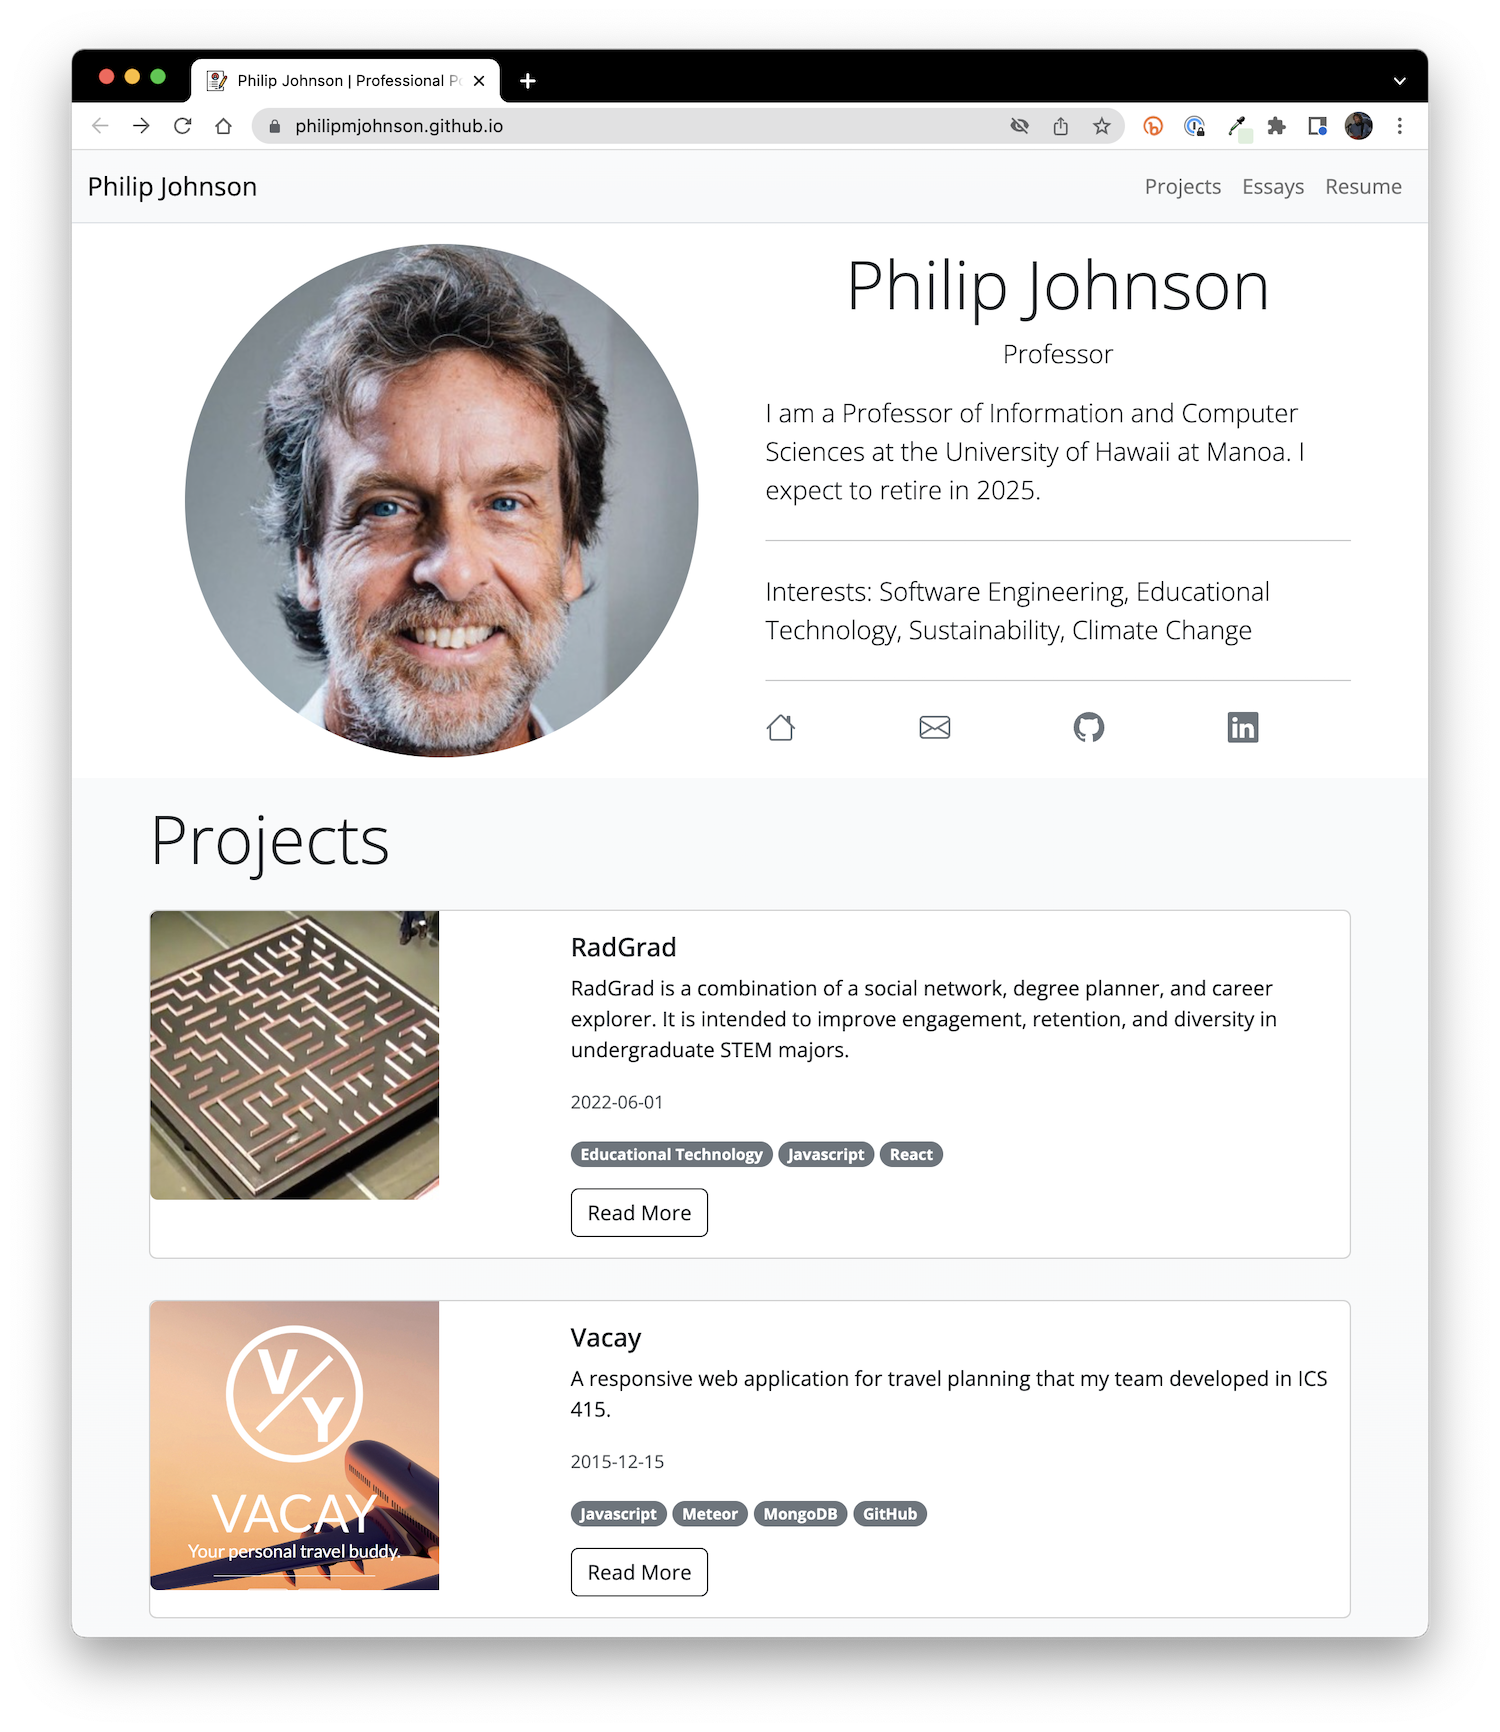
This is pretty good, but there's two problems:
- The RadGrad project displays the image from the Micromouse project.
- My portfolio still contains projects from the template.
Let's fix both of these problems now.
Update project image
First, find an image to represent your project and crop it to a square image at least 300 pixels wide. See this tutorial for instructions on how to crop images on Macintosh, Windows, or Linux.
Once you've found your image, navigate to the img directory of your professional portfolio, and click on the "Add file" button:
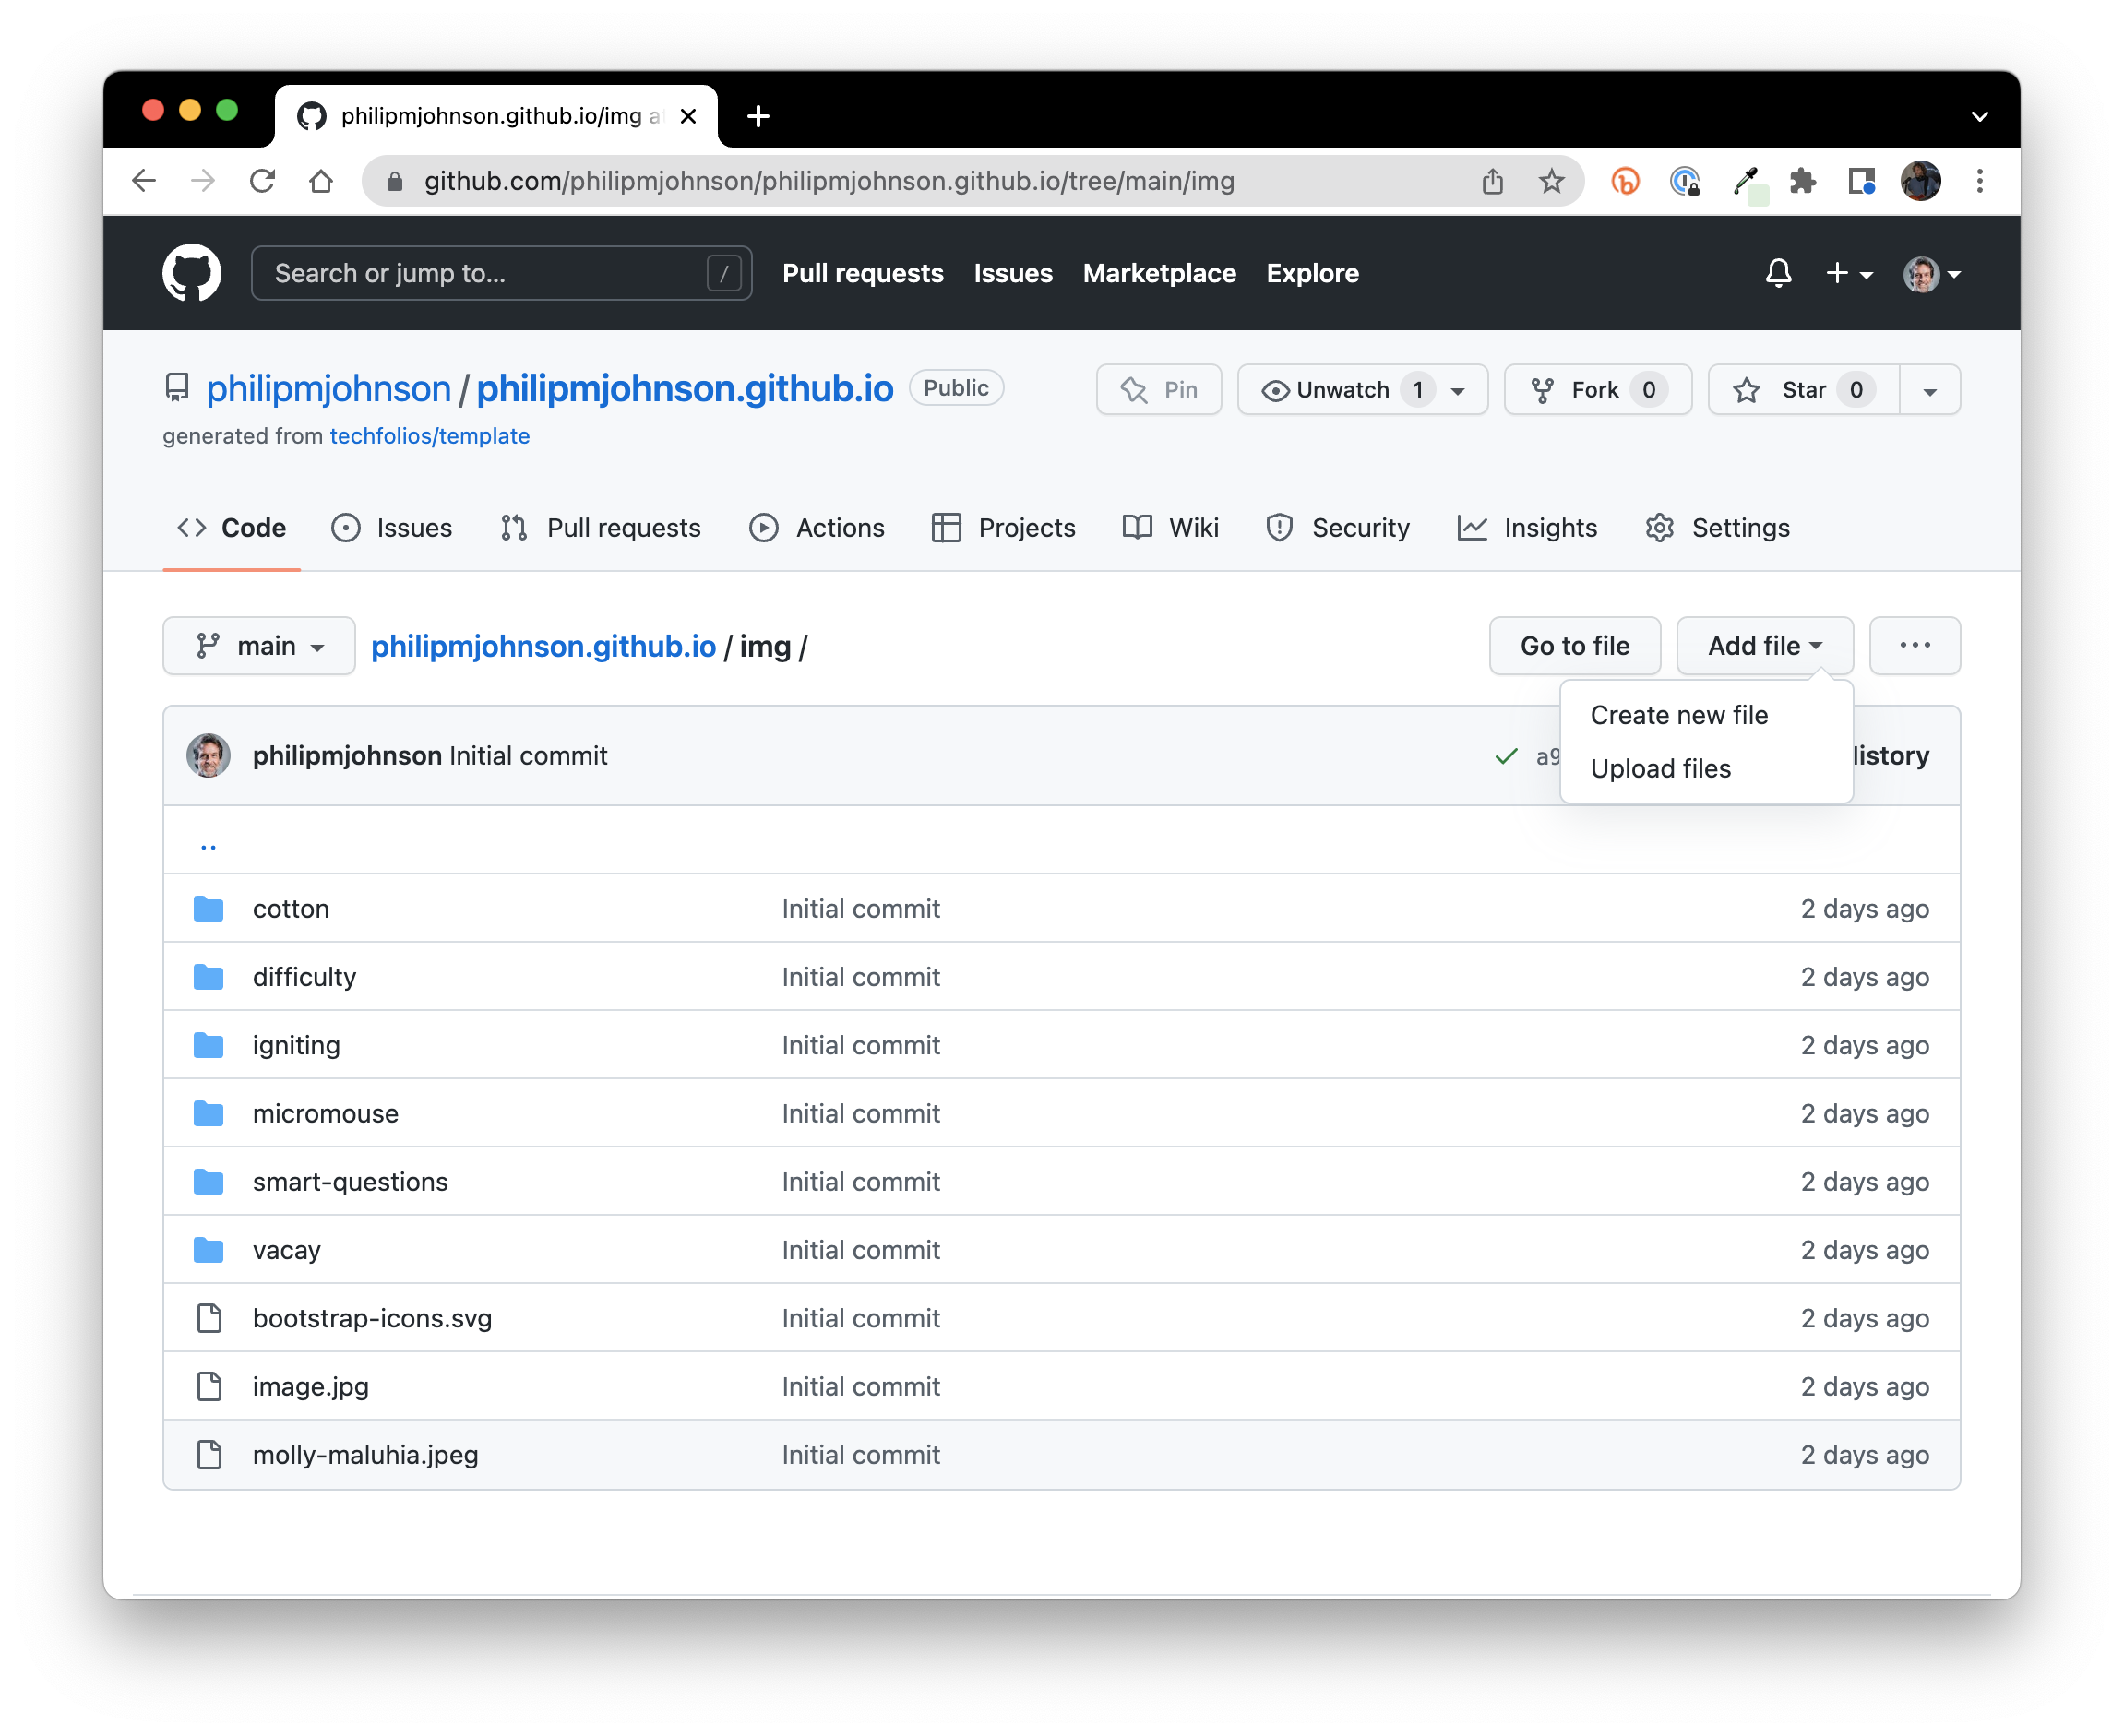
Select "Upload files", which brings you to this page:
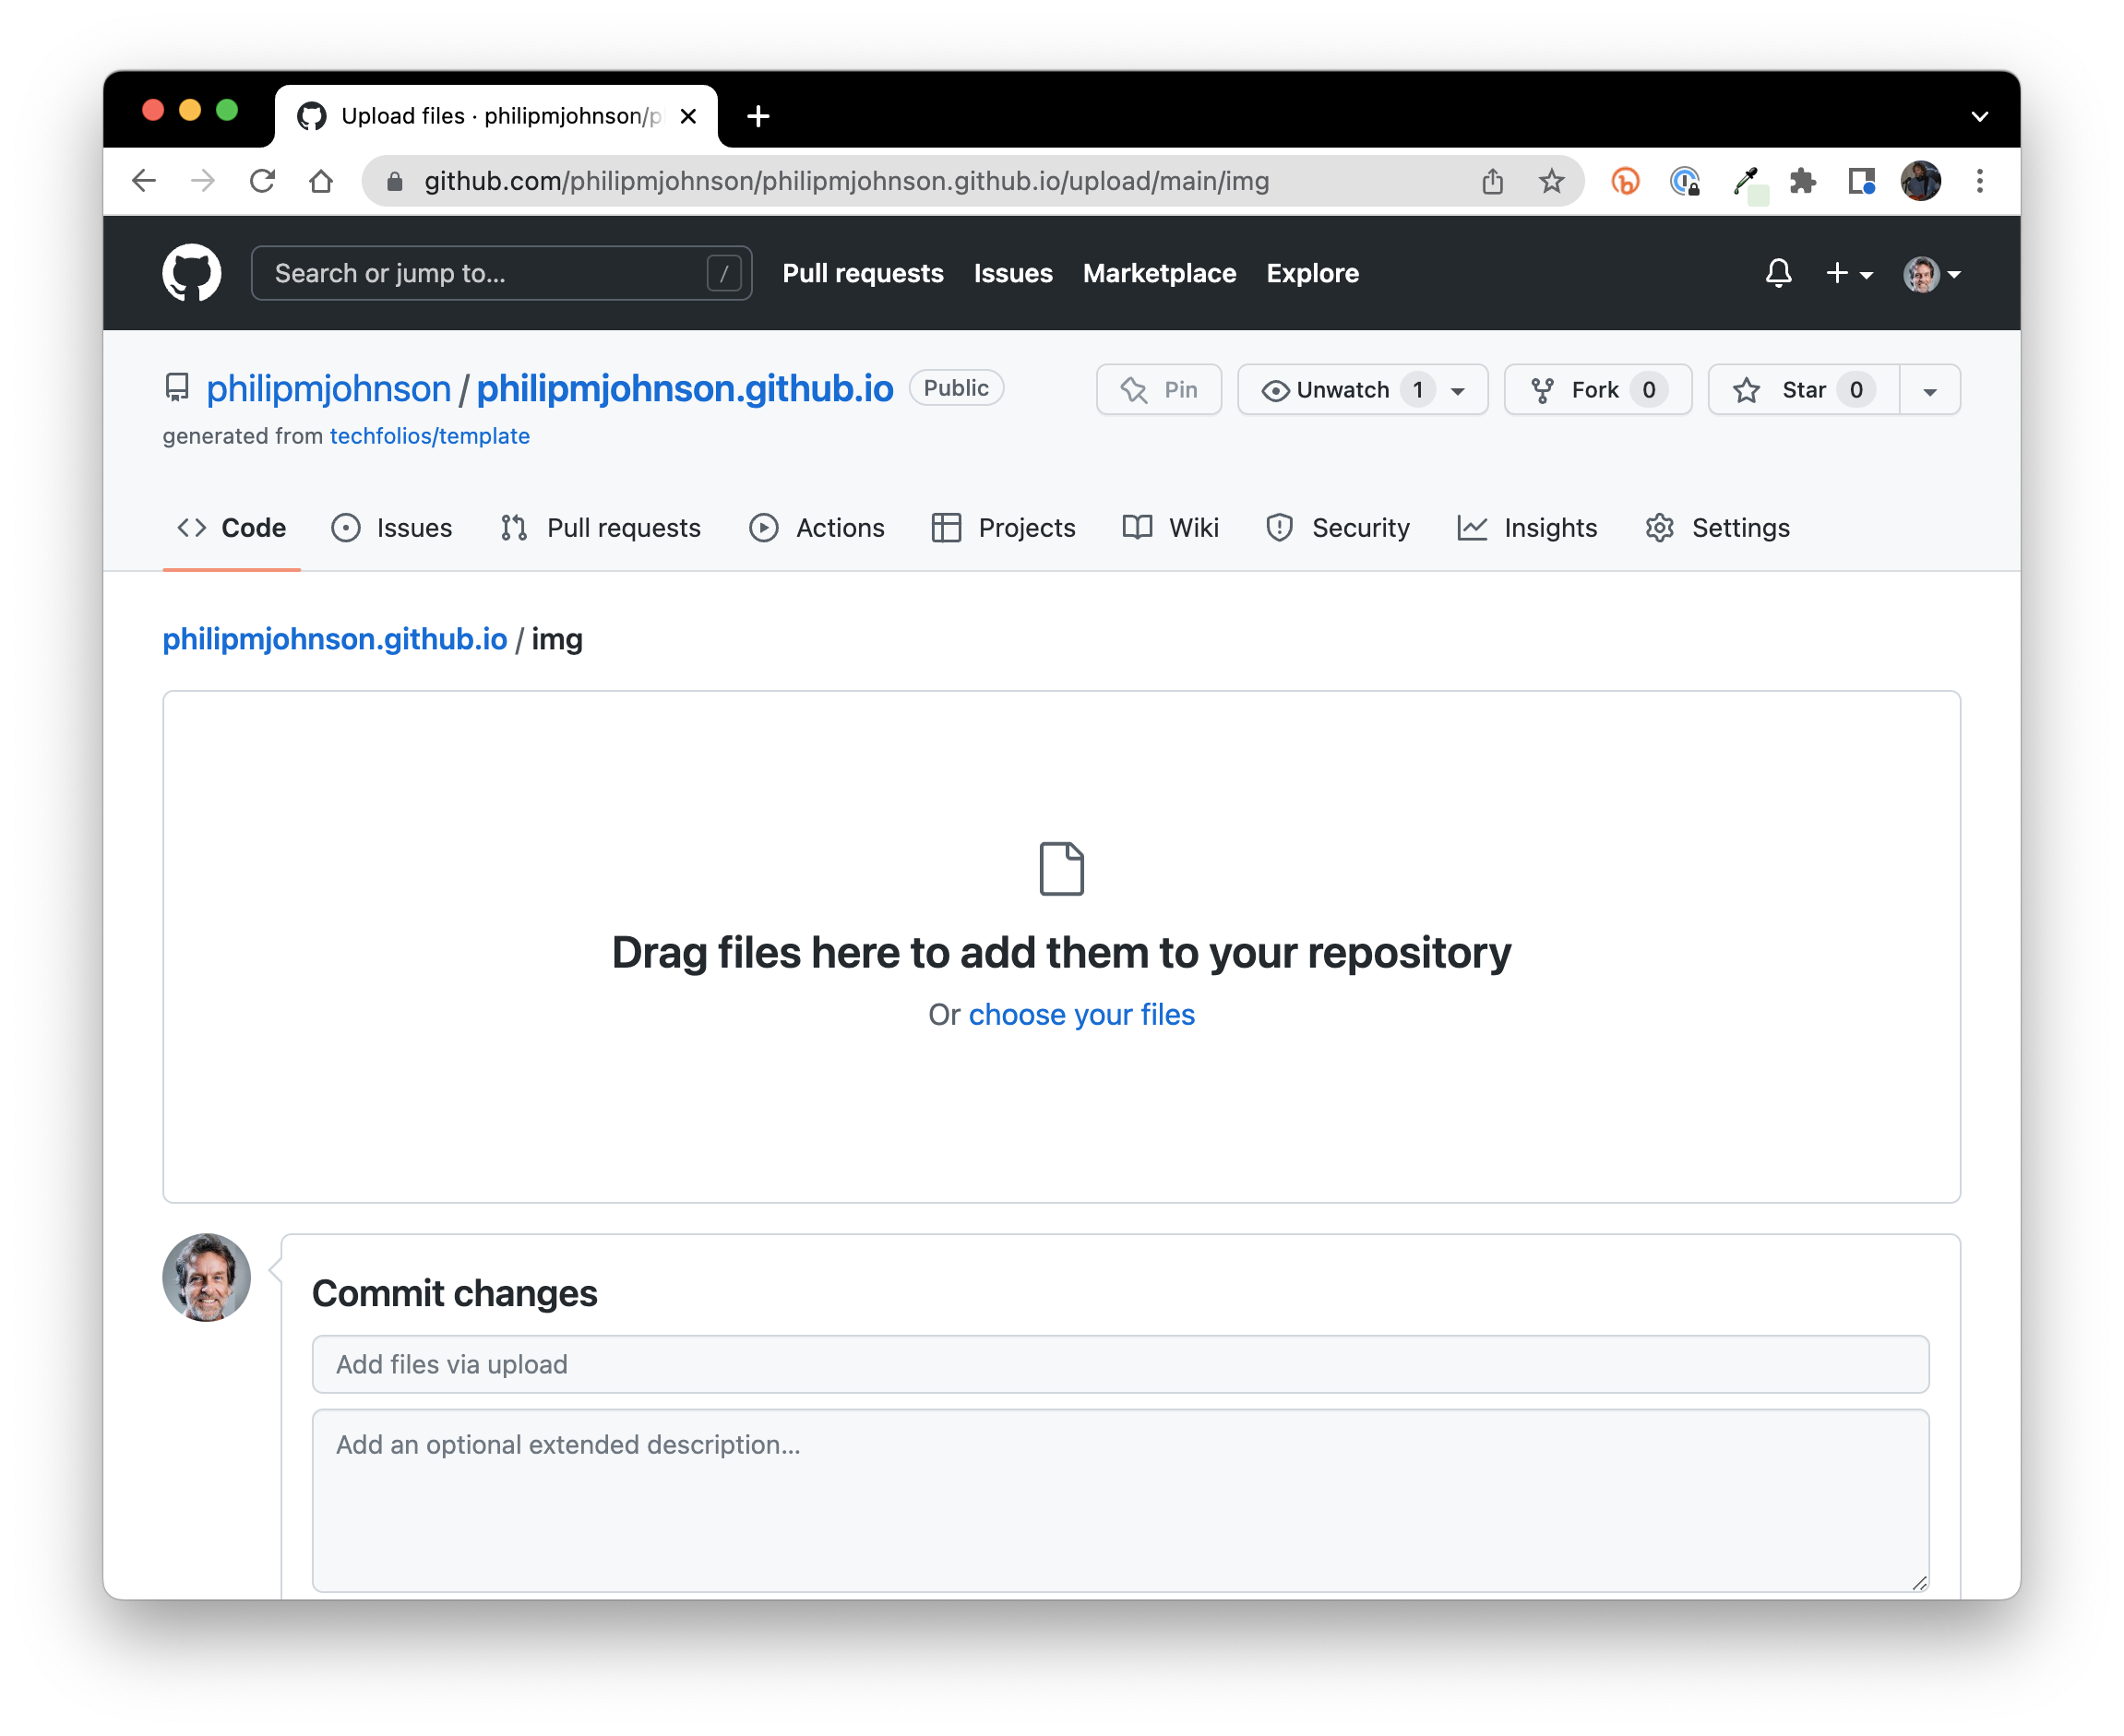
Upload the file, then scroll to the bottom of the page and click "Commit changes". When you are done, the img directory should contain your new project file. In my case, it's named "radgrad_logo.png":

The last step is to edit the front matter of your project description to specify the path to this image:
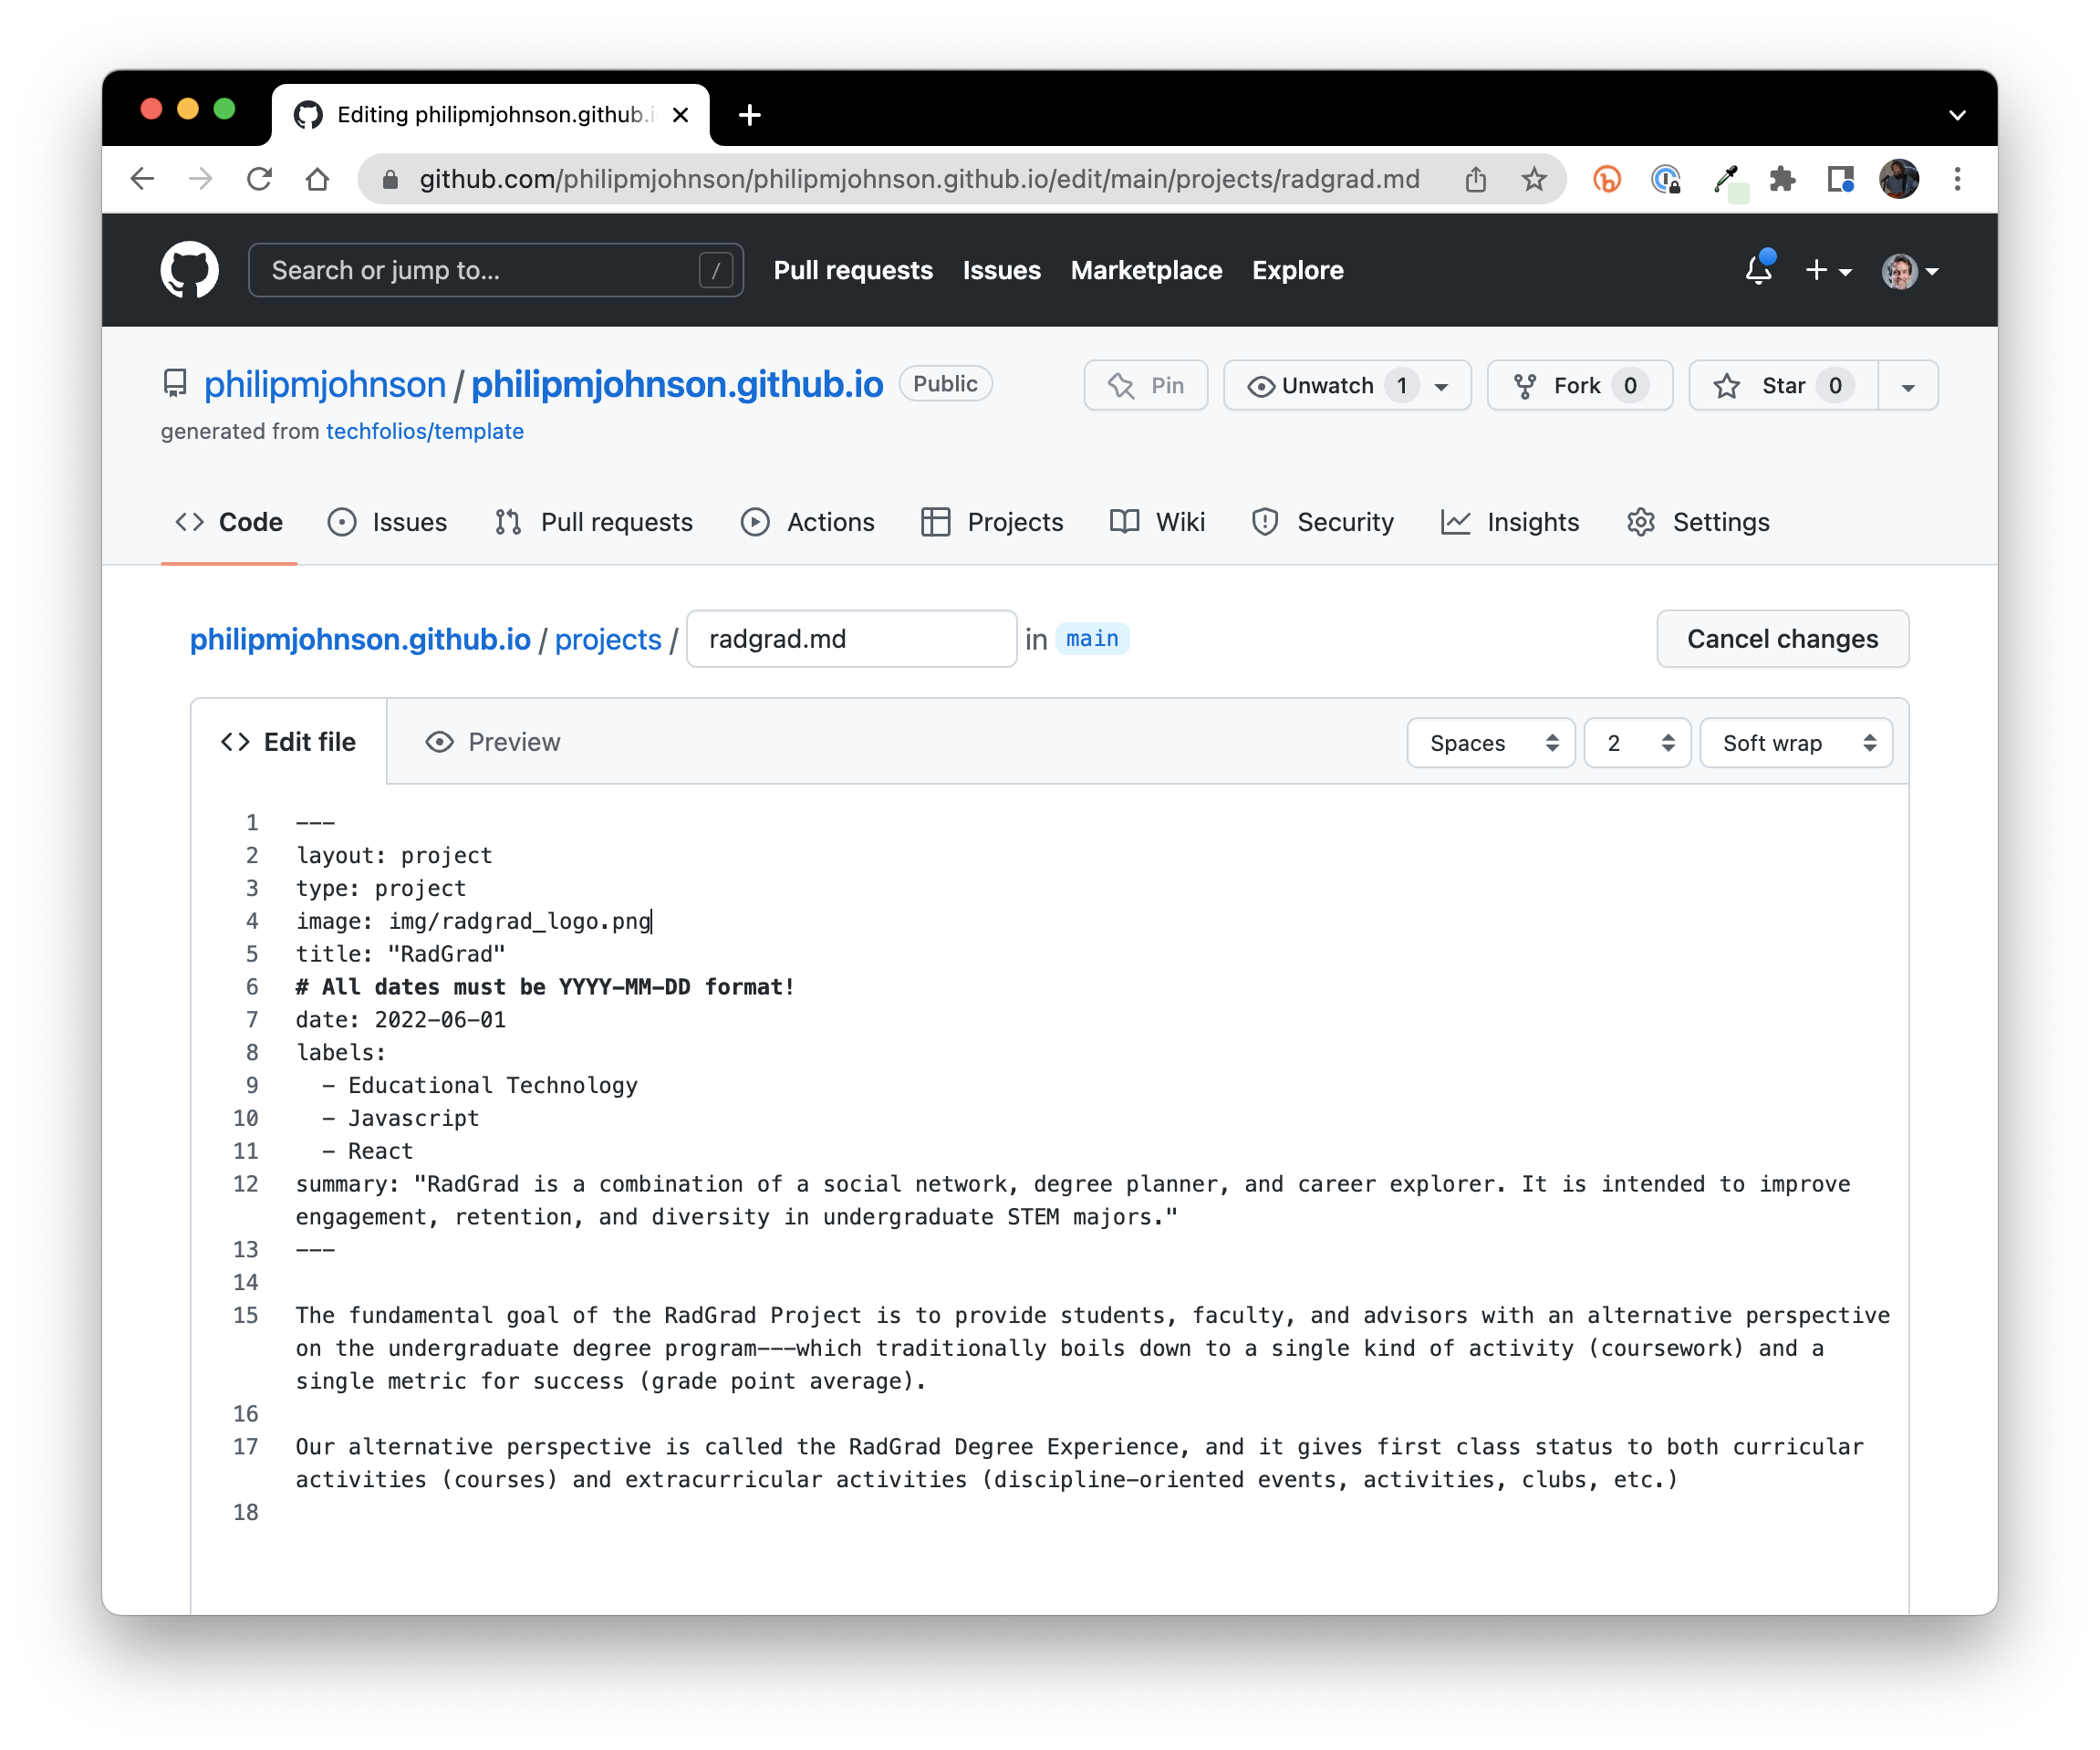
Note that the images for the template projects are in subdirectories of the img directory, but in this example, I uploaded the file to the top-level of the img directory. So, make sure you get the path to your file correct.
It's a good practice to create subdirectories to organize your images, but you can wait to do that until you are developing your portfolio locally. See the User Guide for details on how to do that.
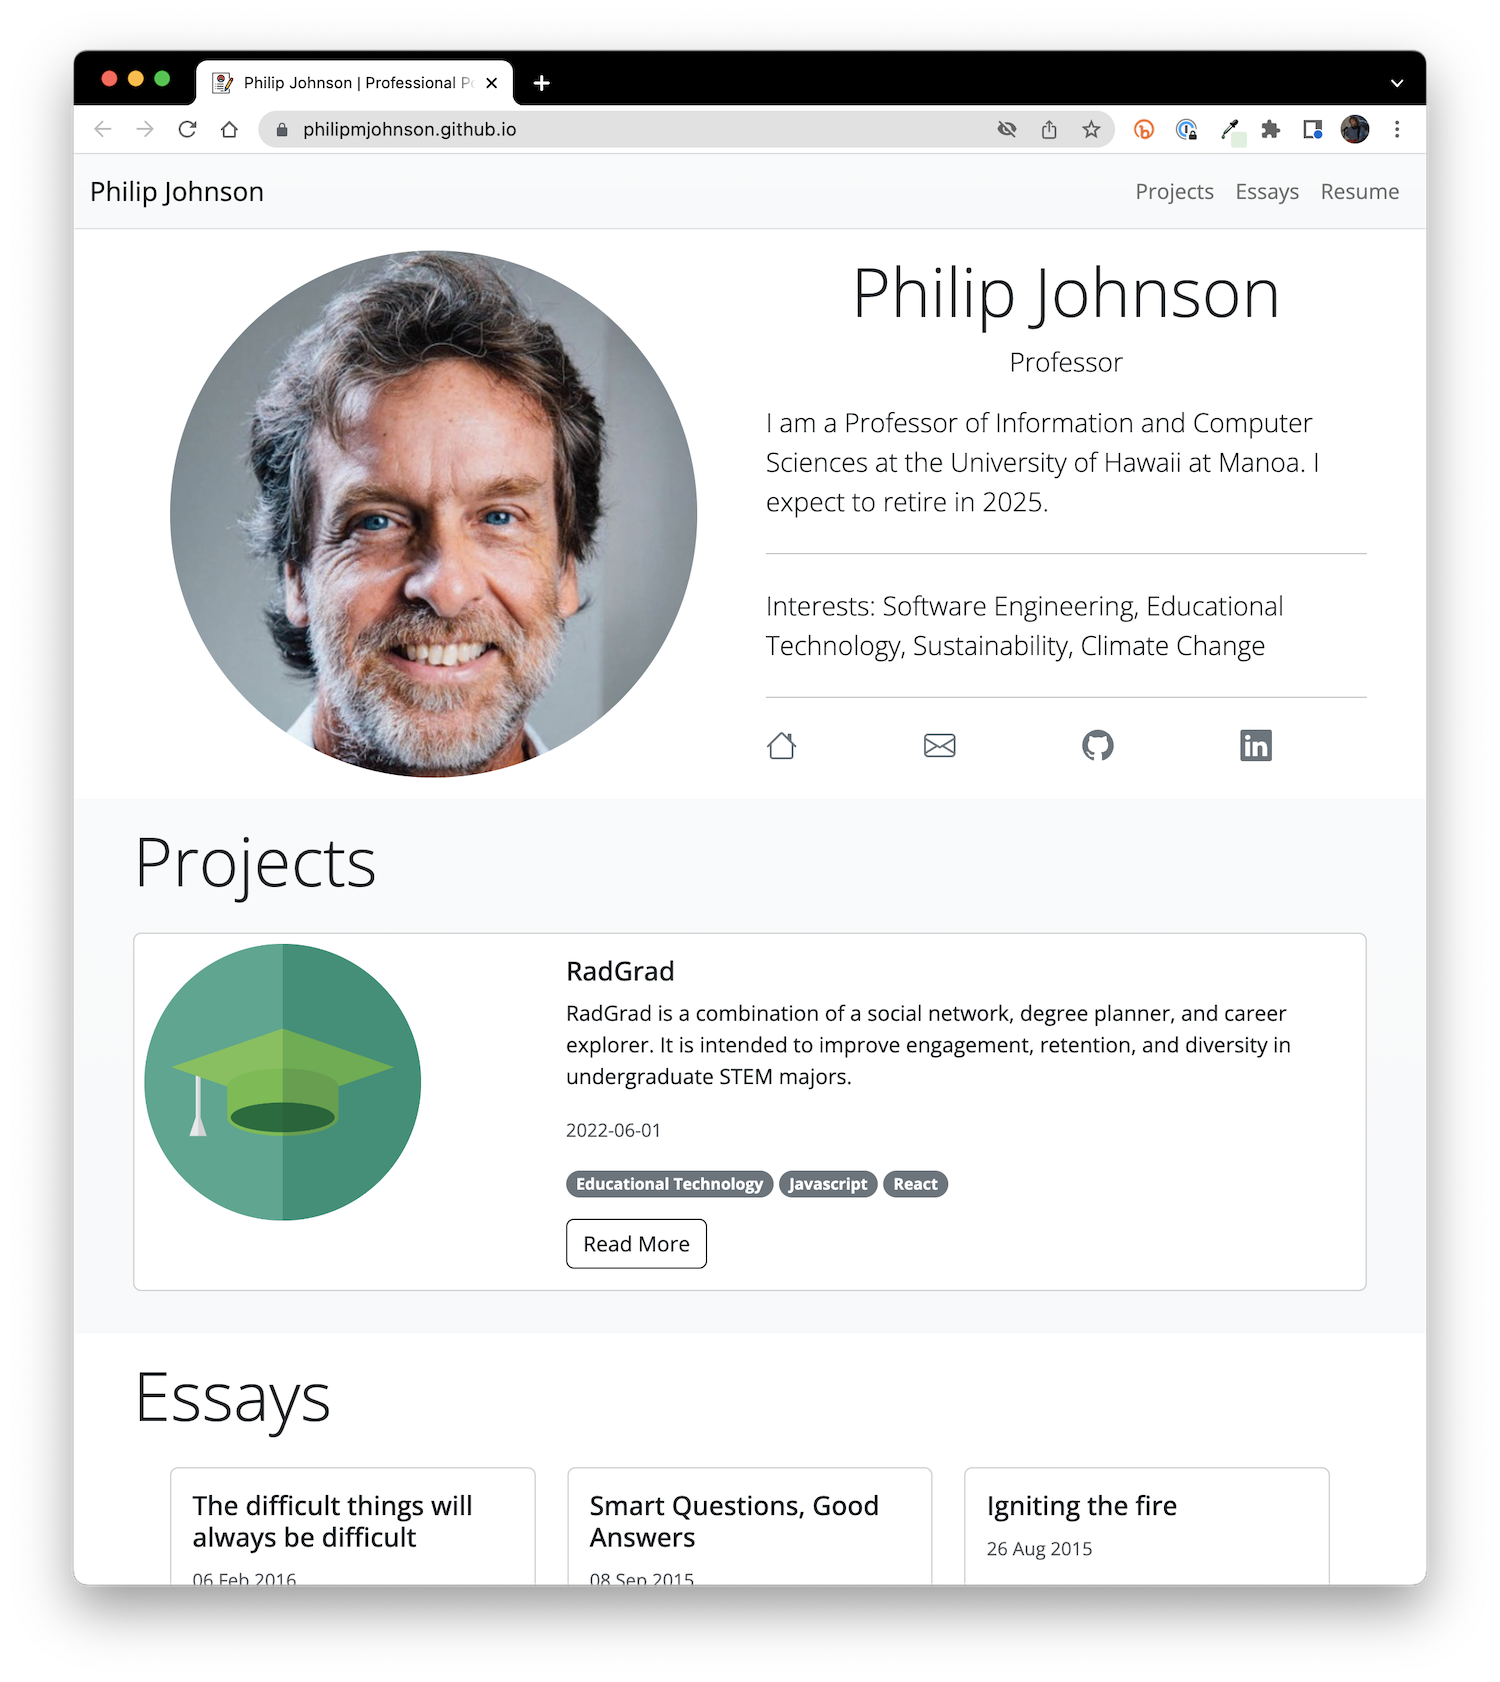
Scroll to the bottom, commit the change, go to the Actions tab, wait for the build to finish, and (in my case) the portfolio now looks like this:
![]()
Unpublish template projects
The only thing left to do is remove the template projects from your portfolio. An easy way to do that is to simply delete the template project files from the projects/ directory.
But, you might find those files to be useful examples in future, so a better approach is to "unpublish" them. That way, the files are still available to you to look at for reference purposes, but they won't appear in your portfolio. To unpublish a project file, bring up the browser-based editor for the file:
Change the published: field from true to false, and commit the change.
Go ahead and set the published: field to false for all three template projects. Monitor the Actions page until all of the builds complete and your portfolio is deployed. Your portfolio will now display only the project that you've actually worked on:
If you're like me, you will find that editing your portfolio files using the browser and waiting for your portfolio to be re-deployed in order to see your changes is very tedious and time-consuming.
The good news is that there's a much better faster and easier way to work on your portfolio. You just have to install a few tools on your computer, and then you can edit a local copy of your portfolio files, see the changes to your portfolio almost instantly, and then commit the changes to GitHub when you are ready. We cover this in the User Guide.
Now that you have one of your own projects in your portfolio, let's fix the essays section.