Cloud development
Cloud Development
The easiest way to develop and maintain your TechFolio portfolio is with GitPod, a cloud-based service. This avoids the need to install an editor, a git client, and Jekyll on your laptop. (We will cover this "local development" approach in the next section.)
Before starting this section, we assume you have already completed the QuickStart: Initialization section, so that you have a running version of a portfolio in your GitHub account. (The portfolio doesn't need to have the right contents, just be configured to build correctly.)
Initial setup
Start by going to https://gitpod.io:
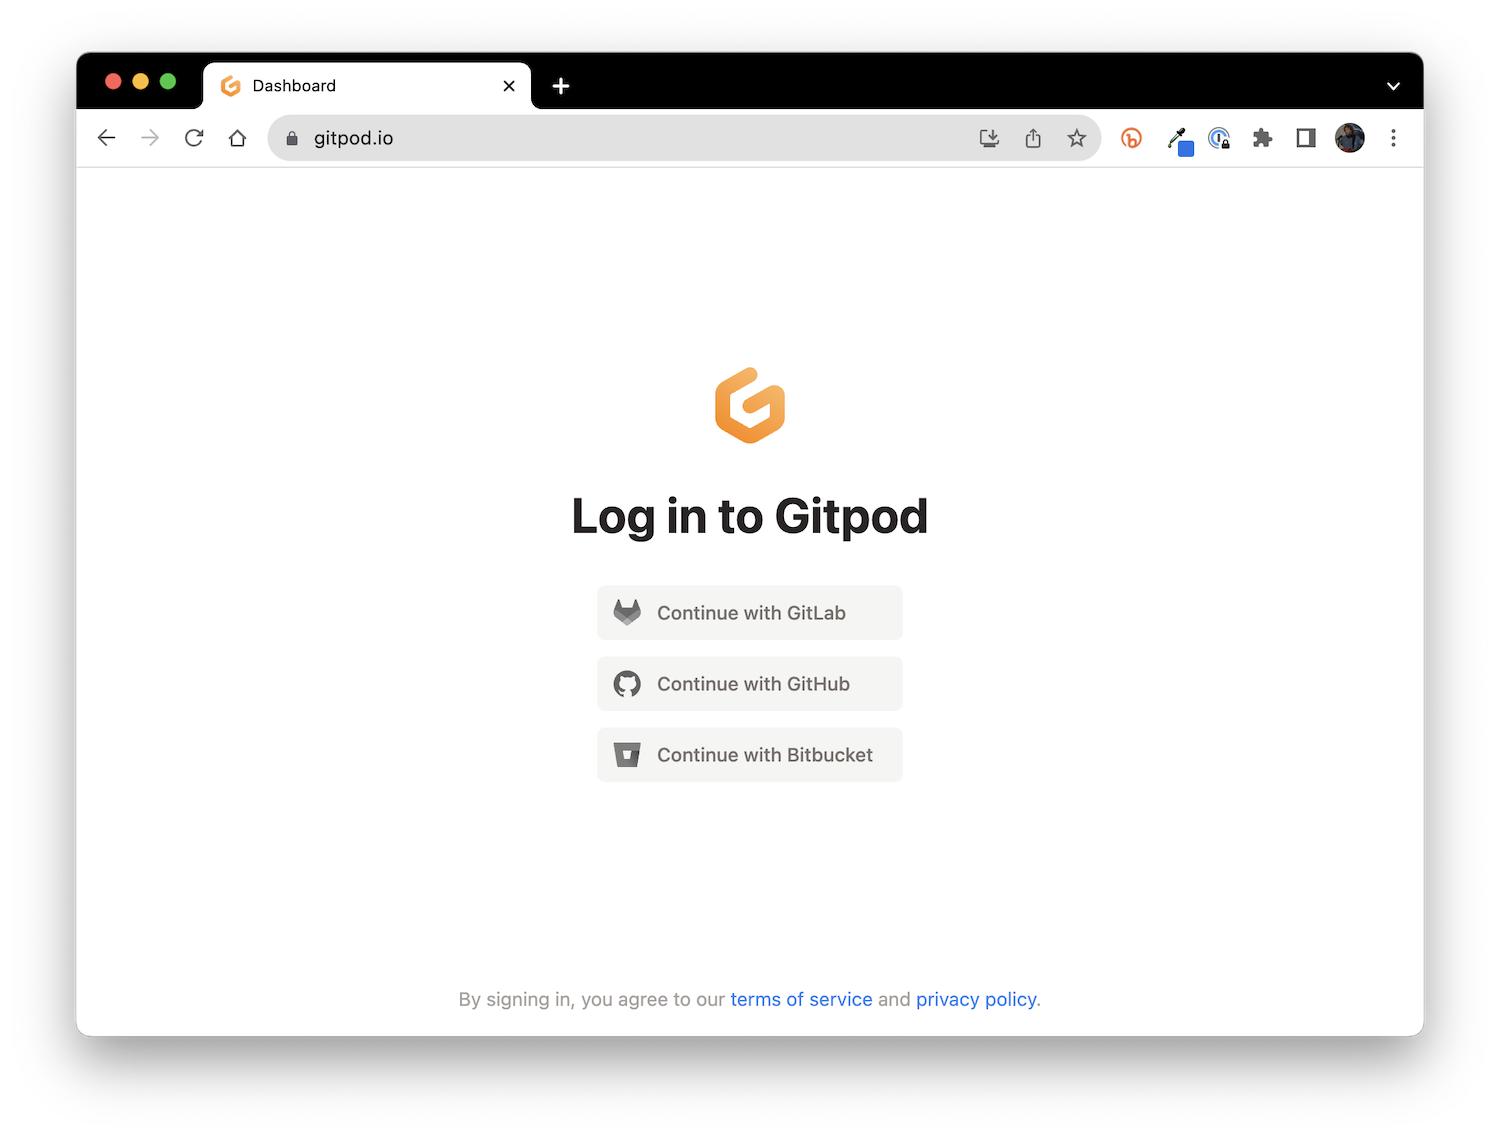
Click "Continue with GitHub" and do whatever authentication is necessary to login to GitHub.
Now you should see the "Workspaces" page:
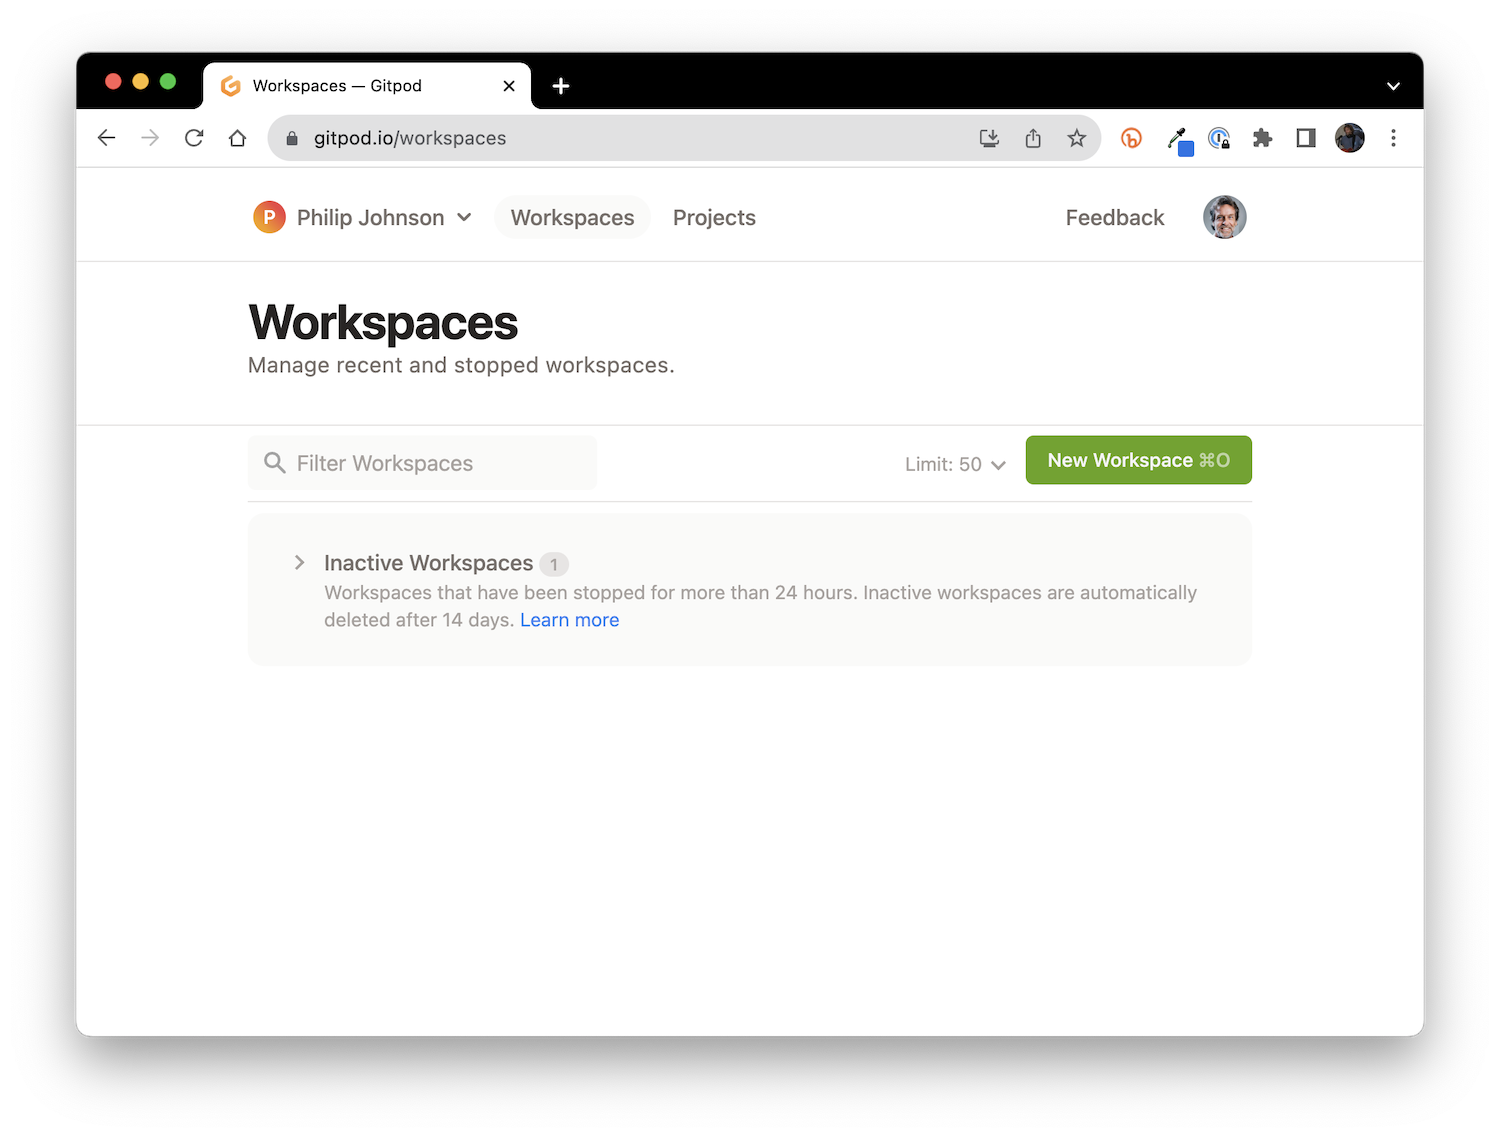
Click "New Workspace", then select the repo containing your professional portfolio. After selecting it, you should see a page like this:
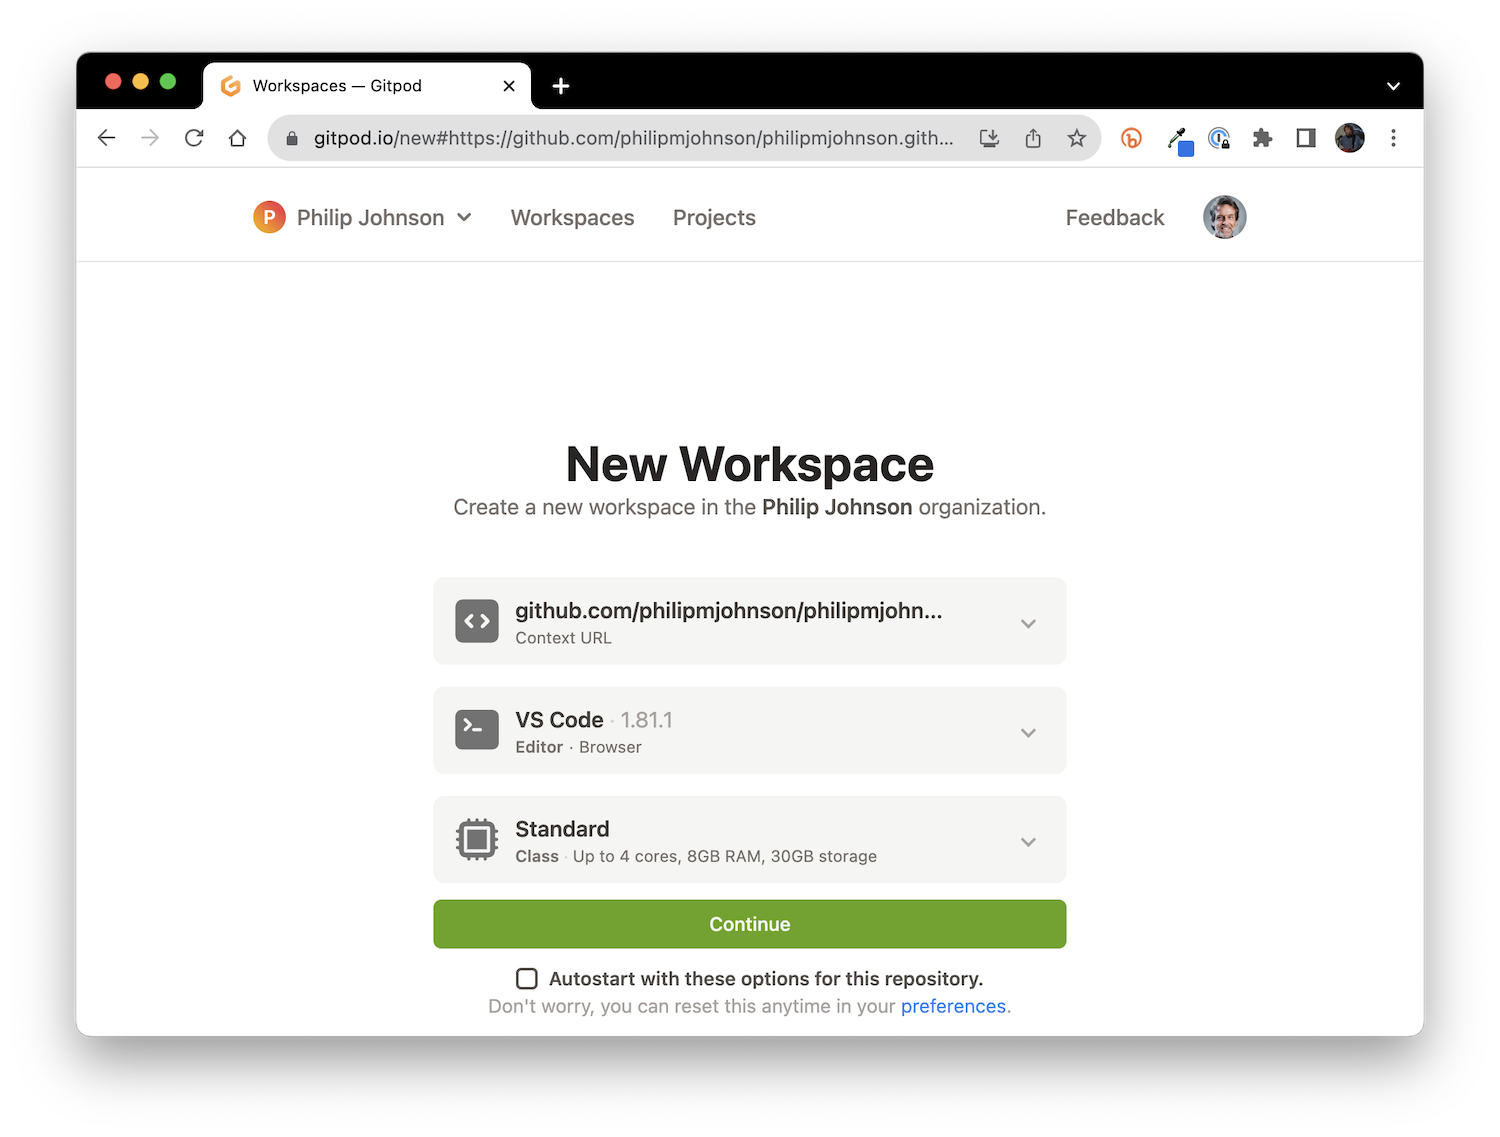
You can click the "Autostart with these options..." (or not), but then click the "Continue" button.
Sometimes, for reasons that elude me, GitPod will not "know" about your repo and it does not appear in the dropdown menu. Fortunately, there is a second way to select a workspace.
Go to a new browser window, then type in "gitpod.io/#" followed by your github repo url. For example:
gitpod.io/#https://github.com/philipmjohnson/philipmjohnson.github.io
When you type return, you should be taken back to that Open Workspace page, but this time your repo should appear in the window.
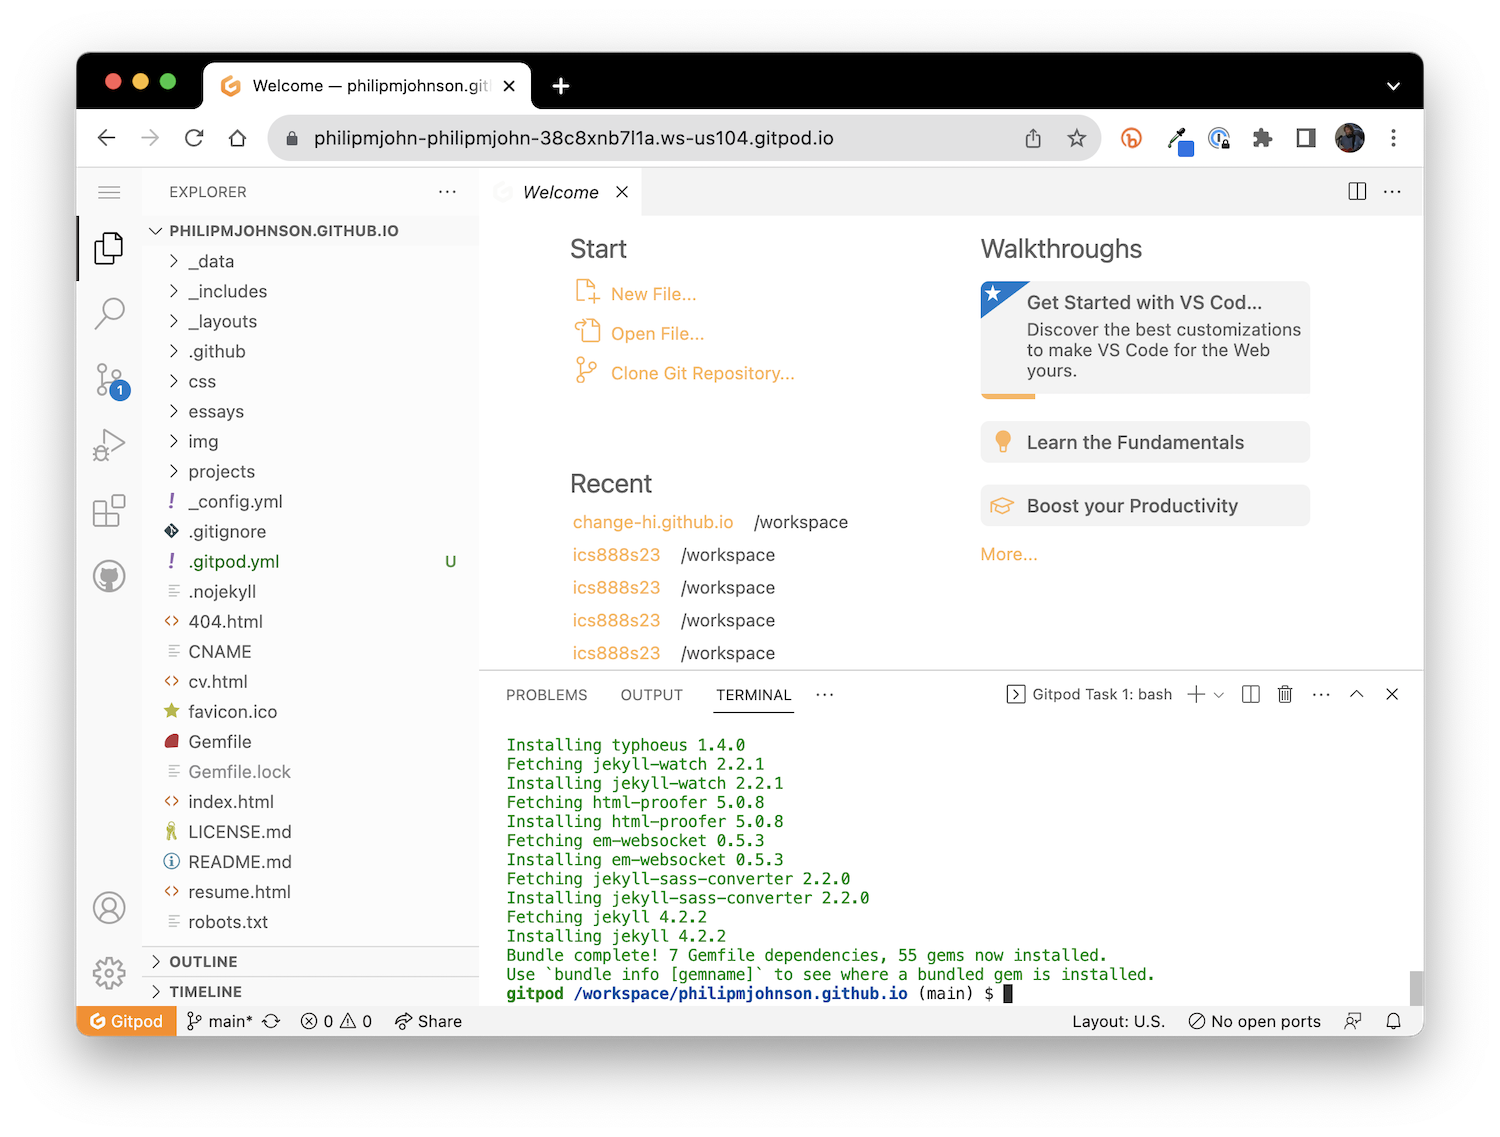
After a few seconds, the screen will show a VS Code Editor user interface, and an open Terminal window indicating that various libraries are being installed in a green font. You'll now need to wait a minute or so for this installation process to finish. When it's finished, you'll see a Unix command prompt at the bottom of the terminal window with a blue font. For example:
Now type bundle exec jekyll serve into the Terminal window and hit return. You should see a few lines of text printed out indicating that jekyll has started working, and the last line should say Server running... press control-c to stop. At that point, a window should pop up asking if you want to make the running service "public". For example:
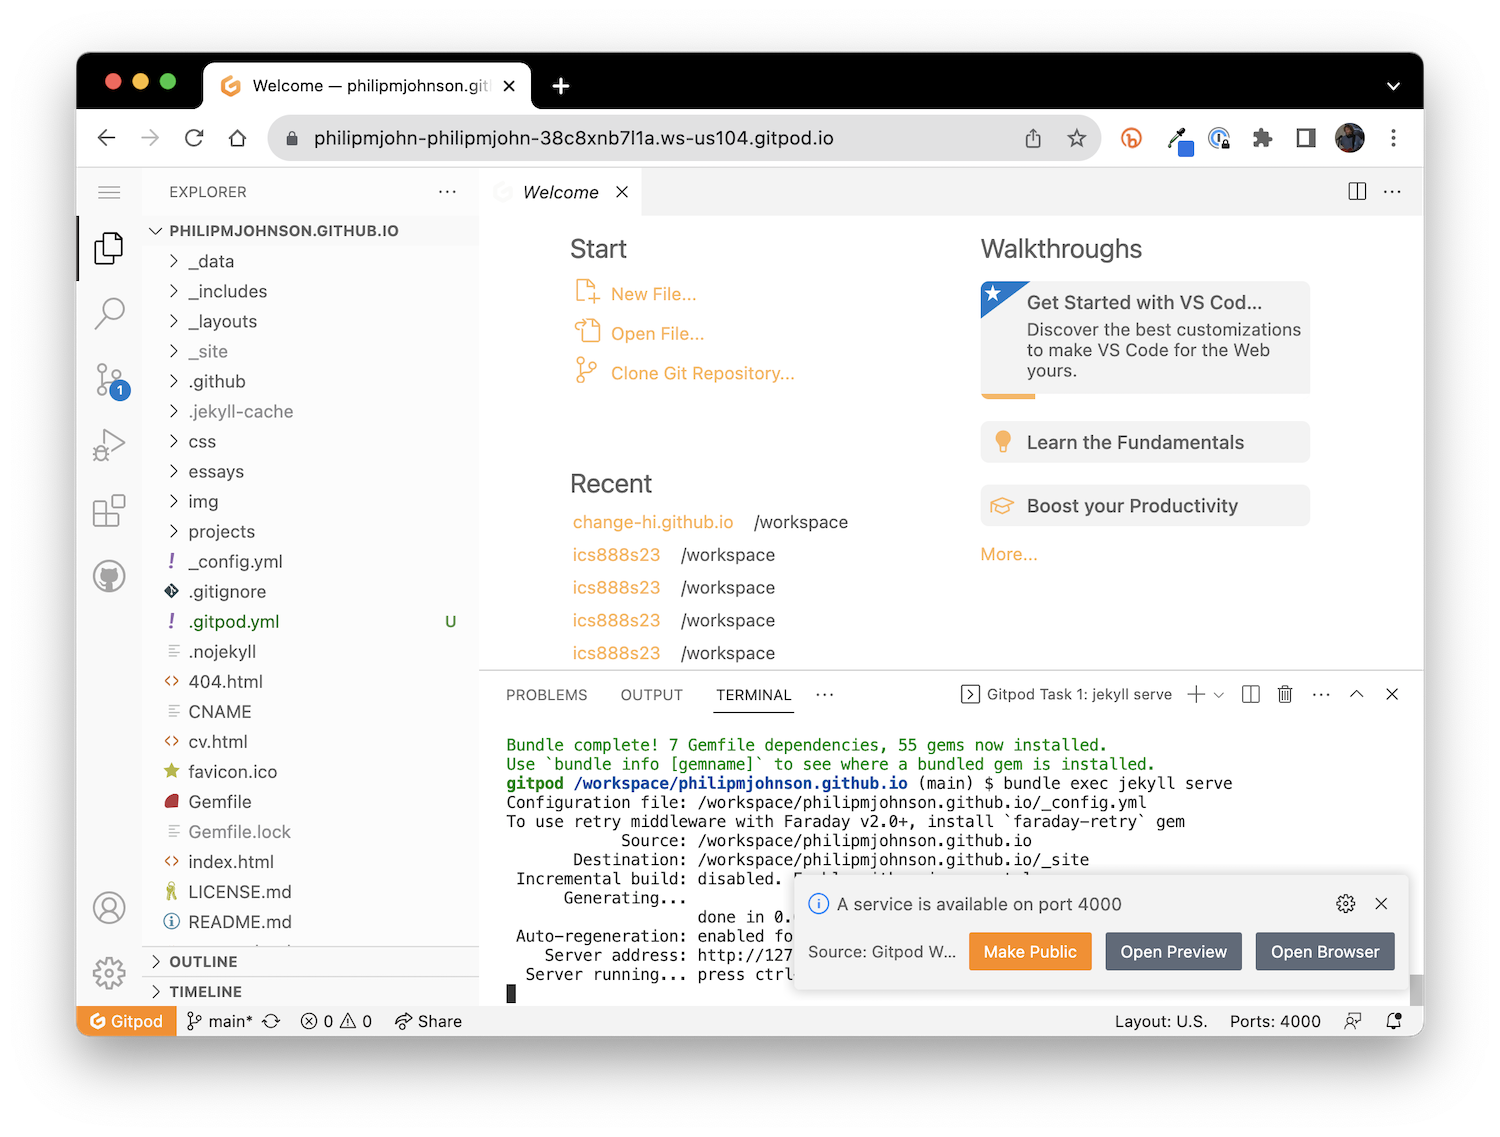
After that, if you hover over http://127.0.0.1:4000 on the second to last line, a "Follow link" button will appear. For example:
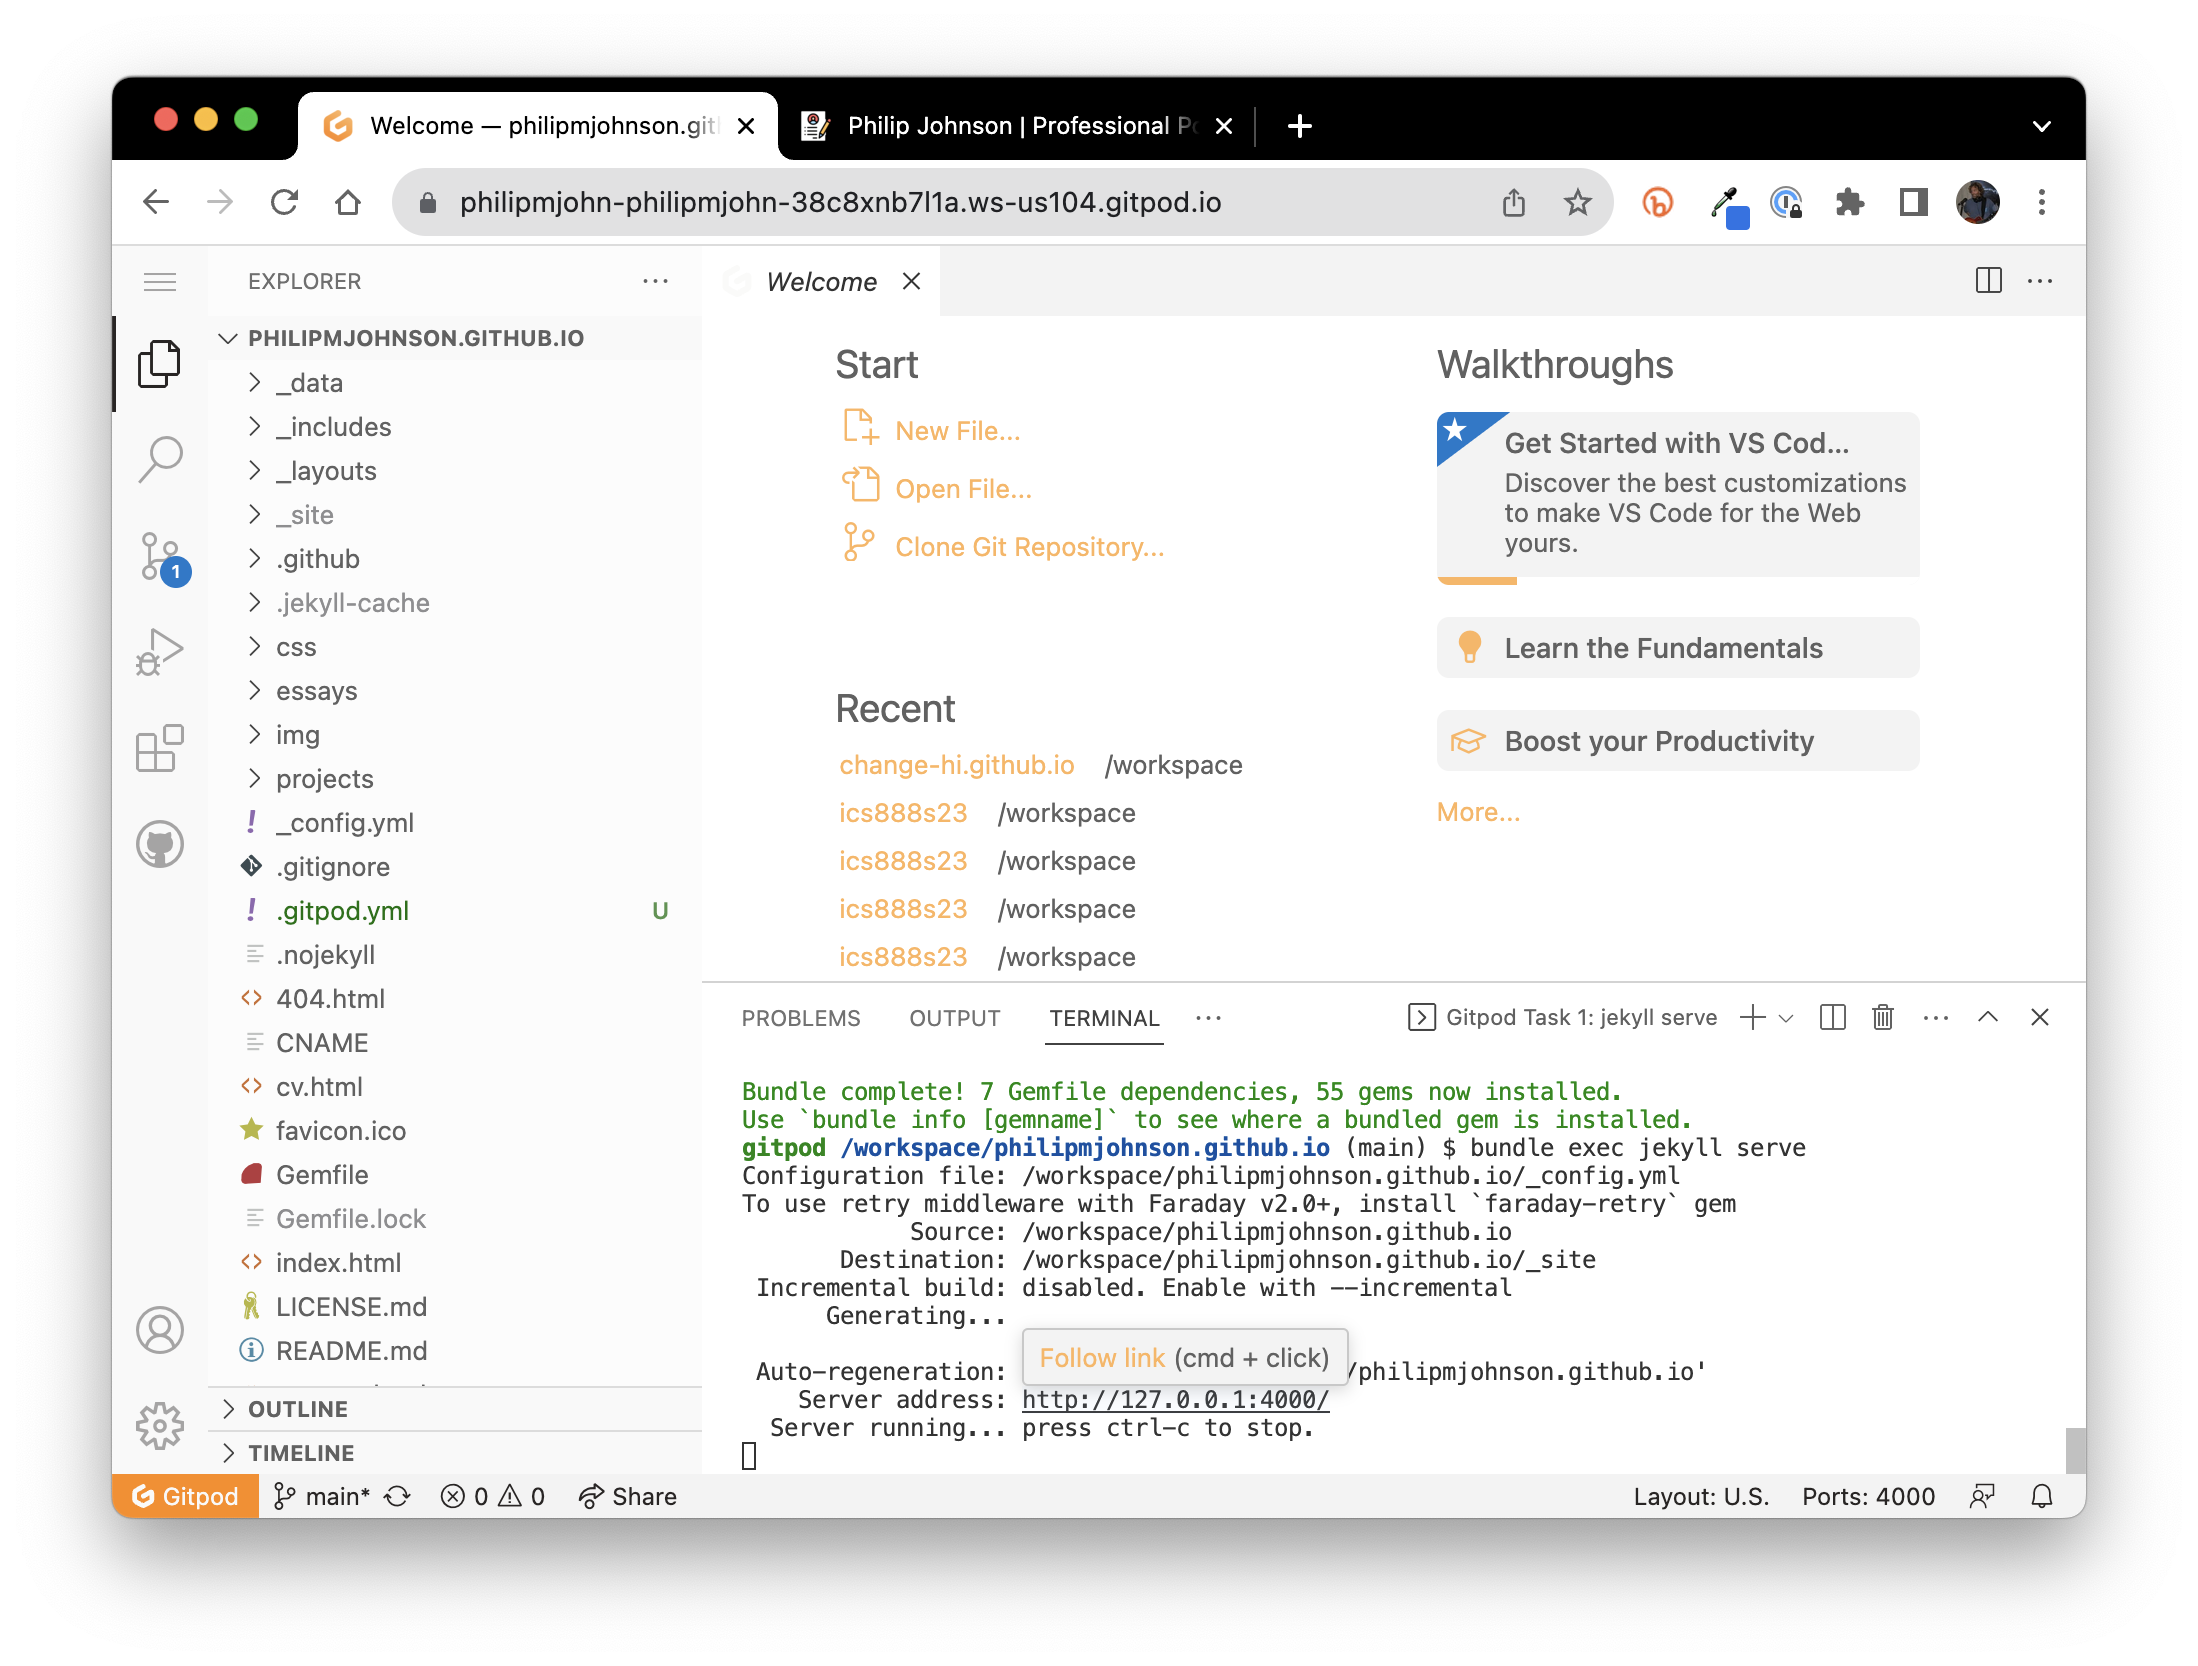
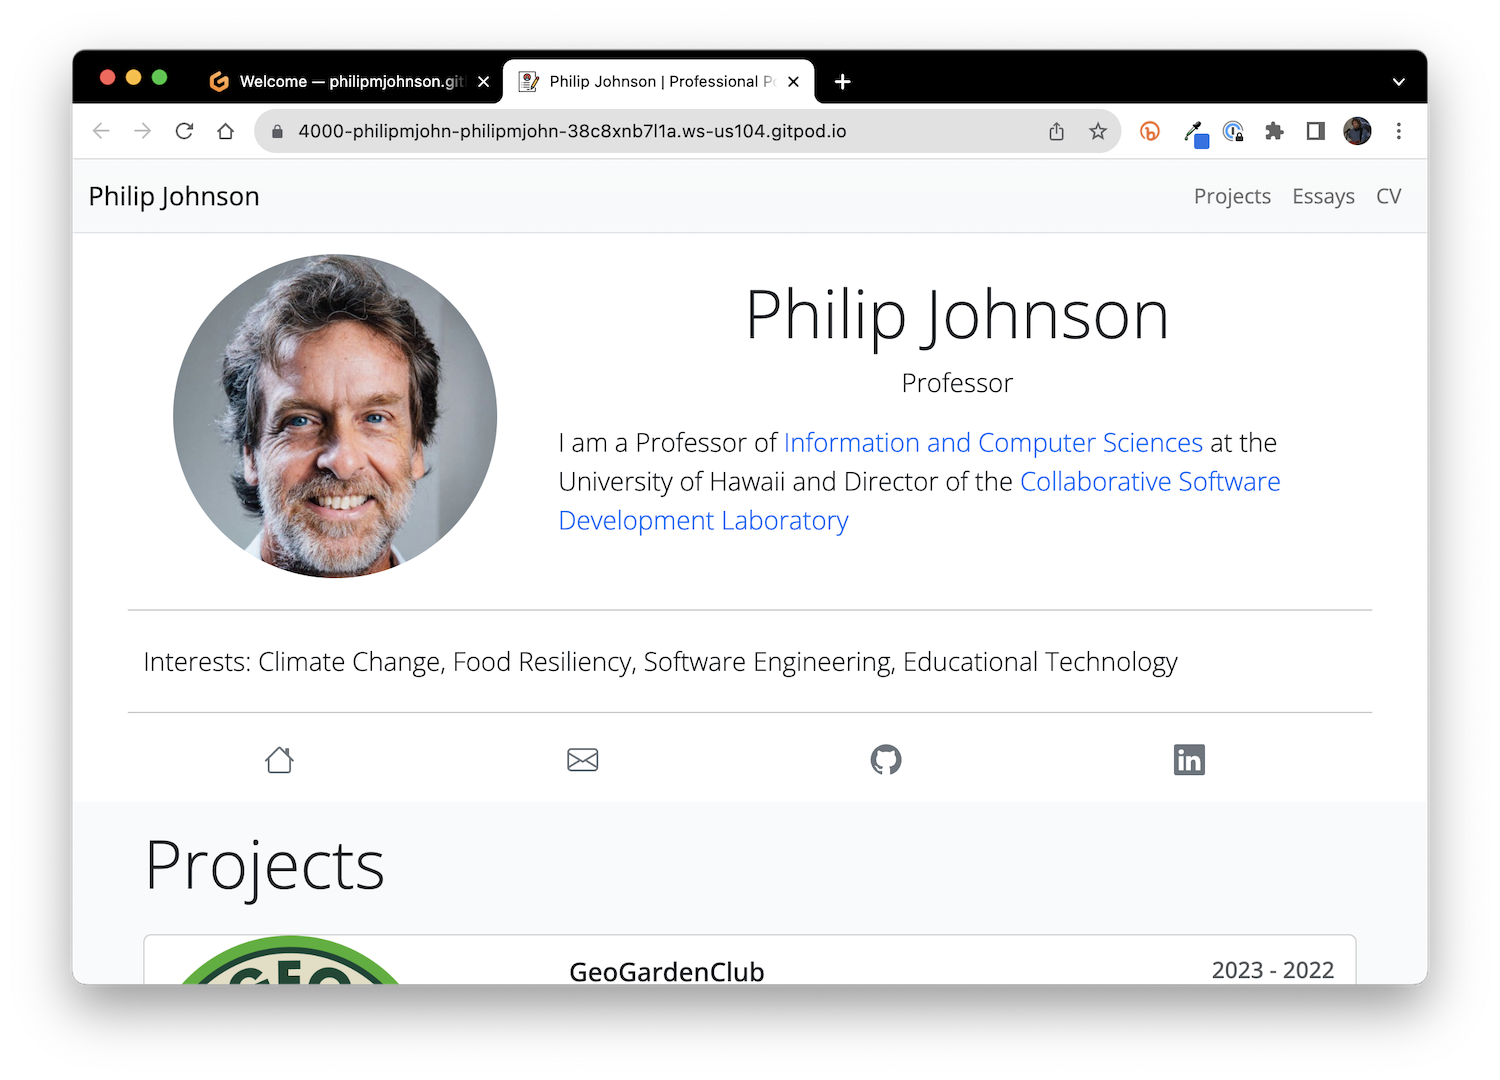
Click it to open a new browser window with a preview of your professional portfolio:
The edit-build-debug-preview-publish cycle
To develop your portfolio, you will follow the following steps:
- Edit: You make changes to the files defining your professional portfolio.
- Build: You run
bundle exec jekyll serveto run jekyll and build your portfolio. (You might have to typecontrol-cfirst if jekyll is already running.) - Debug: Sometimes your edits result in an invalid system that cannot be built. For example: your bio.json file is not in valid JSON format. In this case, the build will fail. You will need to read the error message and figure out how to fix it.
- Preview: Once the build step completes successfully (and the Terminal window indicates that the server is running, hover over
http://127.0.0.1:4000to get the link to display your revised portfolio. Alternatively, if the page is already displayed, just refresh the page to see the changes. - Publish: Once you have made all the edits you want to the system, and you are ready to make your revised portfolio available to world, commit your changes to GitHub.
Let's look at examples of each of these steps:
1. Edit
Let's say I want to add a new Interest called "Community Gardening" to my portfolio. I could do this by expanding the _data directory in the left pane, then double clicking on "bio.json" to open that file for editing. For example:
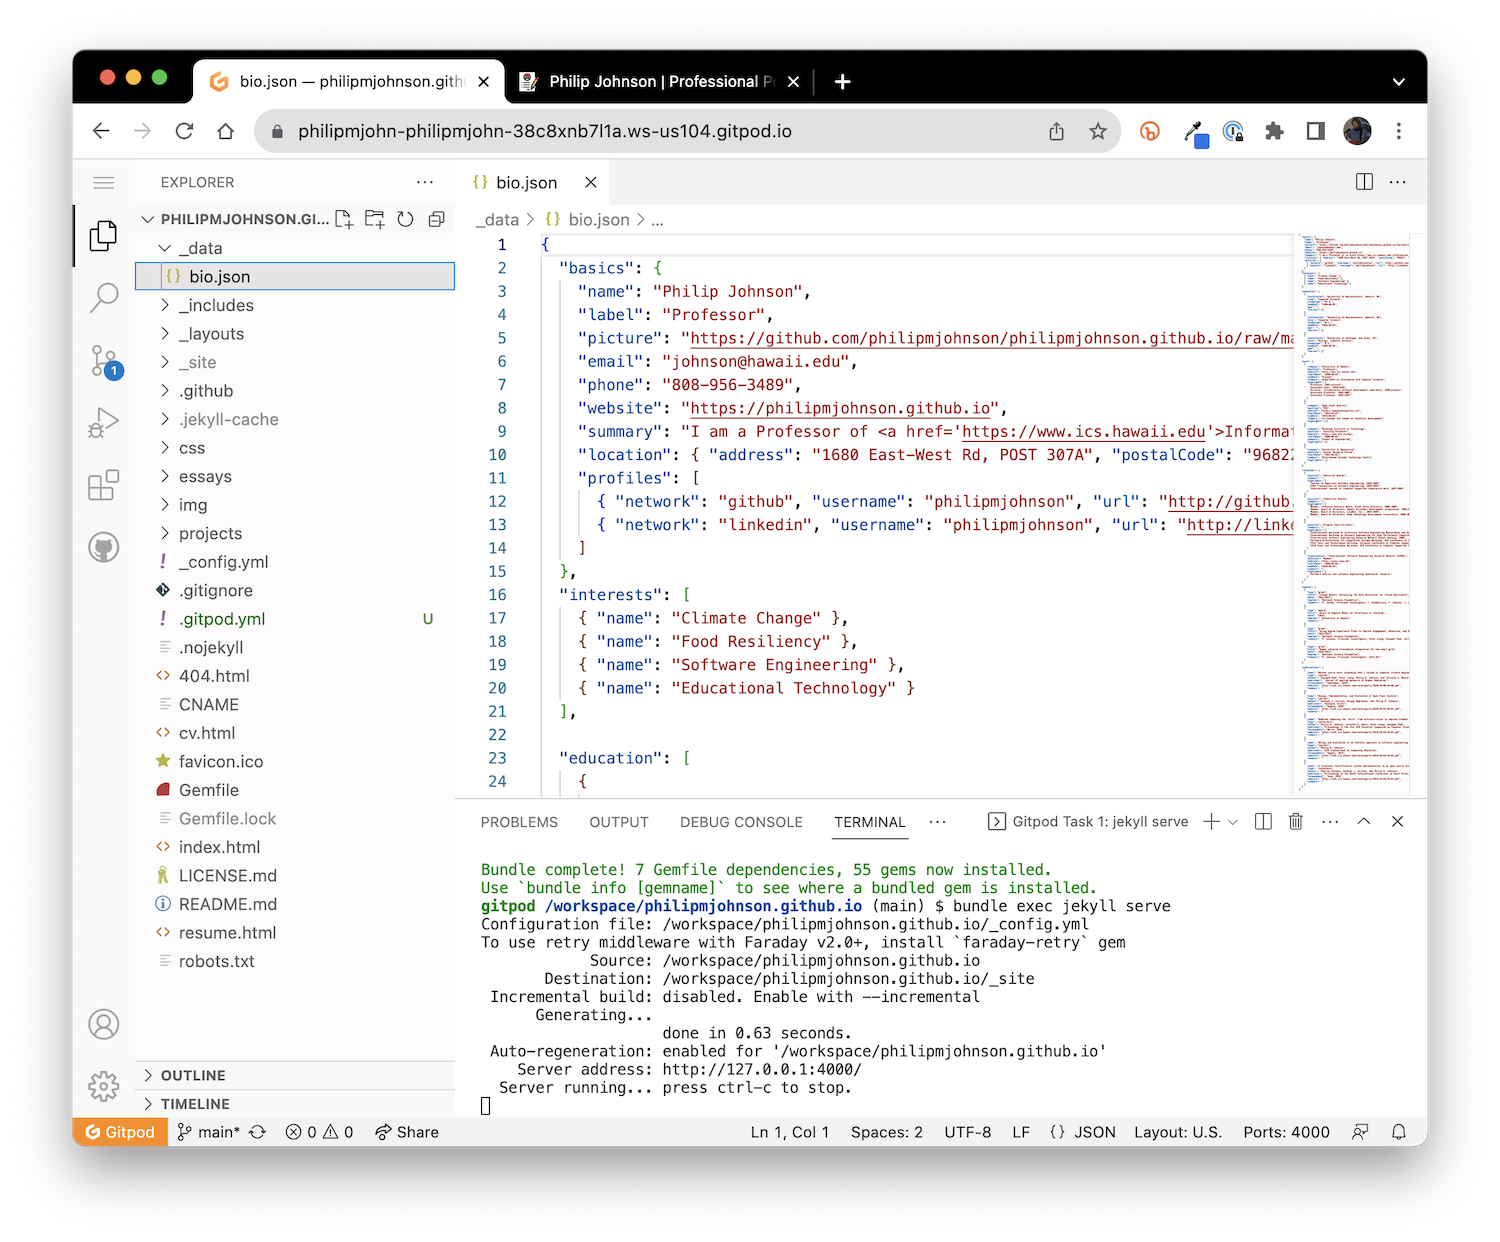
Next, I might use the current Interests section as a guide to adding a new one for Community Gardening. For example:
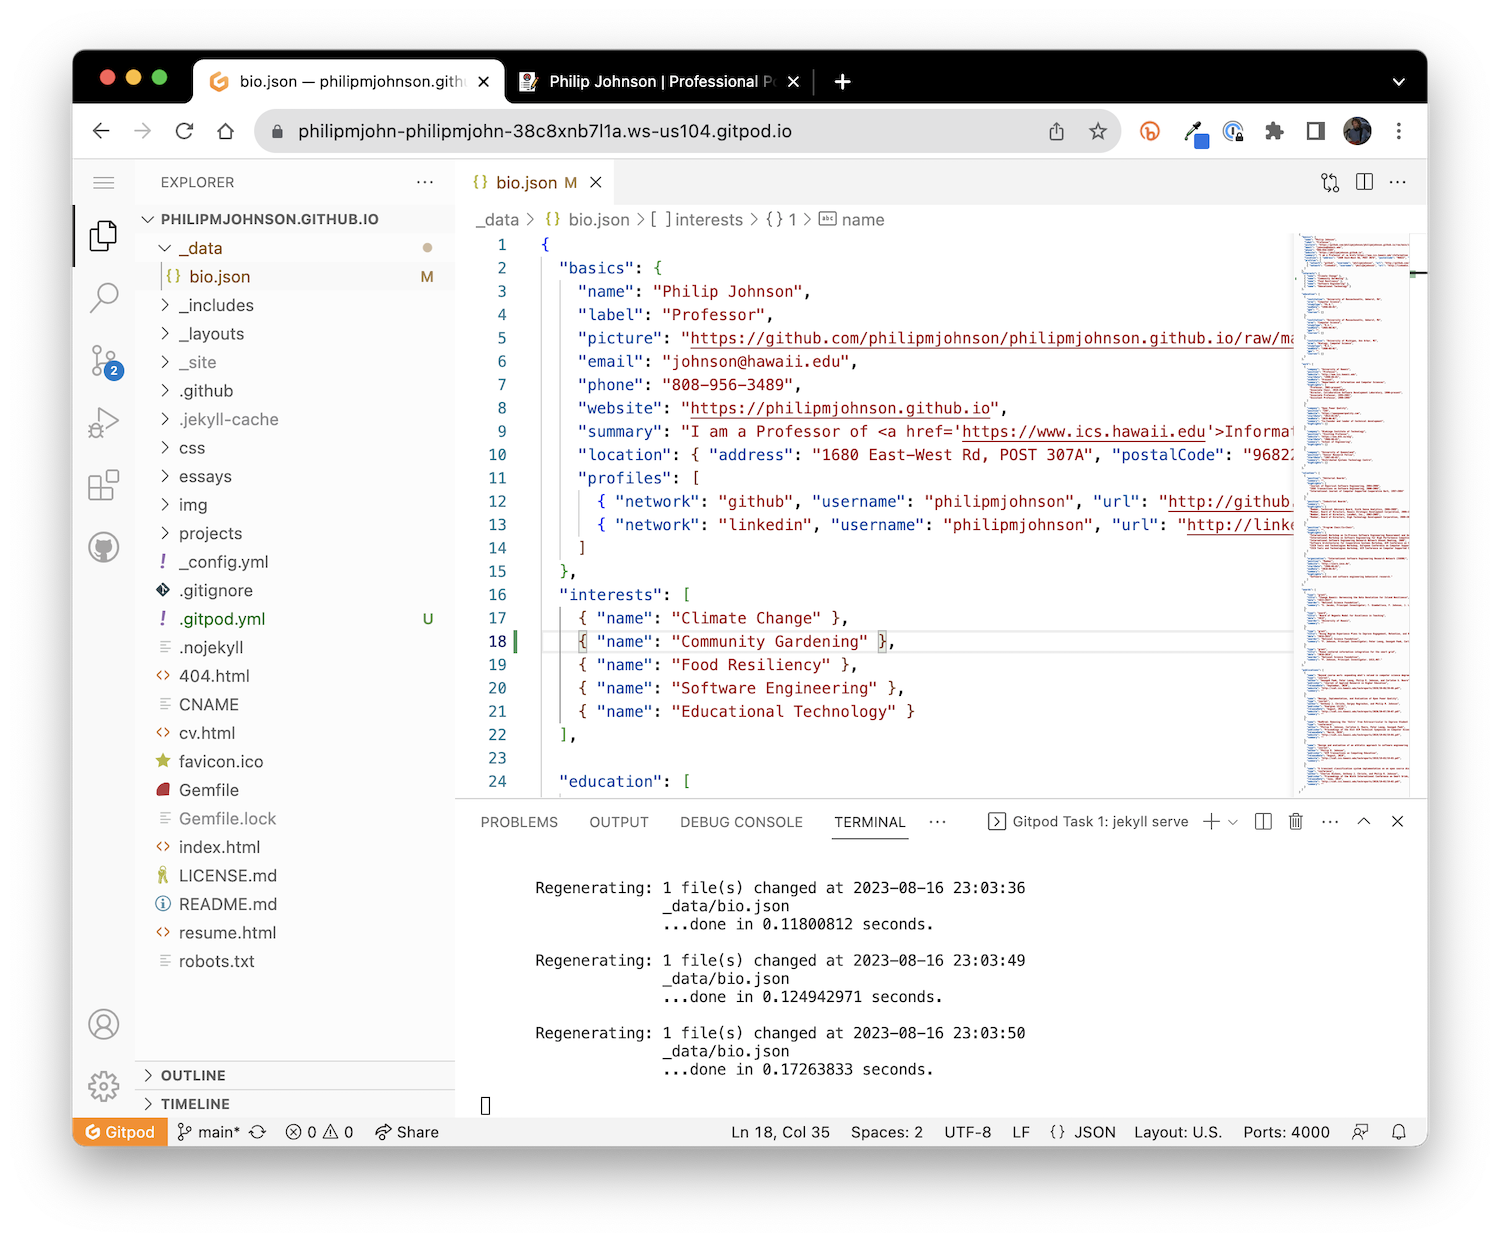
Now I press command-S to save out my file. I've now made an edit.
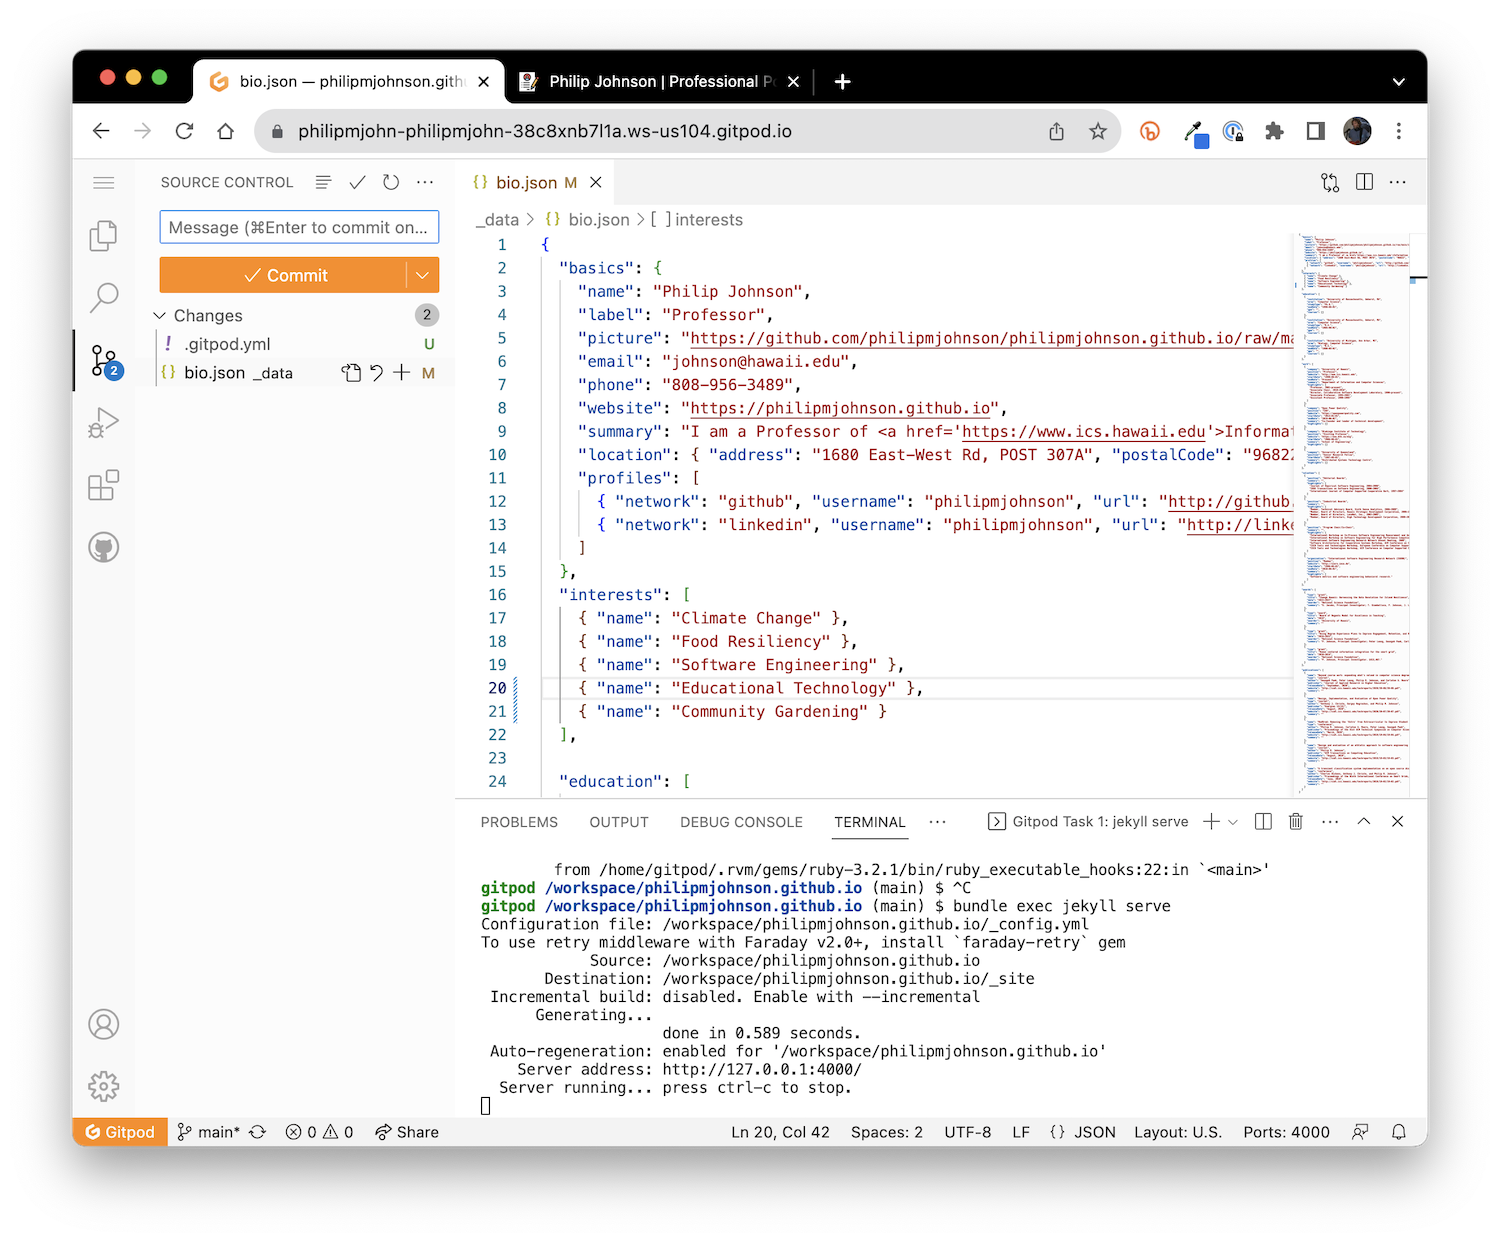
2. Build
To build the system, I first need to stop the currently running Jekyll process. To do this, I click into the Terminal window and type control-c. This should result in the program stopping and the appearance of a Unix command prompt in blue at the bottom of the Terminal window. For example:

If you type control-c and there is no running process, don't worry, nothing bad will happen.
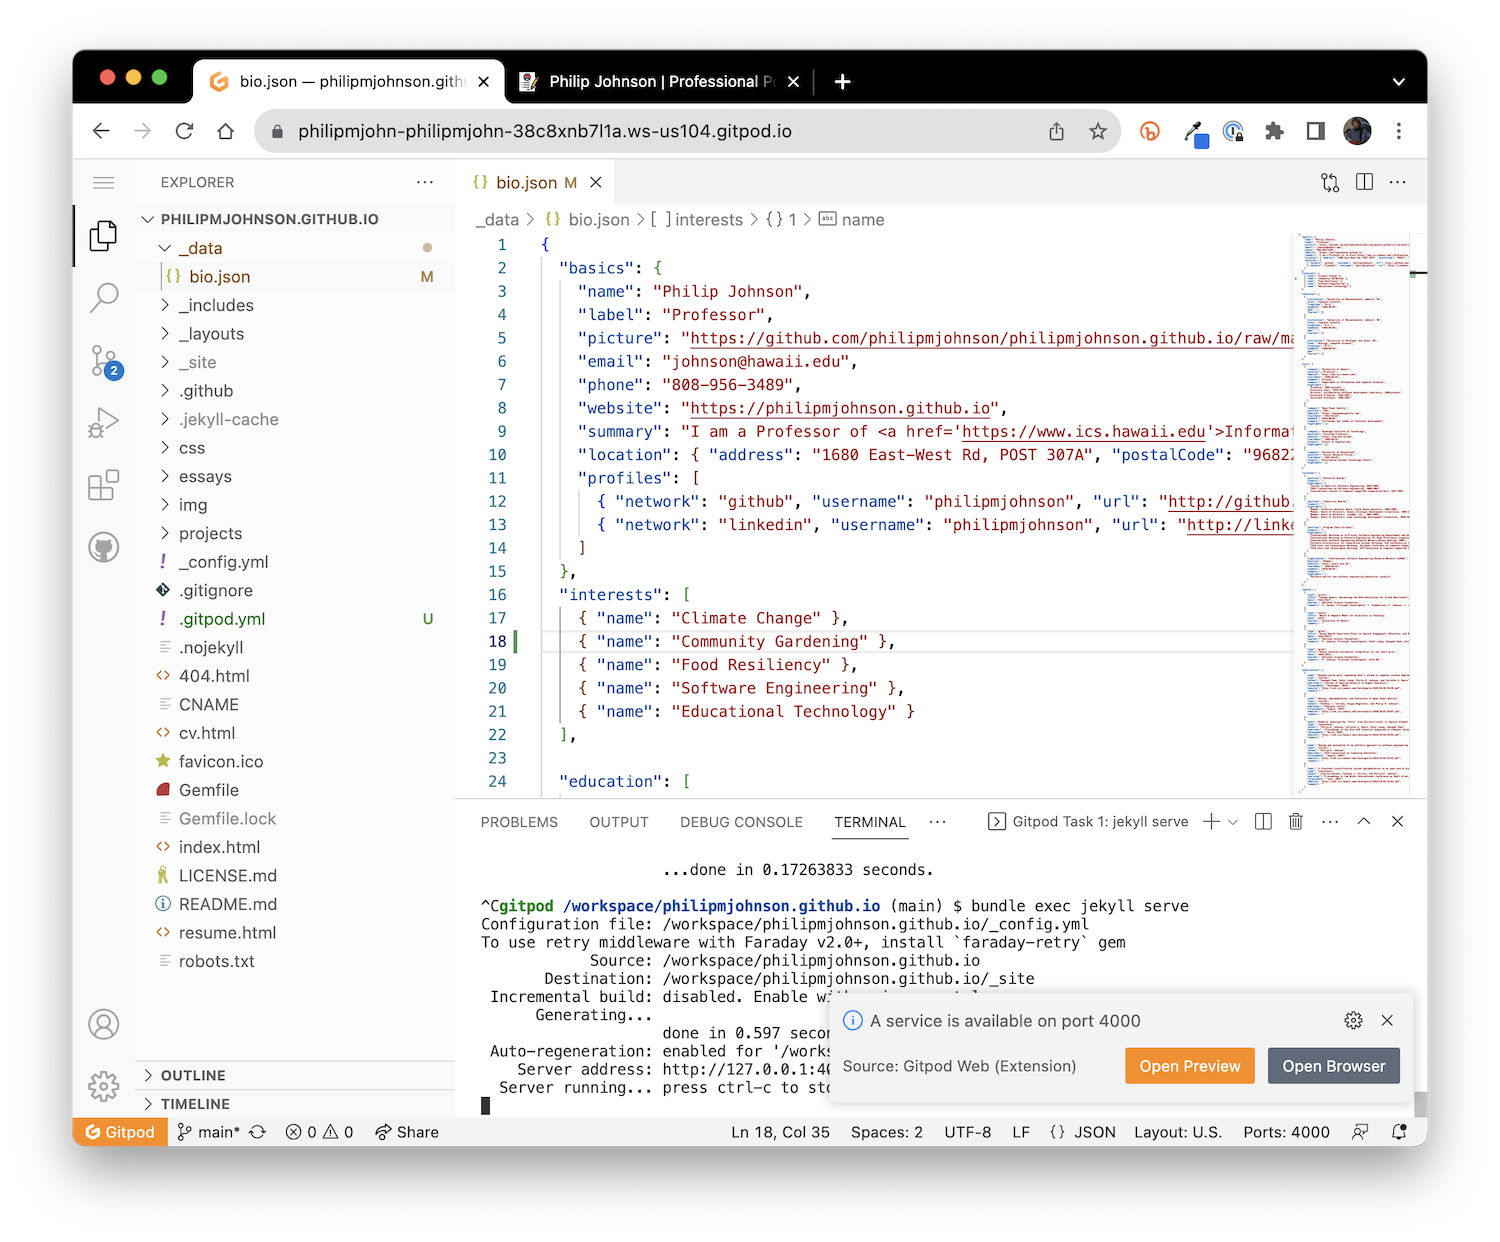
Now, to run the build, I type bundle exec jekyll serve and hit return. In this case, the build was successful and I get the following:
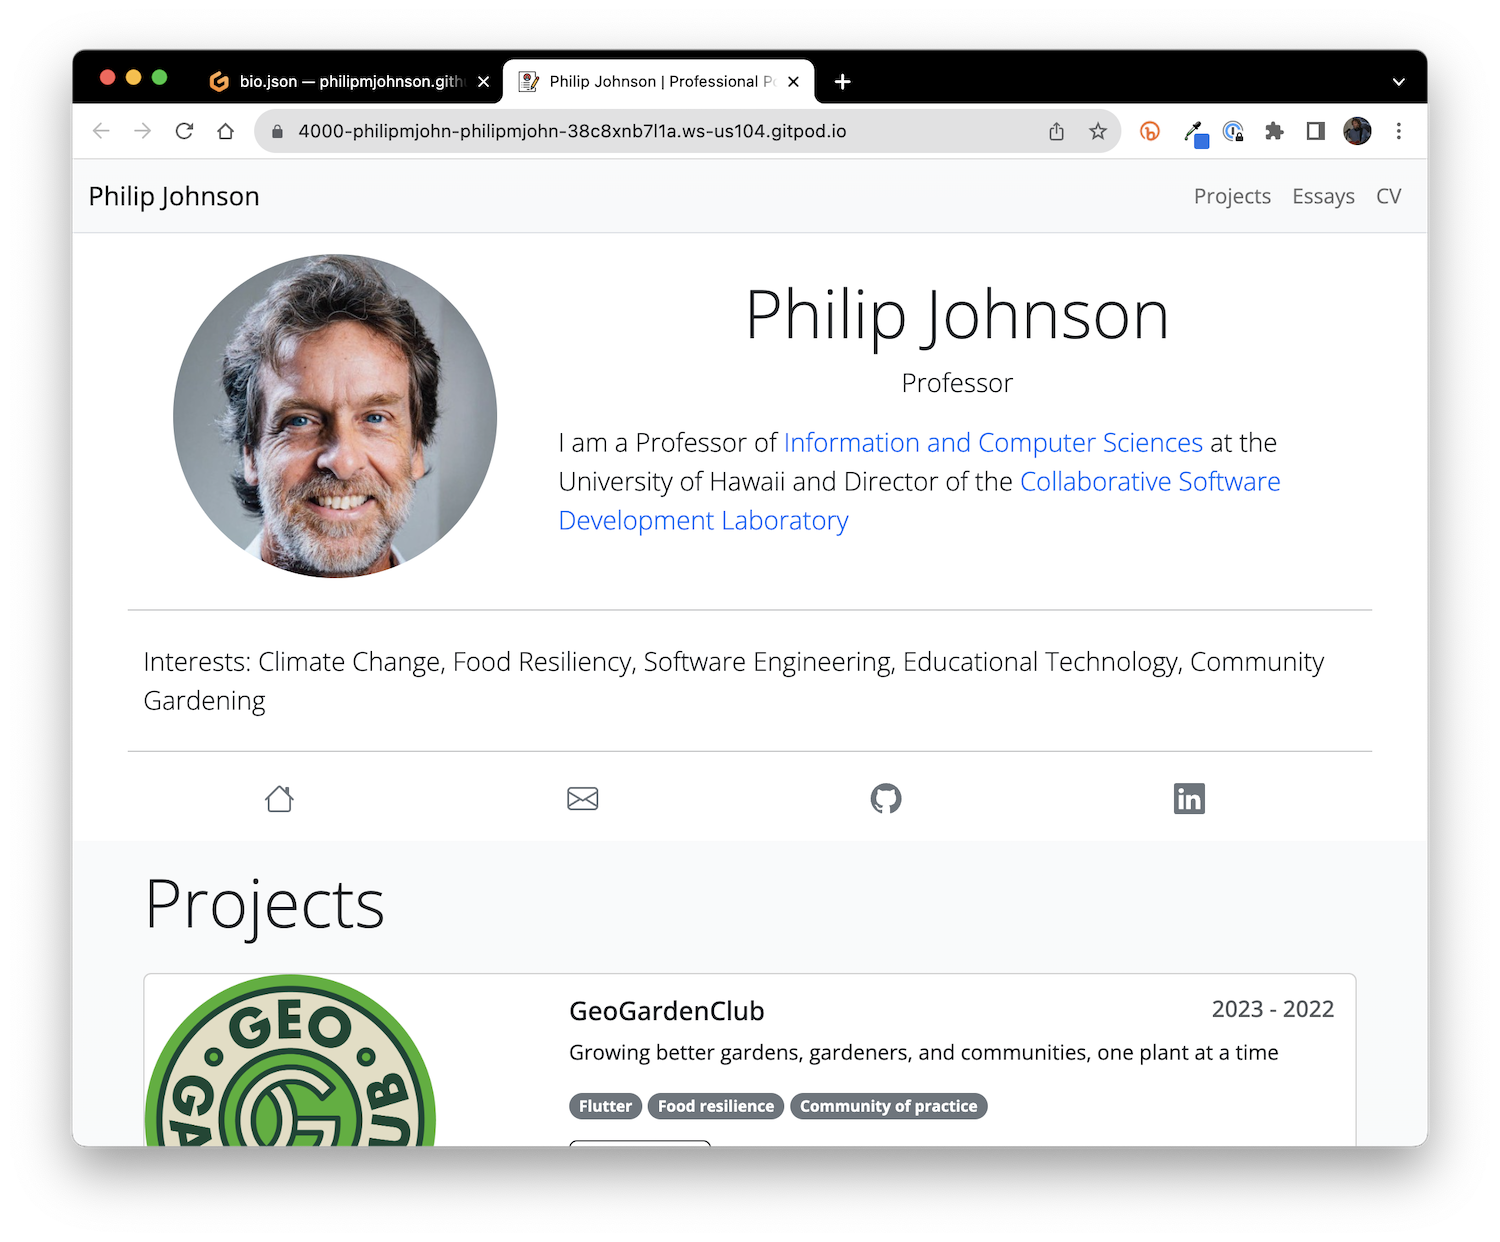
3. Preview
Click "Open Browser" to open the portfolio in a new browser tab, or if you already have it displayed, just refresh that page. Either way, you will see a "preview" of your revised version. By "preview", I mean a version of your portfolio that only you can see--it is not publicly available yet.
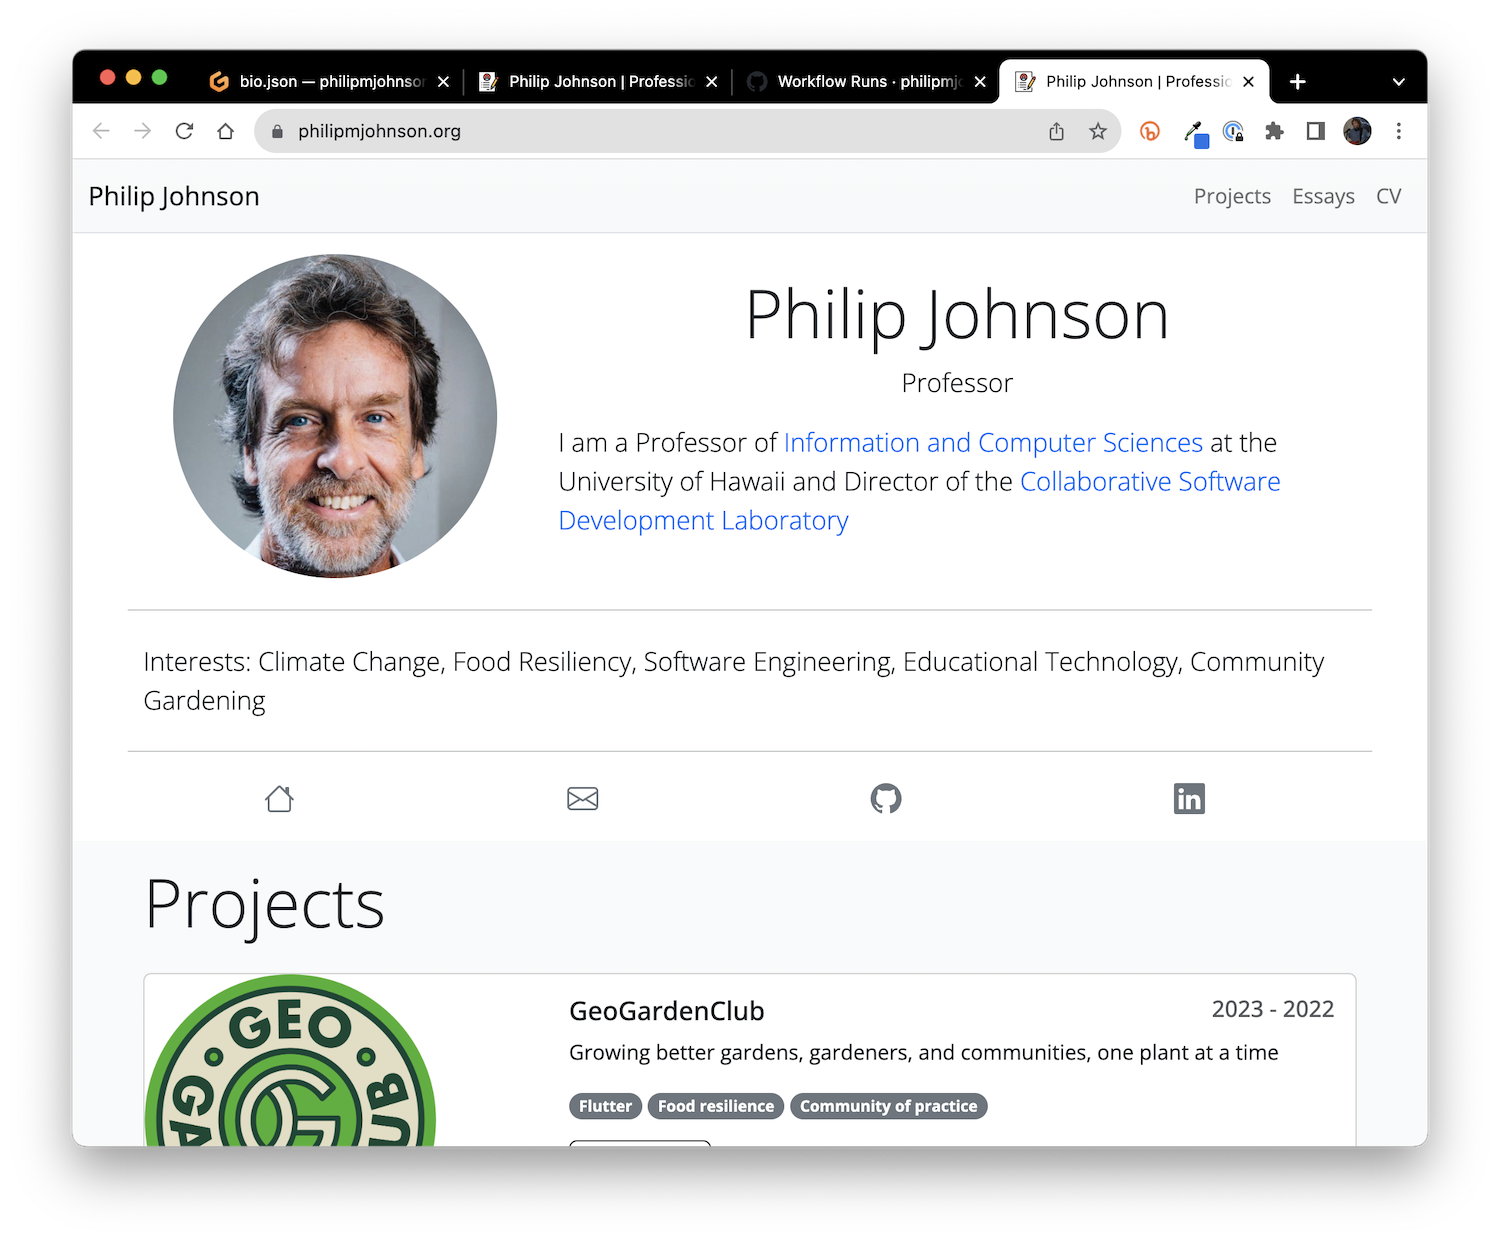
For example, here is my portfolio with the new interest:

In Unix control-P recalls the last command and places it onto the command line. So, you can type control-c control-p return to quickly stop the running build and restart a new one.
4. Debug
Sometimes you make edits that "break the build". For example, let's say that I added my community gardening interest as the last line of the file:
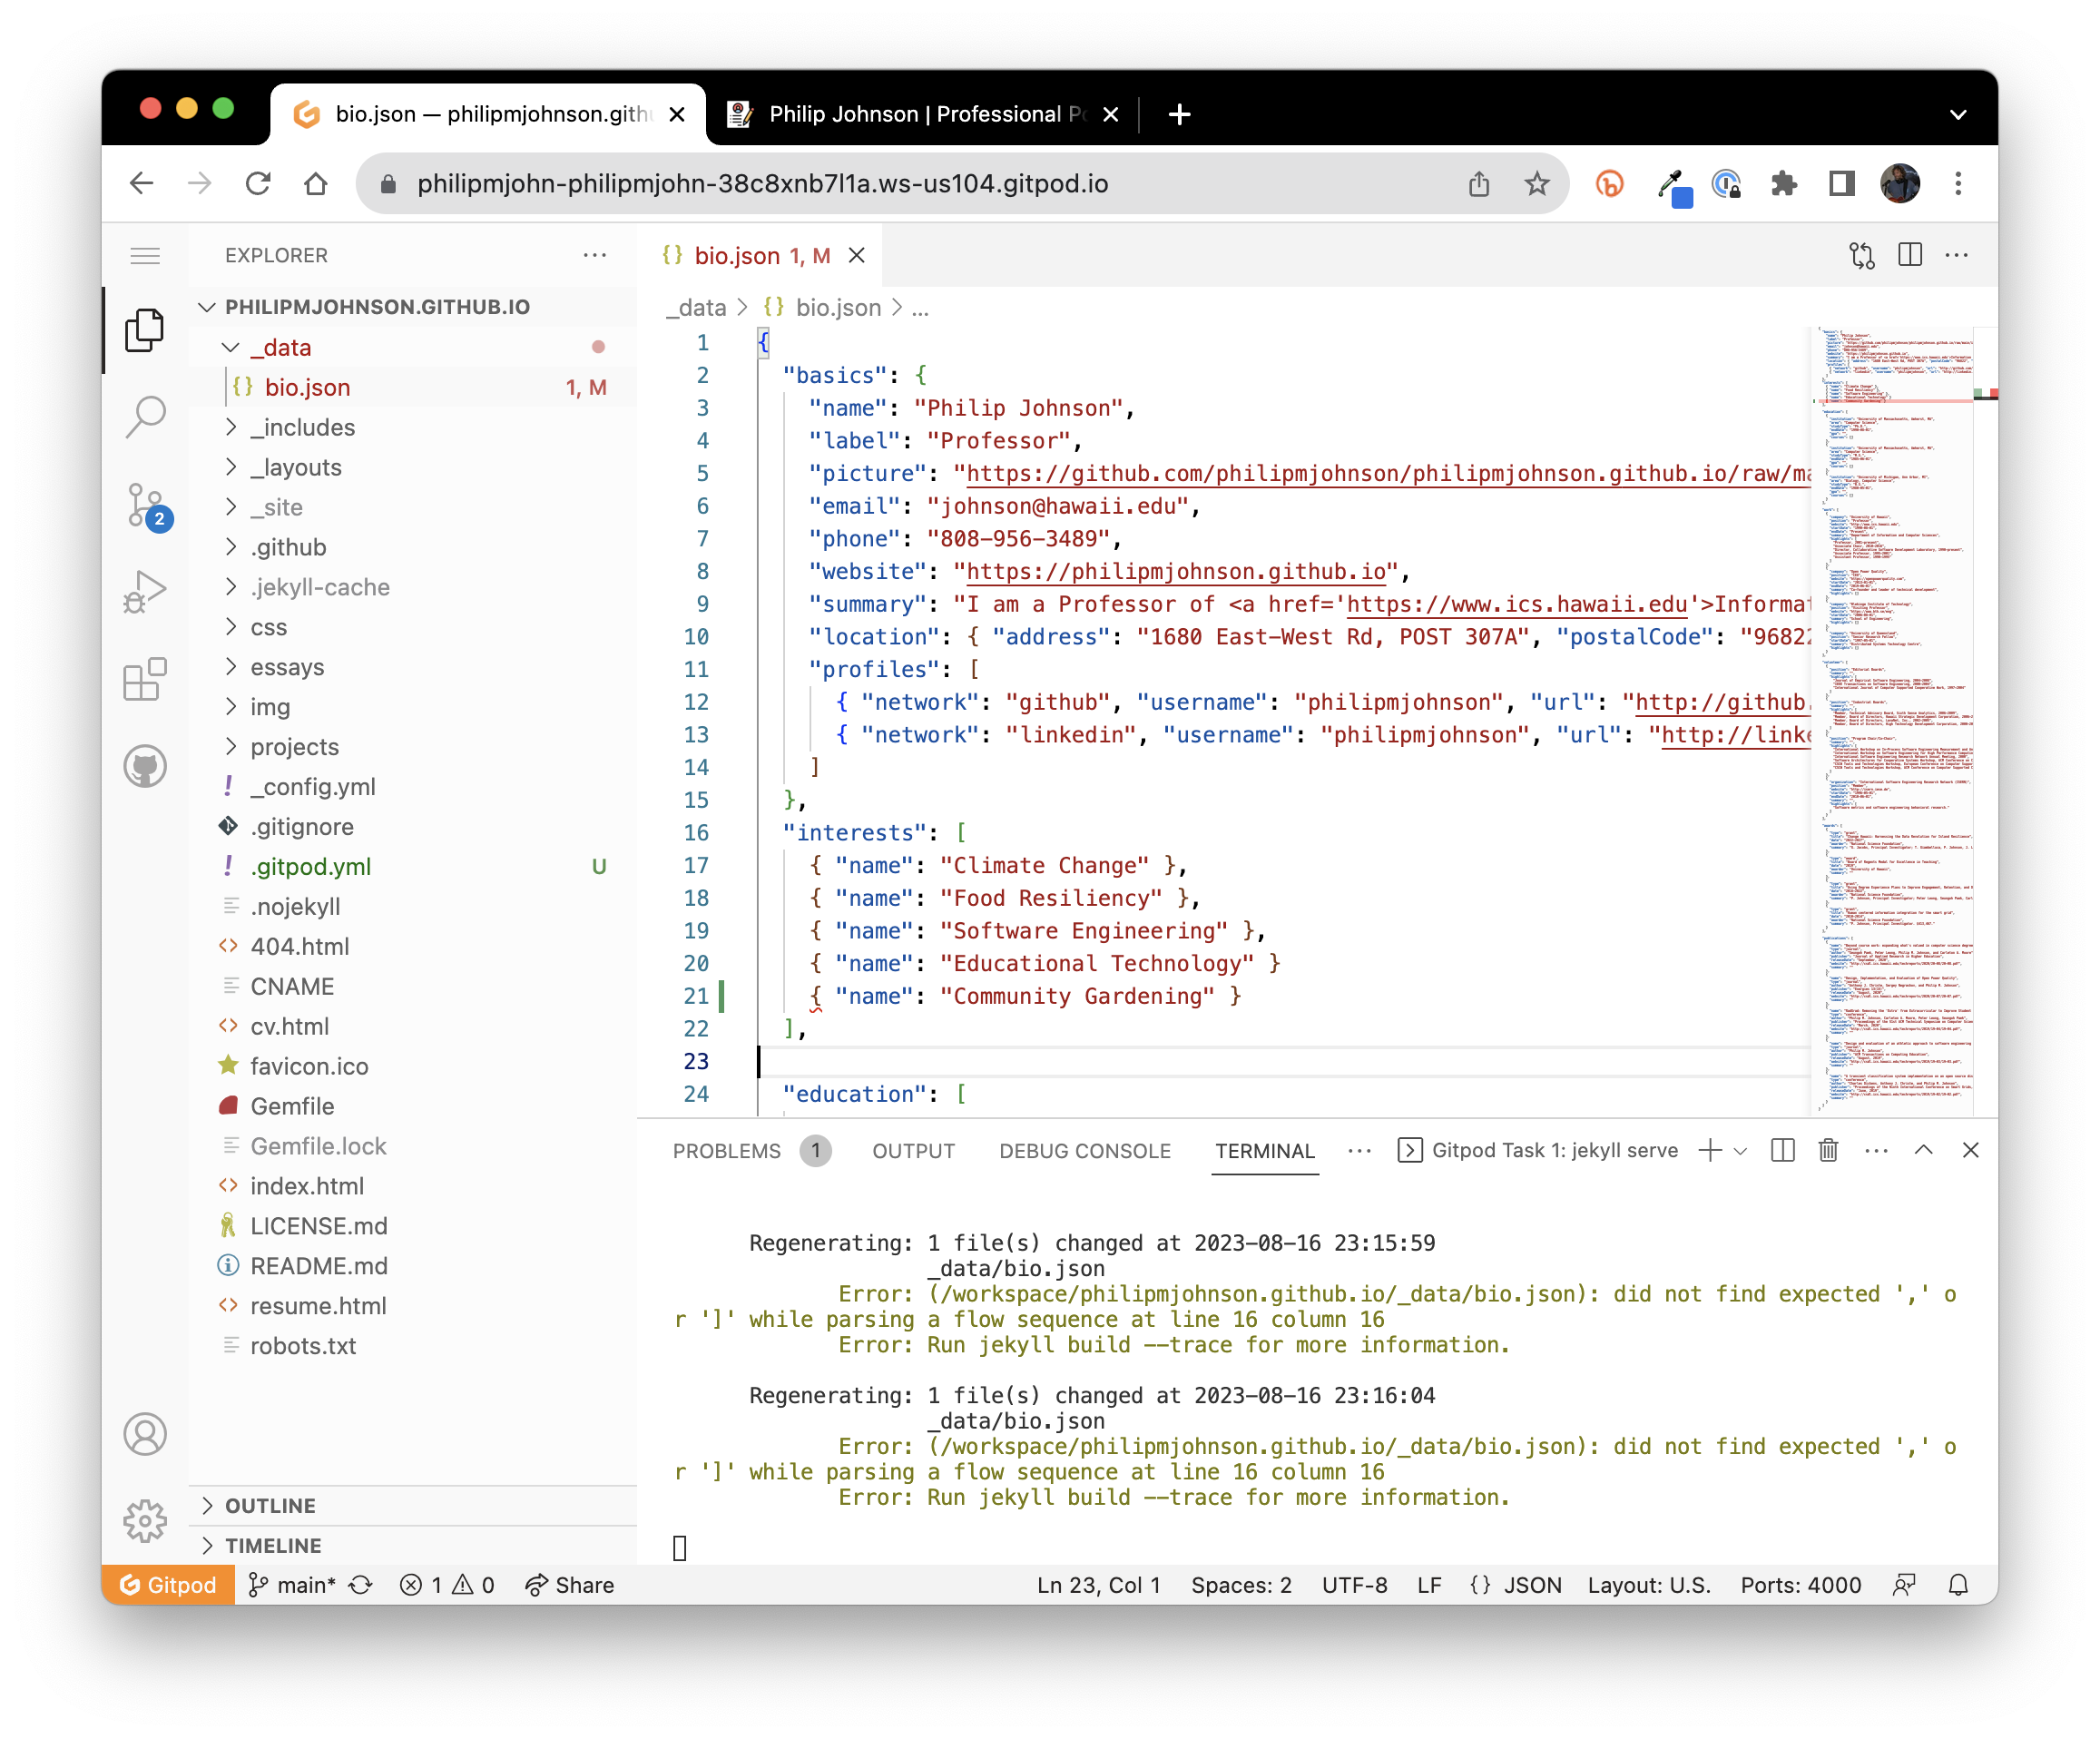
If I now type control-c control-p return in the Terminal window, I get the following error message:
As you can see, there's no "Running server" message, just a bunch of gobbledy-gook.
At this point, the best thing to do is to scroll back through the error log to see if something useful appears. In this case, scrolling back reveals an error message:
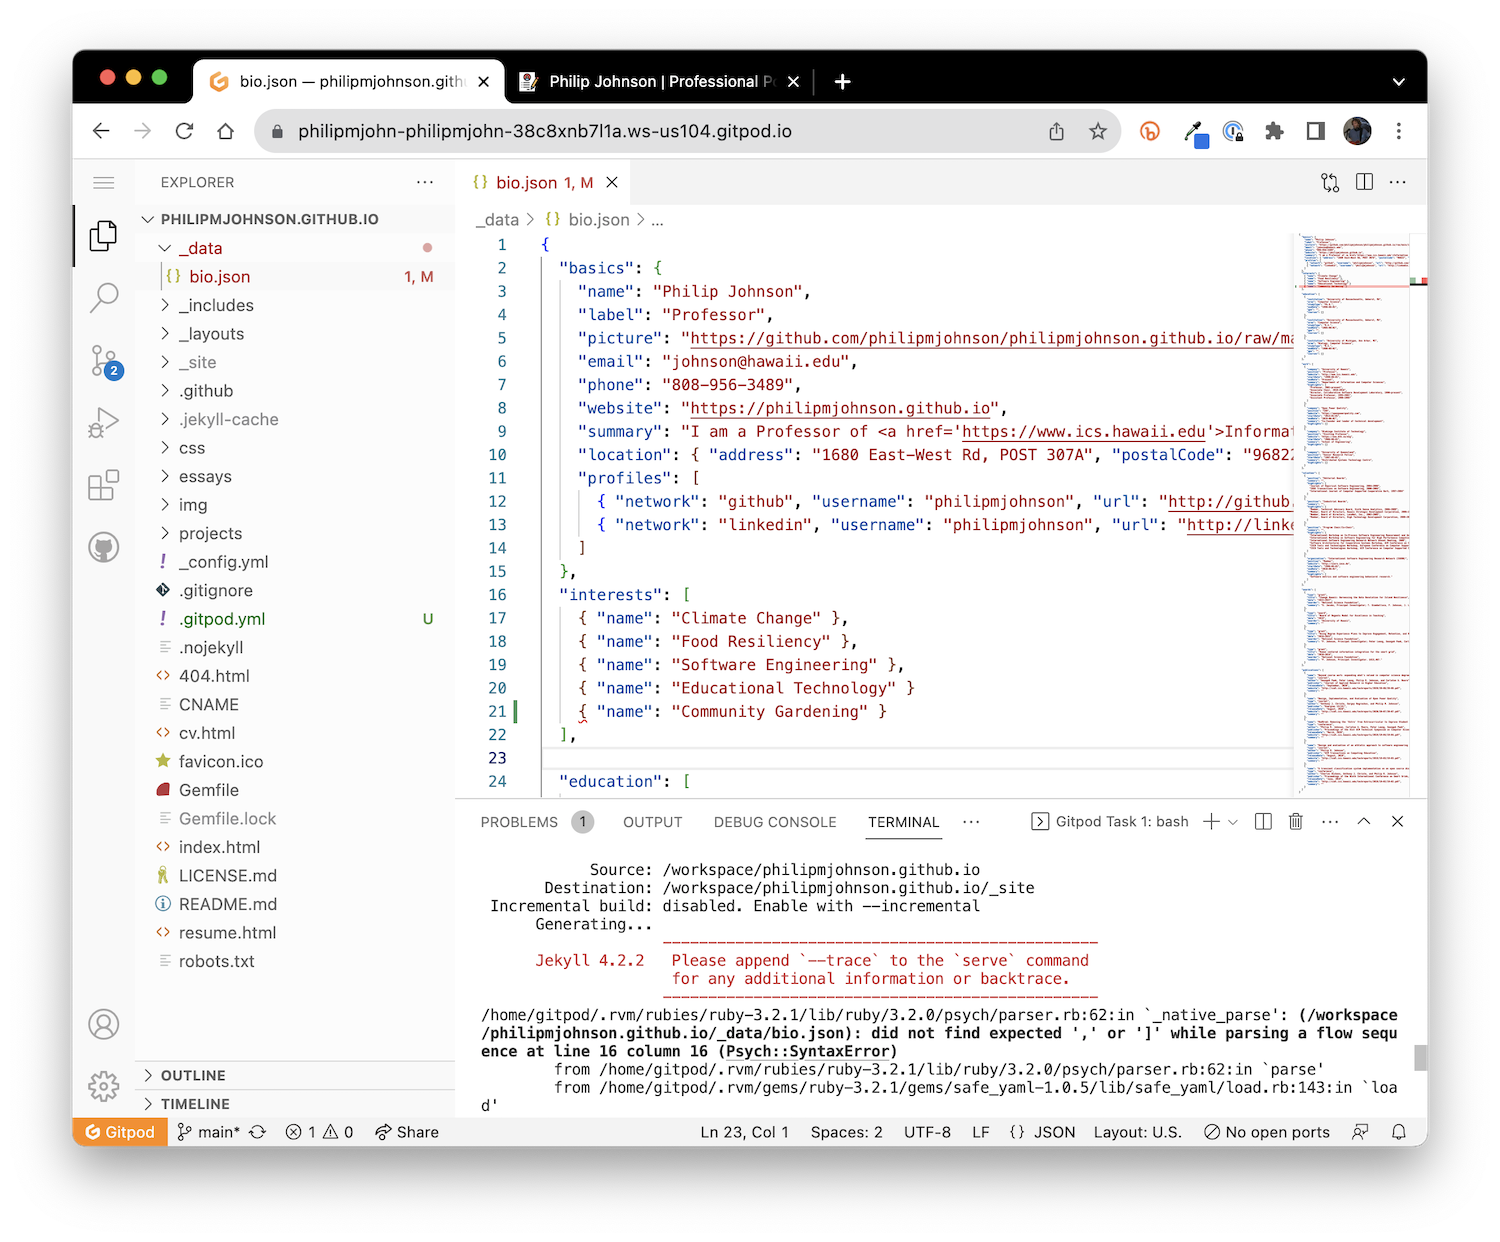
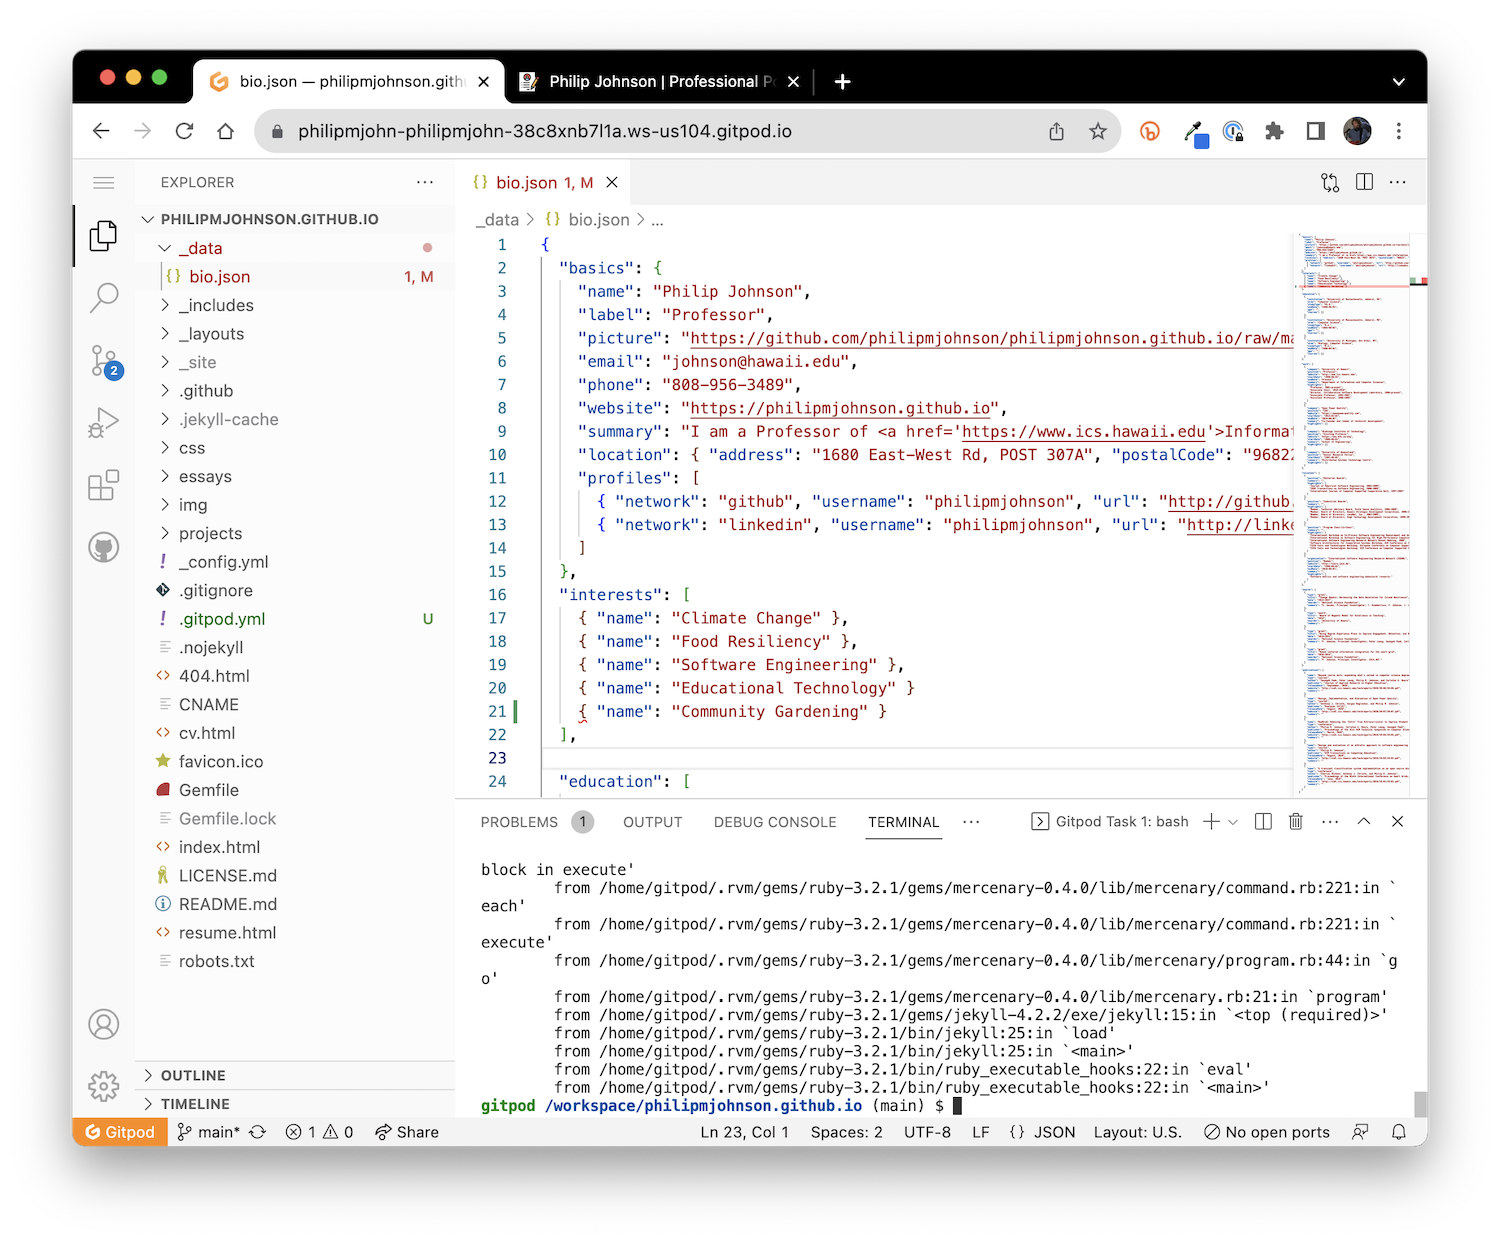
Aha! There is a problem with the Interests section: it appears that the parser was expecting a "," but did not find it. In fact, there is a missing comma on the line with the Educational Technology interest. If I add a comma to that line, and then type control-c control-p return, the build runs successfully and refreshing my browser window shows the reordered list of Interests:
5. Publish
Once you've edited, built, previewed, and debugged your portfolio for a while, you will want to publish it so that others can see it.
To do that, click on the "Source Control" icon on the left side of the screen. It should have a circle with a number in it indicating the edits you have made. After clicking the icon, the Source Control window is displayed. For example:
It shows that two files were modified. Type a short message into the Message text field to document what you did (for example, "Fix Interests"), the click the dropdown icon on the Commit button to display some options:
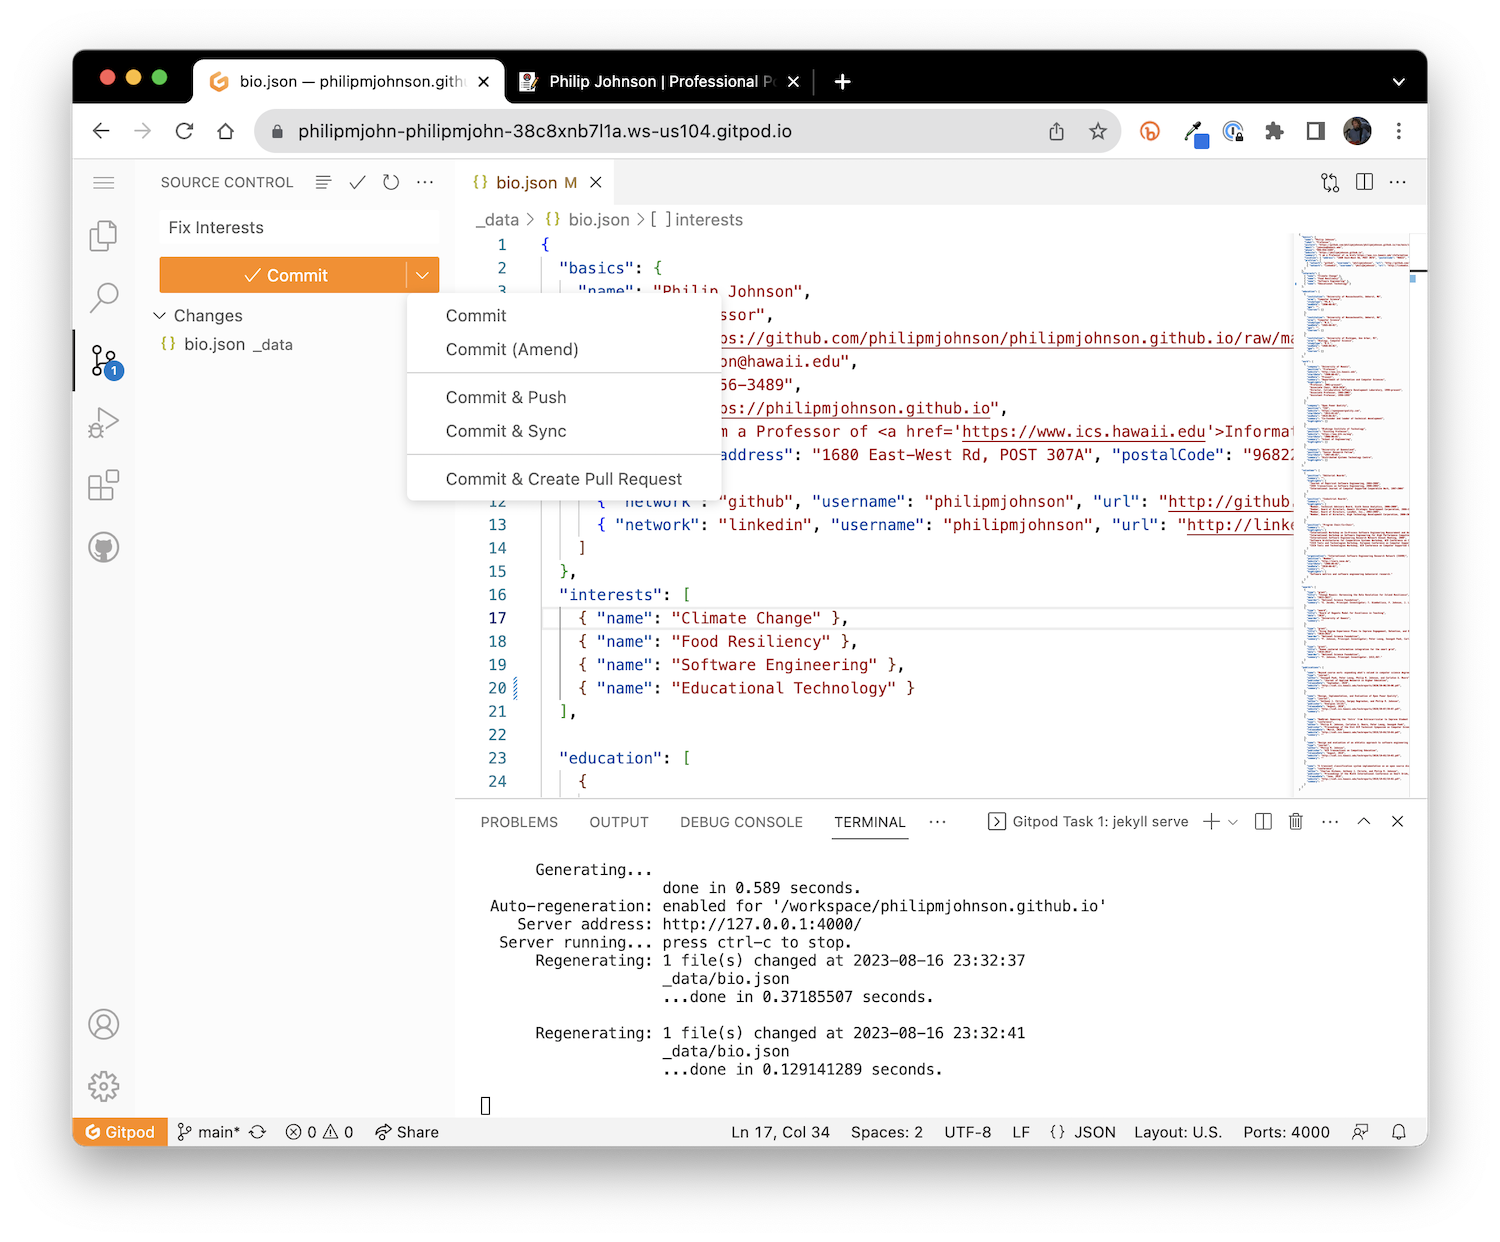
Select either "Commit and Push" or "Commit and Sync". Quite quickly, the Commit button will be grayed out, because you have no edits that have not been committed.
If this is the first time you are using GitPod, you have to explicitly give it permission to push or sync code to your GitHub repo in order for the "Commit and Push" or "Commit and Sync" menu items to appear.
To give GitPod permission to modify your GitHub account:
- Click on the avatar associated with you at the top right of the page to pull down a menu of items, then select "User Settings" to go to the User Settings page.
- On the left side menu, select "Git Providers" to go to the Git Providers page.
- Click on the three vertical dots next to GitHub, then select "Edit Permissions" to bring up the Edit permissions dialog.
- Make sure all possible permissions are checked, then click "Update Permissions".
Once you have successfully invoked "Commit and Push" or "Commit and Sync", you can now go to GitHub and click on the Actions pane associated with your portfolio.
You will see that the result of either of those actions is to trigger a build of your portfolio. Once that completes, the public portfolio site should display your updated portfolio. For example:
But I don't like GitPod!
If, for some reason, you don't want to use GitPod, the next section explains how to install and develop your portfolio locally.